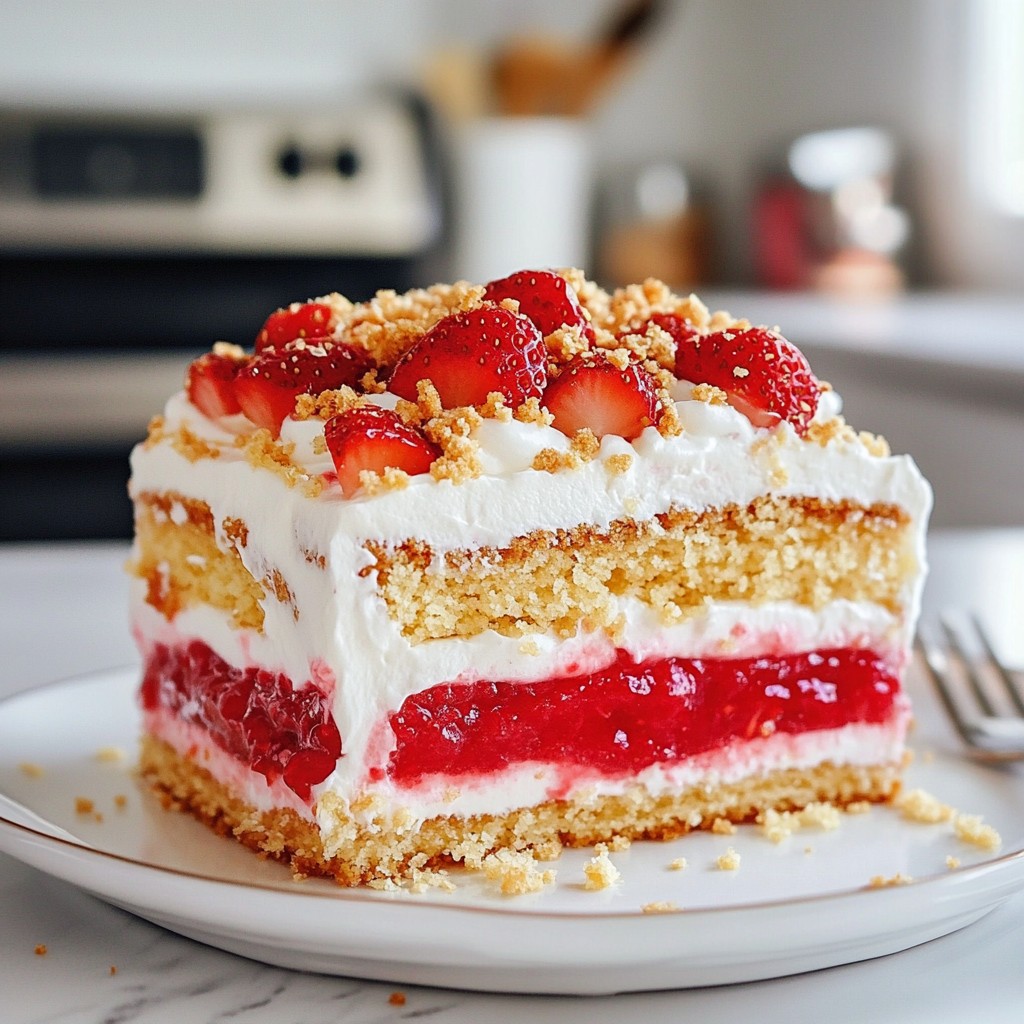
Are you ready to impress your loved ones with a show-stopping dessert? This Strawberry Crunch Layer Cake is both simple and delicious! With layers of moist cake, fresh strawberries, and a delightful crunch topping, it's perfect for any occasion. I’ll guide you through each step so you can create this stunning treat at home. Let’s get baking and make some sweet memories together!
Why I Love This Recipe
- Deliciously Fruity: This cake features fresh strawberries, making it a perfect dessert for berry lovers.
- Textural Contrast: The crunchy topping adds a delightful texture that complements the soft cake layers.
- Easy to Make: With straightforward steps, this recipe is accessible for bakers of all skill levels.
- Impressive Presentation: The layers and vibrant colors make this cake visually stunning for any occasion.
Ingredients
List of Ingredients
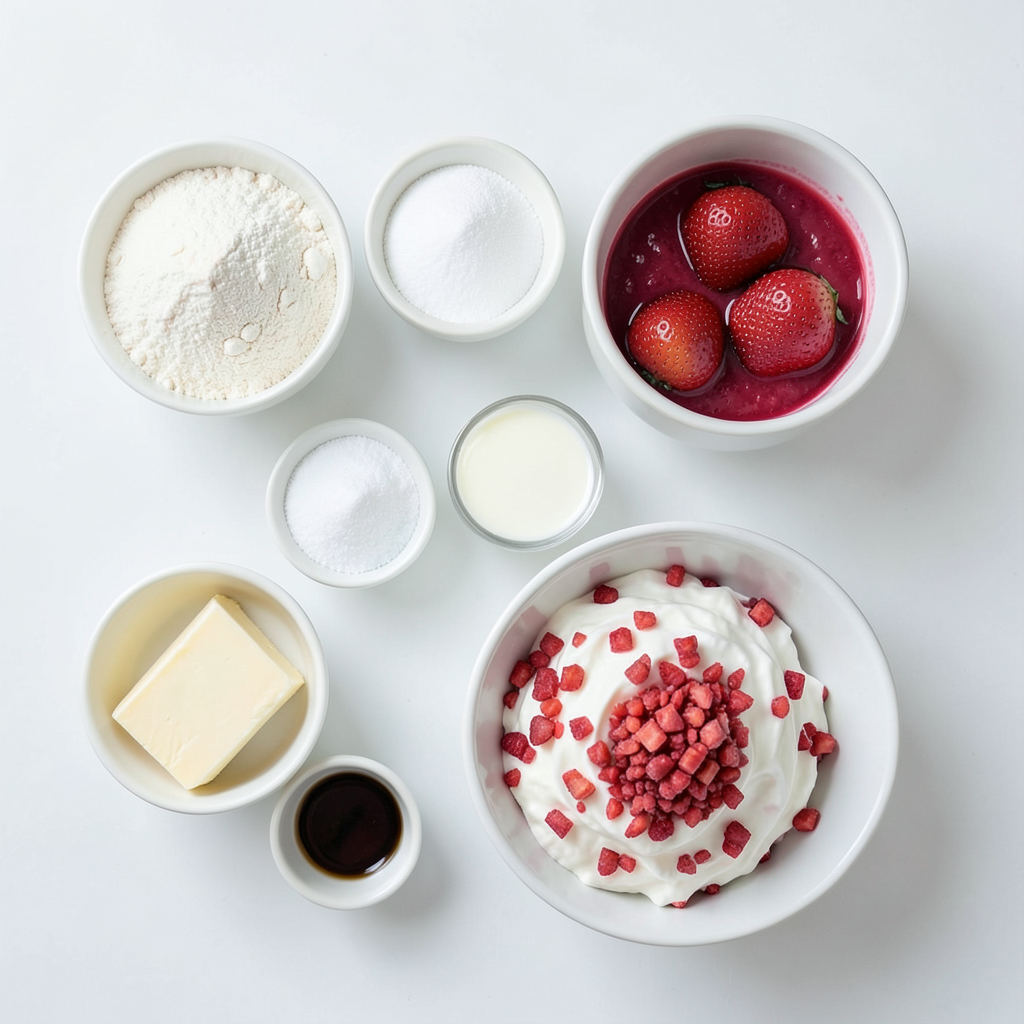
- 2 cups all-purpose flour
- 1 ½ cups sugar
- 1 tablespoon baking powder
- ½ teaspoon salt
- ¾ cup unsalted butter, softened
- 1 cup whole milk
- 4 large eggs
- 1 teaspoon vanilla extract
- 2 cups fresh strawberries, pureed
- 2 cups whipped cream (for layering and frosting)
- 1 cup strawberry crunch topping (homemade or store-bought)
When I make Strawberry Crunch Layer Cake, I love using fresh ingredients. First, all-purpose flour gives the cake its structure. The sugar adds sweetness and helps the cake rise. Baking powder works as a leavening agent. A pinch of salt enhances flavor.
For a rich taste, I use unsalted butter. Whole milk keeps the cake moist and tender. The eggs help bind everything together. Vanilla extract adds warmth and depth. Pureed strawberries are the star of the show, giving the cake its fresh flavor.
Lastly, I layer the cake with whipped cream and finish with strawberry crunch topping. This topping can be homemade or store-bought. It adds a fun crunch to every bite.
Step-by-Step Instructions
Preheat and Prepare
- Preheat the oven to 350°F (175°C).
- Grease and flour three 8-inch round cake pans. This helps the cake come out easily.
Combine Dry Ingredients
- In a large bowl, whisk together flour, sugar, baking powder, and salt. Mix until all are well blended.
Cream Butter and Mix Wet Ingredients
- In a new bowl, beat the softened butter until creamy.
- Gradually add the sugar mixture and beat until light and fluffy.
- Add eggs one at a time, mixing well after each.
- Next, mix in the milk, vanilla extract, and pureed strawberries until fully incorporated. This gives the cake a rich flavor.
Combine Mixtures and Bake
- Gradually fold the dry mixture into the wet mixture. Be careful not to overmix.
- Divide the batter evenly among the prepared cake pans.
- Bake in the oven for 25-30 minutes. Check with a toothpick to see if it comes out clean.
Cool, Layer, and Frost
- Allow cakes to cool in the pans for about 10 minutes.
- Turn them out onto a wire rack to cool completely.
- Once cool, layer with whipped cream and sprinkle strawberry crunch topping between each layer.
Chill and Serve
- Refrigerate the cake for at least one hour to set.
- Slice and enjoy this tasty treat!
Tips & Tricks
Achieving the Perfect Cake
How to properly measure flour To get the right amount of flour, use a spoon. Scoop flour into your measuring cup. Then, level it off with a knife. This method keeps your cake light and fluffy.
Importance of room temperature ingredients Using room temperature butter, eggs, and milk helps your batter mix well. It creates a smooth texture. Cold ingredients can make your cake dense and uneven.
Storing Leftovers
Best practices for storing any leftover cake Store leftover cake in an airtight container. This keeps it fresh and moist. If you don’t have a container, wrap it well in plastic wrap.
How to keep the crunch topping fresh Keep the crunch topping in a separate container. This way, it stays crisp. Add it just before serving to keep the texture perfect.
Making Whipped Cream
Tips for perfecting homemade whipped cream Chill your mixing bowl and beaters first. This helps the cream whip faster. Whip until you see soft peaks, but don’t overdo it. Stop before it turns to butter.
Alternatives for store-bought options You can use whipped topping if you want a quick fix. Look for brands with minimal ingredients for the best taste. However, homemade always wins for flavor!
Pro Tips
- Use Room Temperature Ingredients: For a lighter and fluffier cake, ensure that your butter, eggs, and milk are at room temperature before you start mixing.
- Don’t Overmix the Batter: When combining the dry and wet ingredients, mix just until you no longer see dry flour to prevent a dense cake.
- Chill the Cake Before Serving: Refrigerating the cake for at least an hour after frosting helps the layers set and makes slicing easier.
- Fresh Strawberries for Garnish: Top your cake with fresh strawberry slices for an appealing presentation and extra flavor.
Variations
Flavor Variations
You can change the flavor of your cake easily. Try using different berries. Raspberries or blueberries work well for a mixed berry crunch cake. You can also add lemon zest to the batter. This gives your cake a bright, citrus twist.
Topping Variations
If you want a richer flavor, use chocolate ganache instead of whipped cream. Ganache adds a creamy and decadent touch. You can also try using nuts for the crunch topping. Chopped almonds or pecans work great, adding a nice texture.
Gluten-Free Options
Making this cake gluten-free is simple. Substitute all-purpose flour with almond flour or a gluten-free blend. Just be sure to check the package for ratios. Gluten-free cakes may need a few extra minutes in the oven, so keep an eye on them. Adjust the baking time as needed to ensure they are fully cooked.
Storage Info
How to Store the Cake
To keep your Strawberry Crunch Layer Cake fresh, store it at room temperature for short-term use. Place it in a cake dome or cover it loosely with plastic wrap. This keeps it moist and tasty for up to two days. For longer storage, move the cake to the fridge. Wrap it in plastic wrap and then foil to avoid drying out. It can stay in the fridge for about a week.
Freezing Instructions
If you want to freeze individual slices, wrap each slice in plastic wrap. Then place them in a freezer-safe bag. Make sure to label the bag with the date. For thawing, take a slice out and leave it in the fridge overnight. You can also thaw it on the counter for a few hours. Avoid using a microwave, as it can change the texture.
Shelf Life Expectations
In the fridge, your cake will last about five to seven days. Watch for signs of spoilage like a change in color or smell. If you see any mold, it’s best to throw it away. Proper storage helps keep your cake tasting great and safe to eat.
FAQs
Can I use frozen strawberries instead of fresh?
Yes, you can use frozen strawberries. They are often picked at peak ripeness and frozen quickly. This keeps their flavor strong. However, the texture may change. Frozen strawberries can be mushy after thawing. This can affect the cake's fluffiness. To use them, let them thaw, then puree. Drain any extra liquid to avoid a watery cake.
How do I know when my cake is done baking?
You can test your cake with a toothpick. Insert it into the center of the cake. If it comes out clean, your cake is done. If you see batter on the toothpick, bake a few more minutes. Remember to check the edges, as they may cook faster.
Can I make this cake ahead of time?
Yes, you can make the cake ahead. Bake the cake layers and let them cool. Wrap each layer tightly in plastic wrap. Store them in the fridge for up to two days. You can also freeze them for up to three months. Just remember to thaw them in the fridge before frosting. This way, your cake stays fresh and tasty!
This cake is a delight that anyone can master. We covered key ingredients, step-by-step instructions, and useful tips. Now you can create a tasty strawberry crunch cake at home. Feel free to explore variations to suit your taste. With proper storage, your cake will stay fresh longer. Enjoy the process, and don’t hesitate to share with friends! You'll be proud to serve a delicious cake you made yourself.