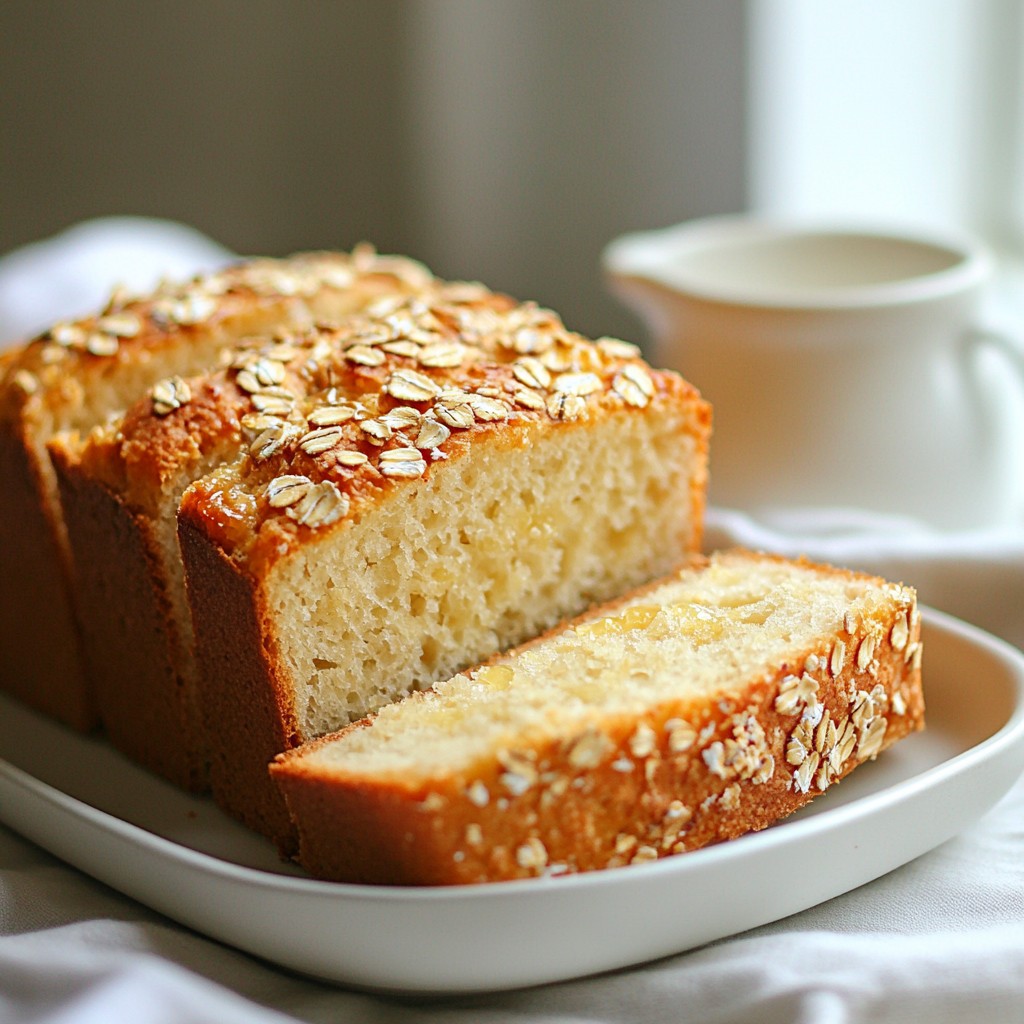
Have you ever wanted to bake bread but were put off by all that kneading? You’re in luck! This No Knead Honey Oat Bread is simple, nourishing, and requires minimal effort. With just a few wholesome ingredients like rolled oats, honey, and olive oil, you can create a delightful loaf. Join me as I share an easy recipe that is perfect for beginners and seasoned bakers alike! Let’s get started on this tasty adventure!
Why I Love This Recipe
- Easy Preparation: This no-knead recipe allows for a simple mixing method, making it perfect for beginner bakers.
- Long Rise Time: Letting the dough rise overnight enhances the flavor and texture of the bread.
- Healthy Ingredients: The combination of oats and honey not only adds nutrition but also a deliciously unique taste.
- Versatile Serving Options: This bread is delightful on its own or served with butter, honey, or jam for a tasty treat.
Ingredients
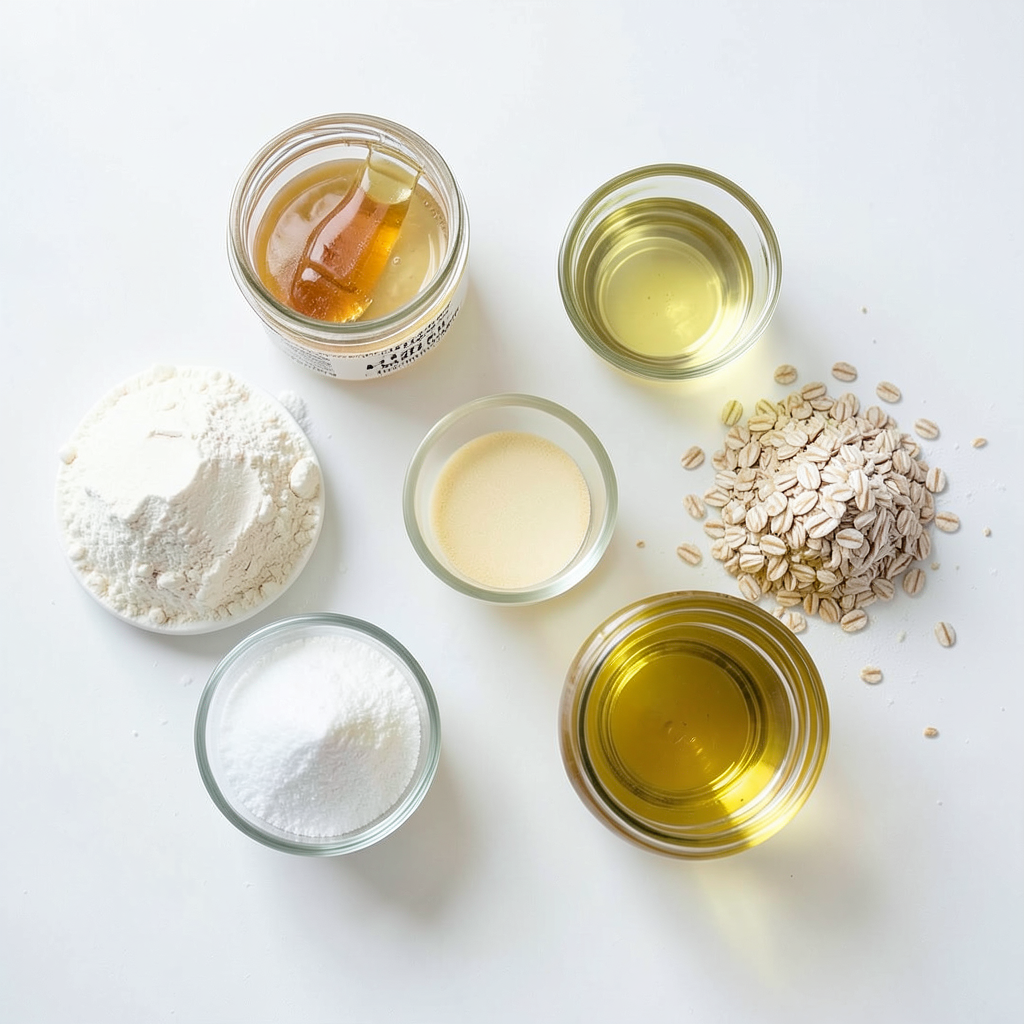
Main Ingredients for No Knead Honey Oat Bread
- 2 cups all-purpose flour
- 1 cup rolled oats
- 2 teaspoons instant yeast
- 1 teaspoon salt
- 2 tablespoons honey
- 1 ½ cups warm water (about 110°F or 43°C)
- 1 tablespoon olive oil
Optional Ingredients
- Extra oats for topping
Key Ingredient Tips
Choosing the Right Flour All-purpose flour works best for this bread. It gives a nice texture. You can try whole wheat too, but it may change the bread's flavor and texture.
The Role of Honey in Flavor Honey adds sweetness and a soft crumb. It helps the bread rise too. You can use maple syrup or agave if you want a different flavor.
Importance of Warm Water Temperature Warm water helps yeast grow. Aim for about 110°F (43°C). If it's too hot, it may kill the yeast. Too cold won't activate it. Always check the water before mixing!
Step-by-Step Instructions
Preparation of Dry Ingredients
In a large bowl, combine 2 cups of all-purpose flour, 1 cup of rolled oats, 2 teaspoons of instant yeast, and 1 teaspoon of salt. Stir these dry ingredients well. Mixing evenly helps the yeast to work better.
Mixing Wet Ingredients
In another bowl, mix together 2 tablespoons of honey, 1 ½ cups of warm water (about 110°F), and 1 tablespoon of olive oil. Stir until the honey dissolves fully. This mix adds flavor and helps the bread rise.
Dough Formation and Rising Process
Pour the wet mixture into the bowl with dry ingredients. Use a wooden spoon to stir until a shaggy dough forms. There’s no need to knead! Cover the bowl with plastic wrap or a damp cloth. Let it sit at room temperature for 12 to 18 hours. You will know it's ready when the dough has bubbles and has doubled in size.
Shaping the Dough
After the dough rises, lightly flour a clean surface. Turn the dough out onto that surface. Use floured hands to gently shape it into a ball. Place the dough on a parchment-lined baking sheet or in a cast-iron skillet. Cover it with a cloth, and let it rest for another 30 minutes.
Preheating and Baking
Preheat your oven to 450°F. If you use a Dutch oven or cast-iron pot, place it in the oven to preheat as well. Once the oven is hot, carefully take the pot out. Place the dough inside. If using a baking sheet, just put it directly in the oven. Optionally, sprinkle some extra oats on top for decoration. Bake for 30 to 35 minutes. The bread is done when it is golden brown and sounds hollow when tapped on the bottom.
Tips & Tricks
Perfecting the Rise
To make your bread rise well, keep it in a warm spot. A temperature around 75°F to 80°F works best. Look for bubbles on the surface of the dough. This shows that the yeast is active. If the dough has doubled in size, it's ready for the next step. A good rise makes the bread fluffy and light.
Achieving the Best Texture
Mix your dough just until it comes together. Overmixing can make the bread tough. Let the dough rest for 12 to 18 hours to develop flavor. This long resting time allows the gluten to form naturally. This makes your bread soft and chewy.
Serving Suggestions
You can enjoy this bread in many ways. Serve it warm with butter or honey for a sweet treat. It pairs nicely with jams or spreads, too. For a savory option, try it with cream cheese or avocado. This bread also makes great toast for breakfast. The possibilities are endless!
Pro Tips
- Use Fresh Yeast: Ensure your instant yeast is fresh for the best rise. Expired yeast can lead to dense bread.
- Monitor Dough Temperature: Keep the water at about 110°F (43°C) to activate the yeast properly. Too hot can kill the yeast.
- Experiment with Flours: Try substituting some of the all-purpose flour with whole wheat flour for a nuttier flavor and added nutrition.
- Storage Tips: Store leftover bread in a paper bag at room temperature for a few days or freeze it for longer freshness.
Variations
Adding Ingredients for Flavor
You can make this bread even tastier by adding nuts or seeds. Walnuts or sunflower seeds work great. They add crunch and a nutty taste. Just fold them into the dough before the rise time.
Dried fruits also bring a sweet twist. Raisins, cranberries, or apricots add fun flavor. Chop them into small pieces and mix them in with the dry ingredients. This step will brighten every bite.
Different Baking Techniques
You have options for how to bake this bread. Using a Dutch oven gives a nice crust. The pot traps steam, making the bread rise well. Preheat the pot before adding the dough for best results.
A baking sheet is another choice. It is easier to use and still works well. Just line it with parchment paper for easy cleanup. The crust may be a bit lighter, but the taste stays amazing.
You can also cook this bread in a skillet. A cast-iron skillet creates a great crust too. Follow the same steps, and you'll enjoy a lovely loaf.
Gluten-Free Adaptation
For a gluten-free version, swap the all-purpose flour. Use a blend of gluten-free flours. Almond flour or oat flour are good picks. You may need to adjust the liquid. Start with less water and add more as needed. This will help you create the right dough texture.
Storage Info
How to Store No Knead Honey Oat Bread
Store your No Knead Honey Oat Bread at room temperature. Use a bread box or a paper bag. This keeps it fresh and soft. Avoid plastic bags, as they can make the crust soggy. Slice the bread only when you need it. This helps it stay fresh longer.
Freezing Instructions
To freeze your bread, wrap it tightly in plastic wrap. Then, place it in a freezer bag. This will prevent freezer burn. You can freeze it for up to three months. When you're ready to eat it, thaw it in the fridge overnight.
Reheating Guidelines
Reheat the bread in the oven for best results. Preheat the oven to 350°F (175°C). Wrap the bread in foil to keep it moist. Bake for about 10 to 15 minutes. You can also toast slices in a toaster for a crispy texture. Enjoy your warm, fresh bread!
FAQs
How long does No Knead Honey Oat Bread last?
No Knead Honey Oat Bread lasts about 3 to 5 days at room temperature. Store it in a bread bag or wrapped in a kitchen towel. This keeps it soft and fresh. Look for signs of spoilage like mold or an off smell. If you notice these signs, it’s best to toss the bread.
Can I use whole wheat flour instead?
Yes, you can use whole wheat flour. This will add a nutty flavor and more fiber. However, the bread may be denser and less airy. You might need more water to adjust for whole wheat flour's absorbency. It’s a good idea to mix half whole wheat and half all-purpose flour for a balanced texture.
Is it necessary to let the dough rise overnight?
Yes, letting the dough rise overnight is key. This long fermentation improves flavor and texture. It develops a rich taste and creates air bubbles. These bubbles make the bread light and fluffy. Skipping this step may yield a denser loaf, so patience pays off!
You now have all the steps and tips to bake No Knead Honey Oat Bread. Start with simple ingredients and easy methods. Remember the key tips about flour and honey to enhance flavor. Perfecting the rise and texture is crucial for great bread. Don’t forget the variations and storage tips for future enjoyment. With this bread, you create a delicious treat for every meal. Enjoy every slice with your favorite spreads. Happy baking!