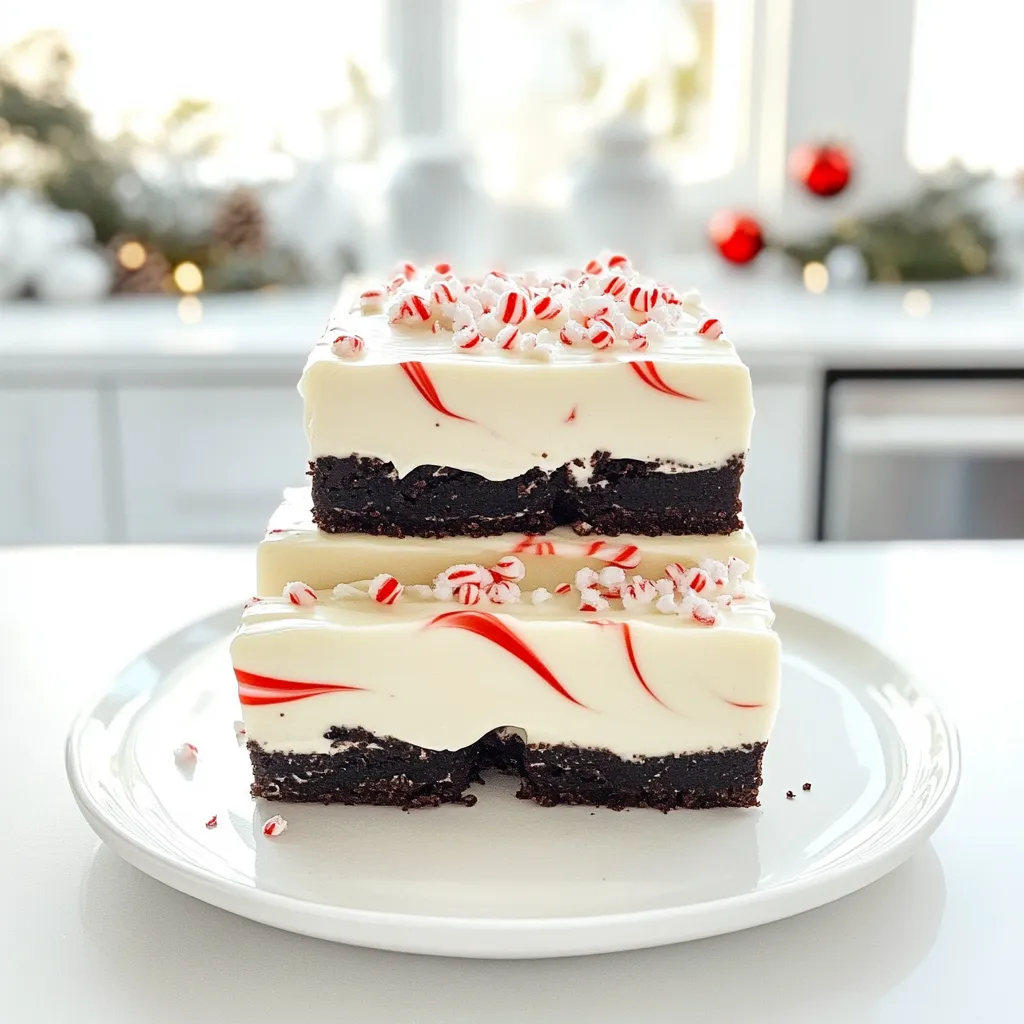
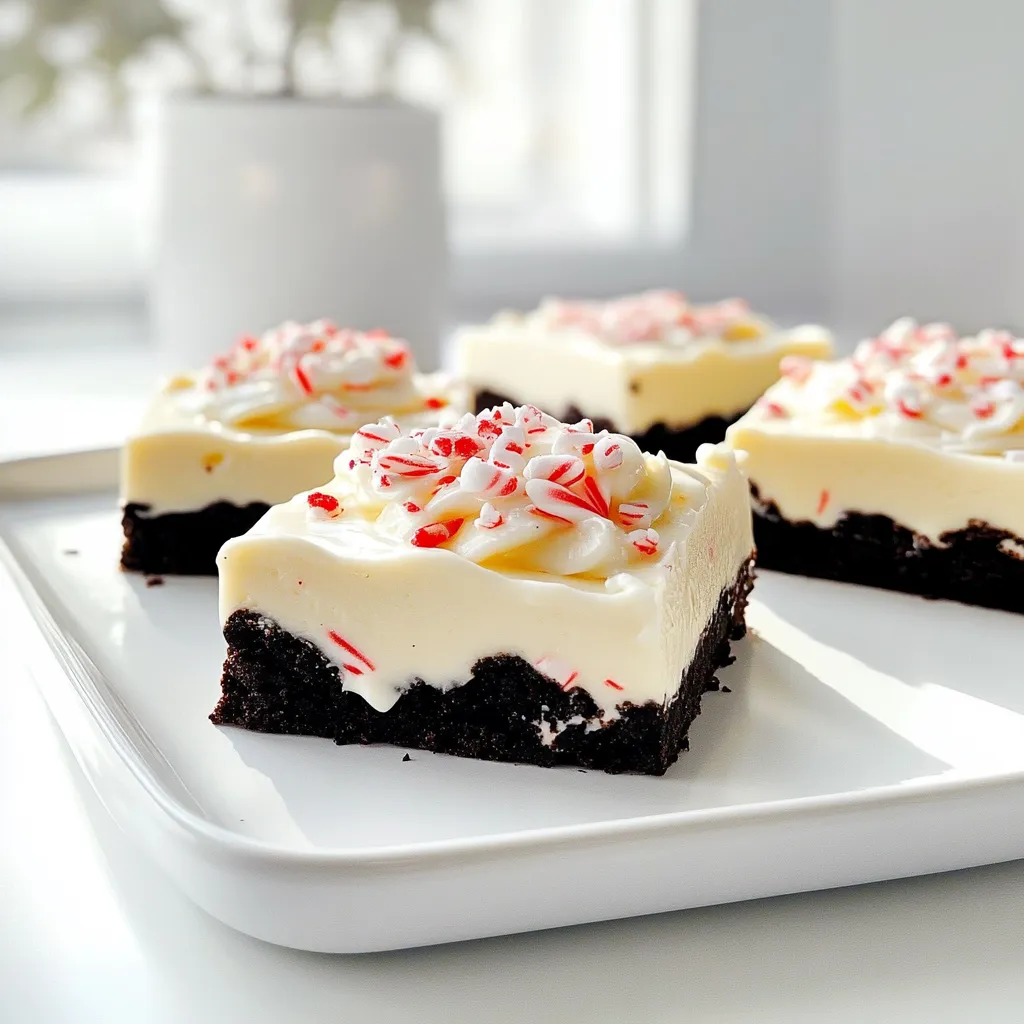
Looking for a simple and festive treat this holiday season? These No Bake Peppermint Oreo Bars are perfect for you! With just a few easy steps, you can whip up a delicious dessert everyone will love. Imagine layers of Oreo crust, creamy peppermint filling, and a drizzle of white chocolate. Get ready to impress your family and friends with this fun, no-bake delight! Let’s dive into the tasty details!
Ingredients
Main Ingredients
– 24 Oreos, crushed
– ½ cup unsalted butter, melted
– 8 oz cream cheese, softened
– 1 cup powdered sugar
– ½ teaspoon peppermint extract
– 1 cup whipped topping (like Cool Whip)
– 1 cup white chocolate chips, melted
– 1 tablespoon crushed peppermint candies (for garnish)
The main ingredients create the rich and festive flavor of these bars. The crushed Oreos form the base, giving a chocolate crunch. The melted butter helps bind the crumbs together, making a firm crust. Cream cheese adds a creamy texture, while powdered sugar sweetens the mix. Peppermint extract provides that classic holiday taste. Whipped topping adds lightness, and melted white chocolate gives a sweet finish. Finally, crushed peppermint candies add a pop of color and flavor.
Ingredient Substitutions
– Alternative cookies for base: You can use any chocolate cookie, like chocolate graham crackers or even gluten-free cookies for a gluten-free version.
– Dairy-free options for cream cheese: Look for vegan cream cheese made from nuts or soy.
– Sugar alternatives for powdered sugar: Use coconut sugar or a sugar replacement like erythritol for a lower-calorie option.
These substitutions keep your recipe flexible. You can easily adjust it to fit dietary needs or personal preferences. Each swap can slightly change the taste but still yield a delicious treat.
Step-by-Step Instructions
Prepare the Oreo Crust
1. In a medium bowl, I combine the crushed Oreos and melted butter.
2. I mix until all the crumbs are coated in butter.
3. Next, I press the Oreo mixture into the bottom of a lined 9×9 inch baking pan.
4. I make sure to create an even layer for the crust.
Prepare the Cream Cheese Filling
1. In a large bowl, I beat the softened cream cheese until it’s smooth.
2. I gradually mix in the powdered sugar, making sure it blends well.
3. Then, I add the peppermint extract.
4. I fold in the whipped topping until the mixture is fluffy and well combined.
Assemble and Chill
1. I spread the cream cheese mixture evenly over the Oreo crust in the baking pan.
2. I drizzle the melted white chocolate over the top.
3. Using a spatula, I swirl it to create a pretty marbled look.
4. I sprinkle crushed peppermint candies on top for a festive touch.
5. Finally, I refrigerate the bars for at least 4 hours until they set.
6. Once firm, I remove them from the pan and cut into squares.
Tips & Tricks
Achieving the Perfect Texture
Softened cream cheese is key for this recipe. It helps to create a smooth filling. If your cream cheese is too cold, it can clump. Be sure to leave it out for a while before mixing.
To keep the crust from being too crumbly, use enough melted butter. The butter helps bind the Oreos together. Mix the crushed Oreos and butter well. Press the mixture firmly into the pan. This will help hold the bars together when cut.
Presentation Tips
When serving, use a festive platter. Place the bars neatly on it. You can add extra crushed peppermint around the edges for a nice touch.
For a fun garnish, use mini candy canes. They add color and a sweet crunch. Just place one on each bar or scatter them around. This makes the dessert look even more special for the holidays.
Variations
Flavor Profile Adjustments
You can play with flavors to make these bars unique. Start by using different extracts. Instead of peppermint, try vanilla or almond extract for a twist. Each extract brings its own charm.
You can also add mix-ins. Chocolate chips can offer a rich taste. Nuts, like chopped pecans or walnuts, add crunch. Just stir them gently into the cream cheese mixture. These small changes create a new treat each time.
Alternative Layering Ideas
Want to switch things up? Consider adding a chocolate layer. Just melt some chocolate and spread it over the Oreo crust before the cream cheese layer. This addition gives a rich chocolate taste.
Another idea is to swap the white chocolate for dark chocolate. Melt dark chocolate and drizzle it on top. It adds depth and a slight bitterness that balances the sweetness. These options let you customize your bars, making them even more delightful.
Storage Info
Best Practices for Storing
To keep your No Bake Peppermint Oreo Bars fresh, store them in the fridge. Use an airtight container. This method keeps the bars from drying out. You can also place parchment paper between layers to avoid sticking. If you want to save them longer, freezing is a great option. Wrap the bars in plastic wrap and then place them in a freezer-safe bag. This keeps them fresh for up to three months.
Shelf Life
These bars will stay fresh in the fridge for about a week. Check for any changes in texture or smell. Signs that the dessert has gone bad include a sour odor or mold. If you see any of these signs, it’s best to throw them away. Enjoy your festive treat while it’s at its best!
FAQs
Can I make these bars ahead of time?
Yes, you can make these bars ahead of time. I recommend preparing them a day before you plan to serve. This gives them enough time to chill and set well in the fridge. Just cover the pan with plastic wrap after they cool. Keep them in the fridge until you’re ready to serve.
What can I use instead of peppermint extract?
If you don’t have peppermint extract, try using vanilla or almond extract. Both options add a nice flavor. You can also use orange extract for a fun twist. Just remember to keep the amount the same so the balance stays right.
How do I cut the bars for serving?
To cut the bars neatly, use a sharp knife. First, remove the bars from the pan by lifting the liner. Place the bars on a cutting board. Wipe the knife with a damp cloth after each cut. This helps keep the edges clean and neat. Aim for even squares for a lovely presentation.
These Oreo dessert bars are fun and easy to make. We covered the key ingredients, step-by-step instructions, and tips for the best results. You can even swap ingredients to fit your needs or try different flavors. Store them properly to keep them fresh. By following these simple steps, you’ll impress everyone with your tasty creation. Enjoy every bite, and don’t hesitate to get creative with your own twists!