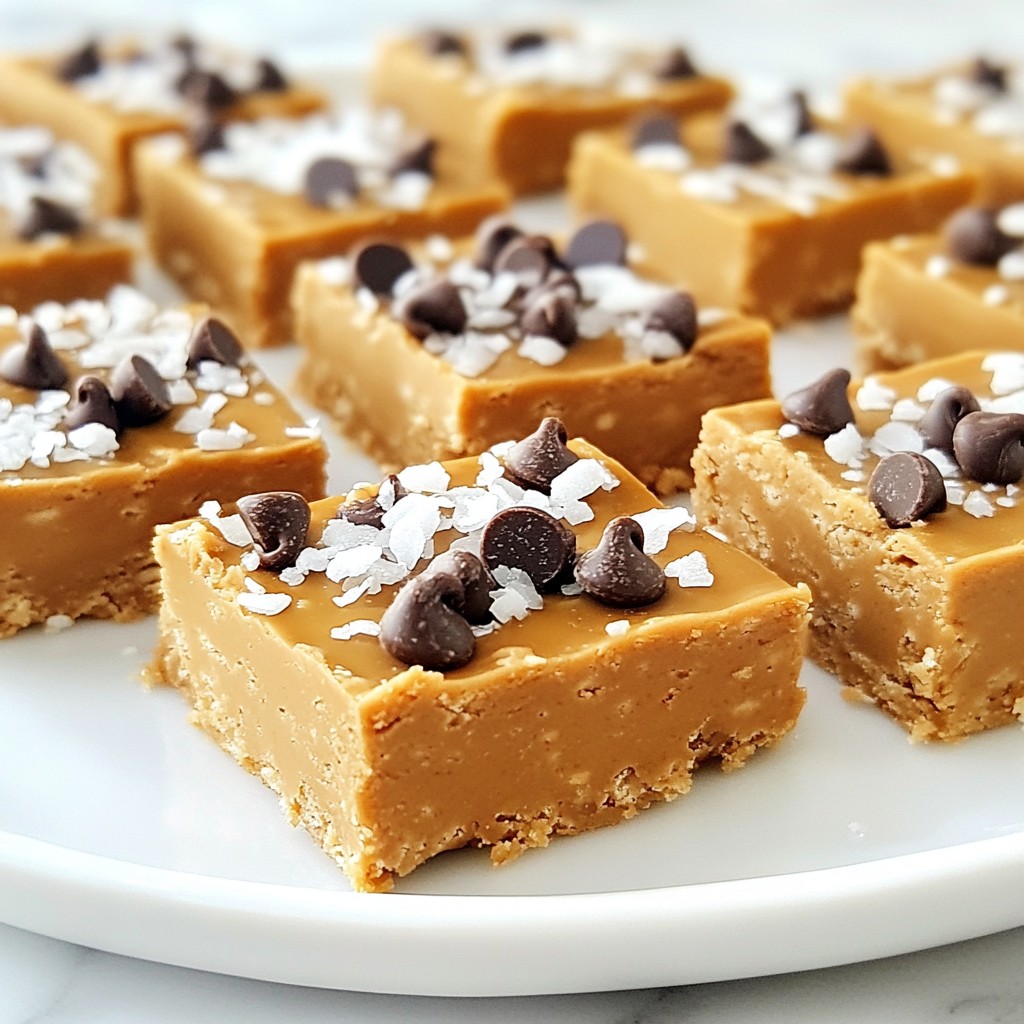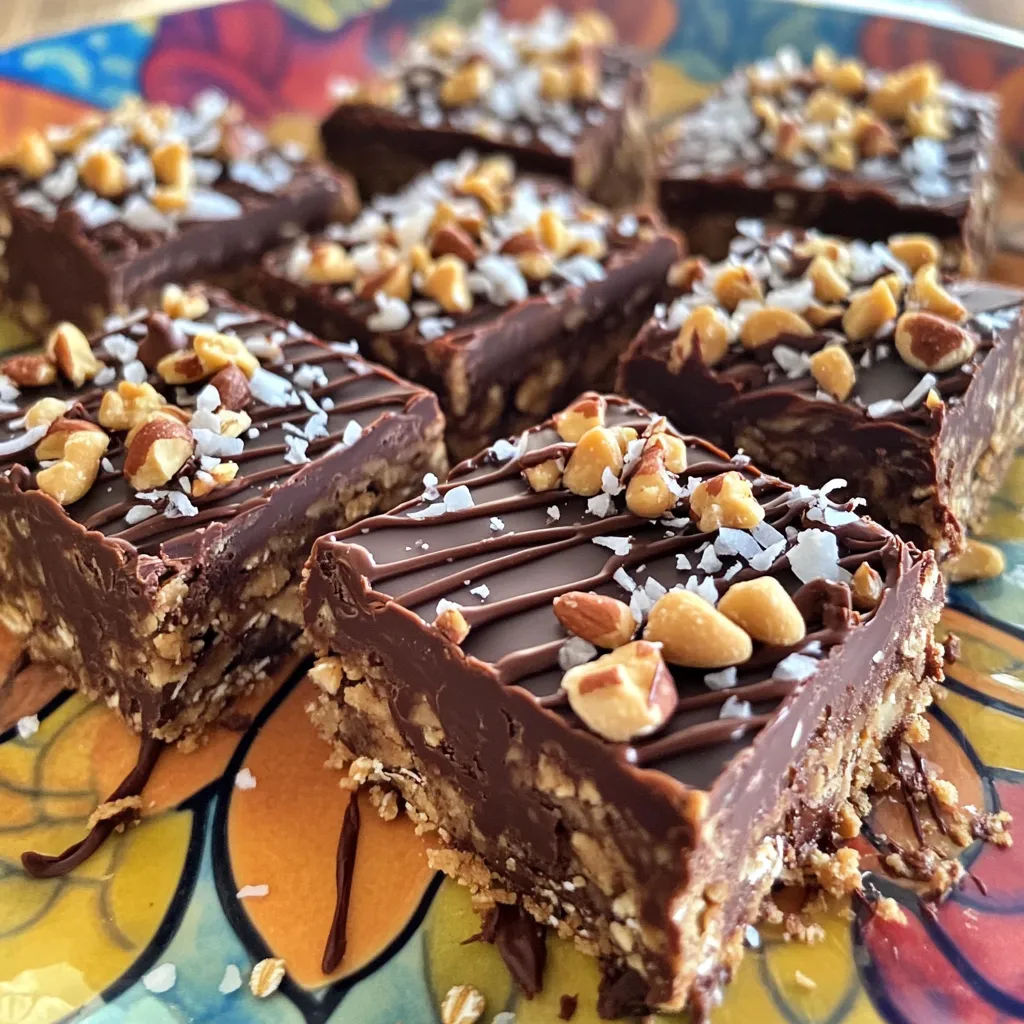
Craving a sweet treat that’s easy to make? Look no further! My No-Bake Chocolate Peanut Butter Oat Squares are a delicious option for anyone. With just a handful of ingredients like rolled oats, creamy peanut butter, and rich chocolate, you can whip these up in no time. Perfect for snacks or desserts, these squares will satisfy your sweet tooth without any baking. Let’s dive into the recipe and create something delightful together!
Ingredients
Main Ingredients
– 1 cup rolled oats
– ½ cup natural peanut butter (smooth or crunchy)
– ½ cup honey or maple syrup
– 1 cup dark chocolate chips
– ¼ cup unsweetened cocoa powder
– 1 teaspoon vanilla extract
– ¼ teaspoon sea salt
Optional Toppings
– Crushed nuts
– Shredded coconut
– Mini chocolate chips
The main ingredients in this recipe create a rich and nutty flavor. The rolled oats give the squares a chewy texture. Peanut butter adds creaminess and protein, while honey or maple syrup sweetens the mix. Dark chocolate chips offer a burst of chocolate goodness. Cocoa powder deepens the chocolate flavor, and vanilla extract adds warmth. A pinch of sea salt balances the sweetness perfectly.
You can customize the squares with optional toppings. Crushed nuts add crunch and healthy fats. Shredded coconut brings a tropical twist, while mini chocolate chips enhance the chocolate experience. These ingredients make this treat not only tasty but also fun to make!
Step-by-Step Instructions
Preparing the Dry Ingredients
First, grab a large mixing bowl. Add 1 cup of rolled oats, ¼ cup of cocoa powder, and ¼ teaspoon of sea salt. Mix them well. This blend will be the base of our bars. The oats bring texture, the cocoa adds rich flavor, and the salt enhances the taste.
Melting the Peanut Butter and Sweetener
Next, take a microwave-safe bowl. Put in ½ cup of peanut butter and ½ cup of honey or maple syrup. Microwave this mixture in 20-second bursts. Stir after each burst until it melts and mixes smoothly. Let it cool for a moment. This step creates a sweet and creamy layer.
Mixing and Assembling
Now, add 1 teaspoon of vanilla extract to your peanut butter mix. Pour this over the dry oat mixture. Stir it all together until the oats are fully coated. Then, fold in 1 cup of dark chocolate chips. This adds a tasty surprise in every bite.
Line an 8×8 inch square baking dish with parchment paper. Leave some paper hanging over the edges. This will help you lift the bars out later. Transfer the mixture into the dish. Press it down firmly using a spatula or your hands. This makes an even layer.
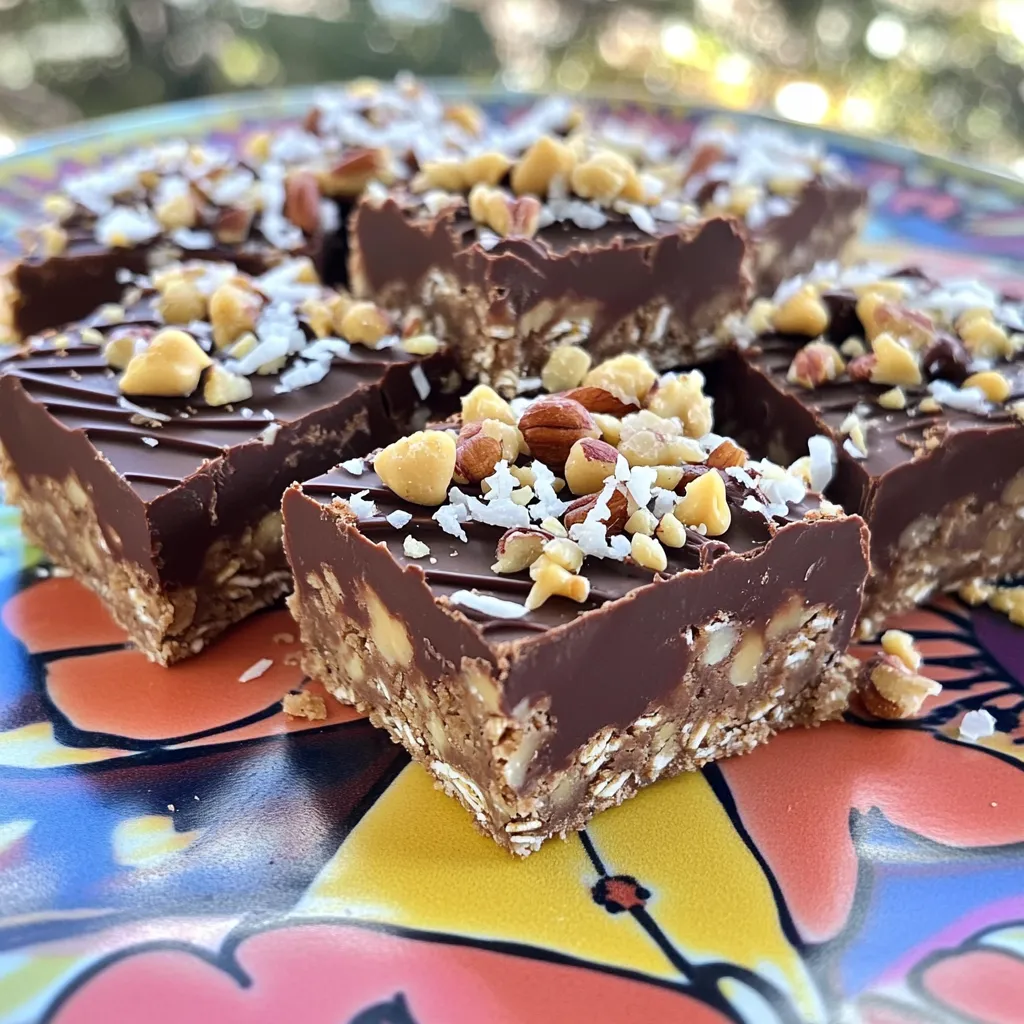
If you want, sprinkle on some optional toppings like crushed nuts, shredded coconut, or mini chocolate chips. Press these toppings lightly into the mixture. Cover the dish with plastic wrap and put it in the fridge for at least 2 hours. Once firm, use the parchment to lift the bars out. Cut them into squares or rectangles.
Enjoy your no-bake chocolate peanut butter oat squares!
Tips & Tricks
Perfecting Texture
To get the best texture, mix your ingredients well. I always start with the dry parts first. Combine the rolled oats, cocoa powder, and sea salt thoroughly. This step makes sure every bite is tasty. When you add the wet mix, stir until every oat is coated. This gives you a rich, uniform flavor.
Making Clean Cuts
For neat slices, chill the squares in the fridge. I recommend waiting at least two hours. Once they are firm, use the parchment paper to lift them out. A sharp knife helps make clean cuts. If you find it hard to cut, let them sit at room temperature for a few minutes.
Serving Suggestions
Presentation makes a big difference! Serve the squares on a colorful plate. You can sprinkle extra crushed nuts around them for a fun look. Drizzling melted chocolate on top adds a gourmet touch. This not only looks good but makes it even more delicious.
Variations
Dietary Substitutes
You can easily make this recipe vegan. Just swap honey for maple syrup. Use plant-based chocolate chips instead of regular ones. These simple changes keep the flavor rich and satisfying. Your squares will still taste fantastic!
Flavor Enhancements
Want to add some extra zing? Try adding spices like cinnamon or nutmeg. A dash of vanilla extract can also boost the taste. Experiment with other extracts, like almond or mint, for a unique twist. This way, you can create your favorite flavor profile.
Crunchy Add-Ins
For extra texture, throw in some nuts or seeds. Chopped almonds or walnuts add a nice crunch. You could also use sunflower seeds or pumpkin seeds. These add-ins not only give texture but also pack in more nutrients. Enjoy customizing your squares to fit your taste!
Storage Info
Best Practices for Storage
Store the chocolate peanut butter oat squares in an airtight container. You can place them in the fridge or freezer. If you choose the fridge, they stay fresh and tasty. For long-term storage, the freezer is best. Just make sure to wrap each square in plastic wrap before placing them in the container. This keeps them from getting freezer burn.
Shelf Life
These squares last about one week in the fridge. If you store them in the freezer, they can last up to three months. This makes them great for meal prep. Just take out what you need and enjoy.
Reheating Instructions
You can enjoy these squares cold or let them sit at room temperature for a few minutes. If you want them warm, place them in the microwave for about 10 seconds. This melts the chocolate a bit and makes them extra tasty.
FAQs
Can I use quick oats instead of rolled oats?
You can use quick oats, but the texture will change. Quick oats blend better and make a softer bar. Rolled oats keep the squares chewy and add a nice bite. If you want a denser square, stick with rolled oats.
What can I substitute for honey?
If you need a honey substitute, try maple syrup or agave nectar. Both options work well and add sweetness. For a low-sugar choice, use mashed bananas or applesauce. These swaps fit different diets and still keep the squares tasty.
How do I know when the squares are set?
The squares are ready when they feel firm to the touch. You should see a slight sheen from the chocolate on top. After chilling for at least two hours, they should hold their shape when cut.
This blog post covered how to make delicious, no-bake chocolate peanut butter squares. You learned the key ingredients and step-by-step instructions. I shared tips for the perfect texture and clean cut edges. You also discovered variations and storage best practices.
As you try this recipe, remember to have fun and get creative. Enjoy each tasty bite!