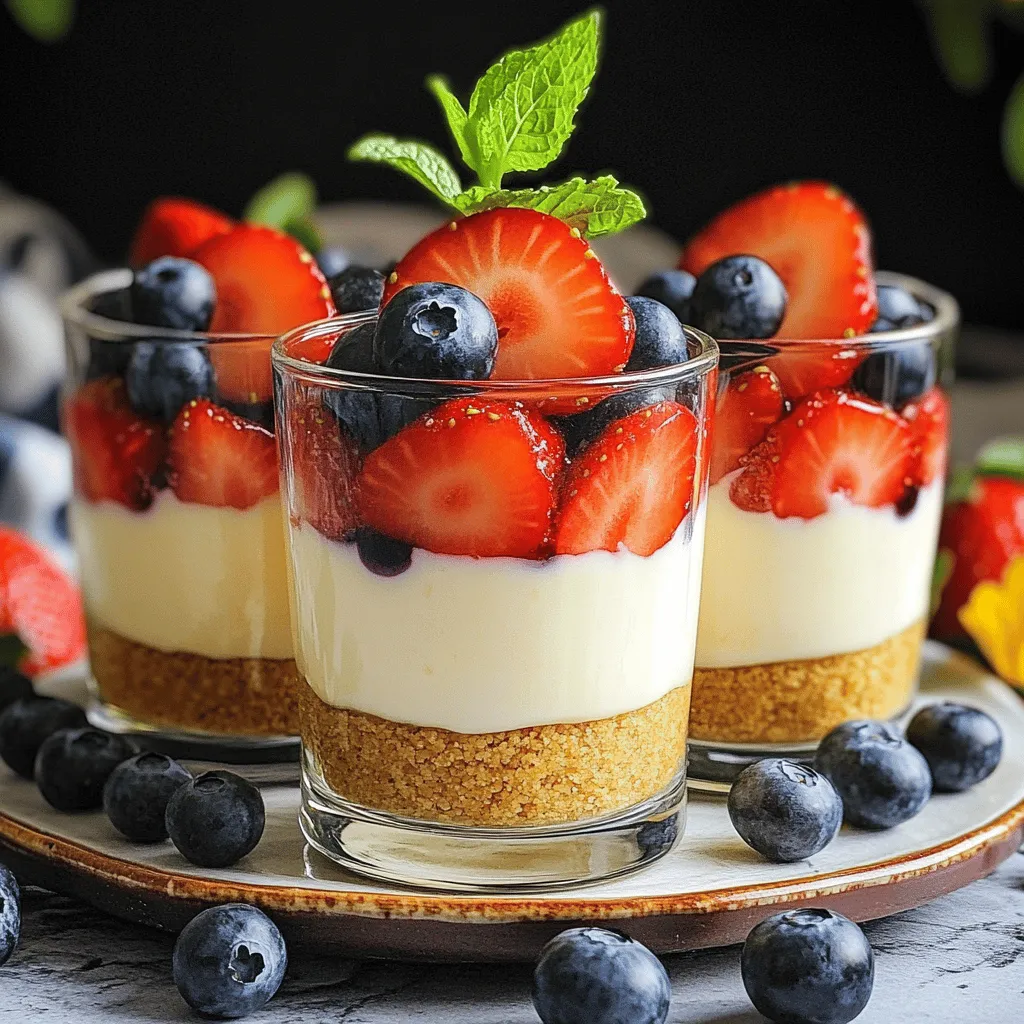
Craving a sweet treat that’s easy to make and satisfying? Let me introduce you to No Bake Cheesecake Cups! This simple recipe packs rich flavor in each delicious layer. You’ll love how quick it is to whip up a tasty dessert without turning on your oven. Let’s dive into the ingredients and steps that will help you create beautiful and bite-sized cheesecakes everyone will adore!
Ingredients
Essential Ingredients for No Bake Cheesecake Cups
To make these tasty no bake cheesecake cups, you need:
– 1 cup graham cracker crumbs
– 3 tablespoons sugar
– 4 tablespoons unsalted butter, melted
These three ingredients form the base of your cheesecake cups. The graham cracker crumbs give a crunchy texture. The sugar adds sweetness, and the melted butter helps bind everything together into a crust.
Key Components of the Filling
The filling is the star of the show. Here are the key ingredients:
– 8 oz cream cheese, softened
– 1/2 cup powdered sugar
– 1 teaspoon vanilla extract
Cream cheese is rich and creamy. Softening it makes mixing easier. The powdered sugar sweetens the filling. Vanilla extract adds a lovely flavor. Together, they create a smooth and delicious filling.
Toppers and Garnishes
Top your cheesecake cups with these fun additions:
– 1 cup heavy whipping cream
– Fresh fruit (like strawberries or blueberries)
– Mint leaves for garnish (optional)
Whipping cream makes the filling light and fluffy. Fresh fruit adds color and natural sweetness. Mint leaves can give a fresh touch. These toppings make your dessert not just tasty but also pretty!
Step-by-Step Instructions
Preparing the Crust
Start by mixing the graham cracker crumbs, sugar, and melted butter. In a medium bowl, combine these three ingredients well. You want the crumbs to soak up the butter and sugar. This will give you a tasty base. Once mixed, divide the crust into your serving cups. Press it gently at the bottom to form a solid layer. This crust will add a nice crunch to your cheesecake cups.
Making the Cheesecake Filling
Now, let’s make the creamy filling. In a large mixing bowl, beat the softened cream cheese. Add the powdered sugar and vanilla extract. Mix until it is smooth and creamy. This step is key for flavor. In another bowl, whip the heavy cream until stiff peaks form. This means it holds its shape. Gently fold the whipped cream into the cream cheese mixture. Be careful not to deflate it. This keeps the filling light and airy.
Assembling the Cheesecake Cups
It’s time to layer your cups. Spoon or pipe the cheesecake filling over the crust layer. Fill the cups almost to the top. This looks great and tastes even better! Once filled, cover the cups and chill them in the fridge for at least 2 hours. This helps the cheesecake set. When you’re ready to serve, add fresh fruit on top. A mint leaf can add a nice touch too. Enjoy your delicious no bake cheesecake cups!
Tips & Tricks
Enhancing Flavor and Texture
To get the best cream cheese texture, use room temperature cream cheese. Cold cream cheese can make your filling lumpy. Let it sit out for about 30 minutes before you start.
Another key step is whipping the cream. Start with cold heavy cream. Use a clean bowl and beaters. Whip the cream until stiff peaks form. This adds lightness to your cheesecake. Gently fold the whipped cream into the cream cheese mixture.
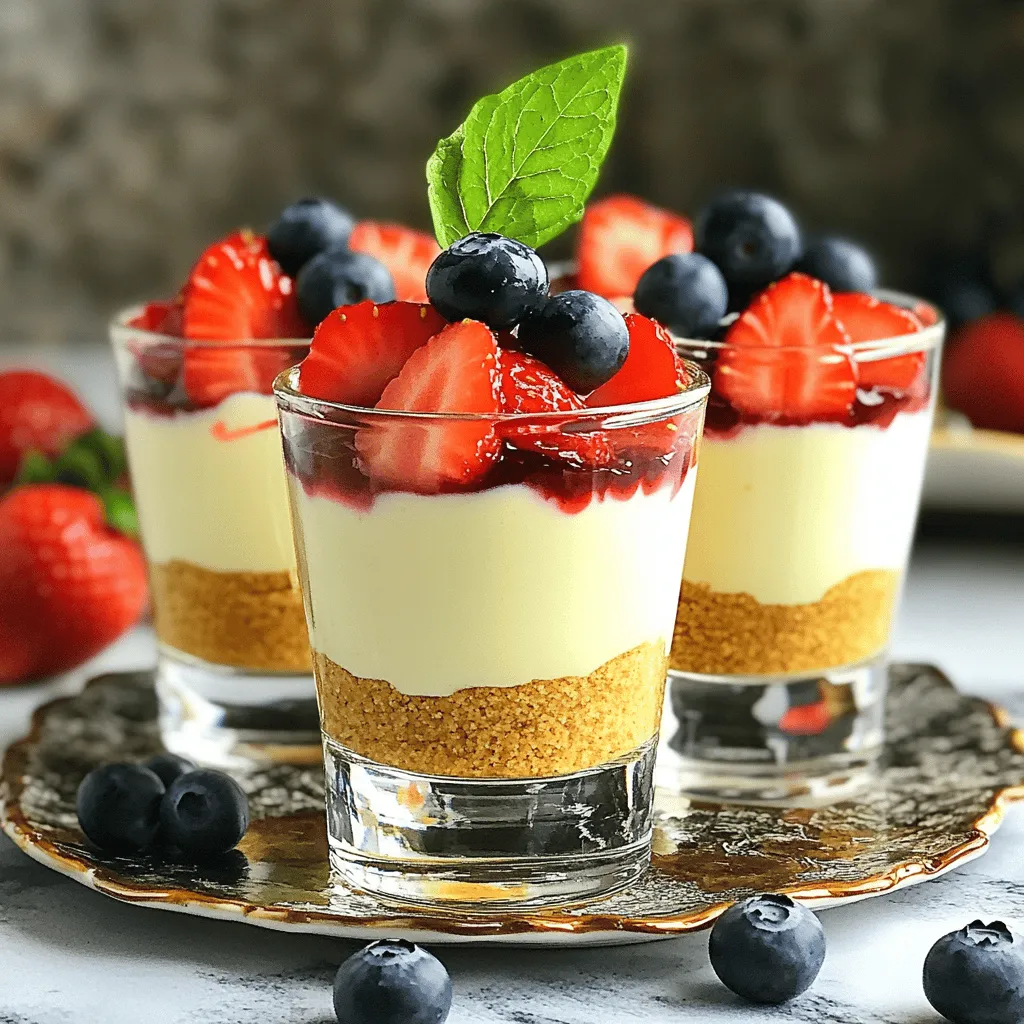
Serving Suggestions
Presentation is key for these cheesecake cups. Serve them on a stylish platter. Arrange fresh fruit around the cups for a colorful look. You can also use clear cups to show off those creamy layers. Top each cup with fruit and mint leaves. This makes them look fancy and appetizing.
Adjusting Sweetness Levels
You can easily adjust the sweetness of your cheesecake cups. If you like it sweeter, add more powdered sugar. For a less sweet version, cut back on the sugar. Taste as you go. This way, you can find the perfect balance for your palate.
Variations
Flavor Infusions
You can change the flavor of your no bake cheesecake cups easily. Try adding lemon zest for a fresh, zesty taste. Just a teaspoon or two will brighten the flavor. If you love chocolate, mix in cocoa powder. One to two tablespoons will give a rich, chocolatey twist. These small changes can make a big difference in taste and keep things exciting!
Lifestyle Adaptations
For those who need a gluten-free option, swap regular graham crackers for gluten-free ones. Many brands offer tasty gluten-free graham crackers. You can still enjoy the crunchy crust without worry. This simple switch ensures everyone can savor these cheesecake cups.
Alternative Toppings
The fun doesn’t stop at the filling! You can top your cheesecake cups with a variety of ingredients. Use crushed cookies for a delightful crunch. Oreos or chocolate wafer cookies work well. You can also add different fruits. Try peaches, raspberries, or kiwi for a colorful and tasty garnish. Each topping adds a new layer of flavor and texture to your dessert.
Storage Info
Proper Refrigeration Techniques
To keep your no bake cheesecake cups fresh, store them in the fridge. Use an airtight container to prevent any strong odors from seeping in. If you have leftovers, cover each cup with plastic wrap. This will help maintain their creamy texture and flavor. I recommend consuming them within three days for the best taste.
Freezing Options
Yes, you can freeze no bake cheesecake cups! They freeze well and make a great treat later. Just cover each cup with plastic wrap and then foil. This extra layer helps prevent freezer burn. When you are ready to eat, move them to the fridge to thaw overnight. Enjoy a cool treat on a hot day!
Shelf Life
Understanding how long your cheesecake cups last is key. They stay good in the fridge for about 3 to 5 days. After that, the texture may change, and they might not taste as fresh. Always check for any signs of spoilage, like off smells or changes in color. Keeping track of their shelf life ensures you enjoy them at their best!
FAQs
Can I use low-fat cream cheese?
Yes, you can use low-fat cream cheese. However, it may change the texture and taste. Low-fat cream cheese contains less fat, which can make the cheesecake less creamy. For the best results, I recommend using full-fat cream cheese. This will give your cheesecake cups that rich, smooth texture we all love.
How long do No Bake Cheesecake Cups need to chill?
Chill your cheesecake cups for at least 2 hours. This time allows the filling to set properly. If you can wait longer, chilling them overnight makes them even better. The longer they chill, the firmer they become.
What can I substitute for heavy whipping cream?
You can use coconut cream as a dairy-free option. It has a similar texture. Silken tofu blended until smooth is another great choice. This will give you a creamy filling without dairy. Make sure to adjust the sweetness if you use these substitutes.
How do I garnish my cheesecake cups for special occasions?
Garnishing can make your cheesecake cups look stunning. Use fresh fruit like strawberries or blueberries on top. You can also add a sprig of mint for color. For a fun twist, drizzle chocolate sauce or a fruit puree over the cups. These simple touches elevate your dessert and impress your guests.
No bake cheesecake cups are simple and fun to make. We covered key ingredients like cream cheese and graham crackers. Then I shared easy steps to prepare and layer your cups. Remember the tips for the best taste and texture, too. You can create many variations with different flavors and toppings. Enjoy these treats fresh or store them for later. With these ideas, you can impress anyone. Dive in and have fun making your own no bake cheesecake cups!