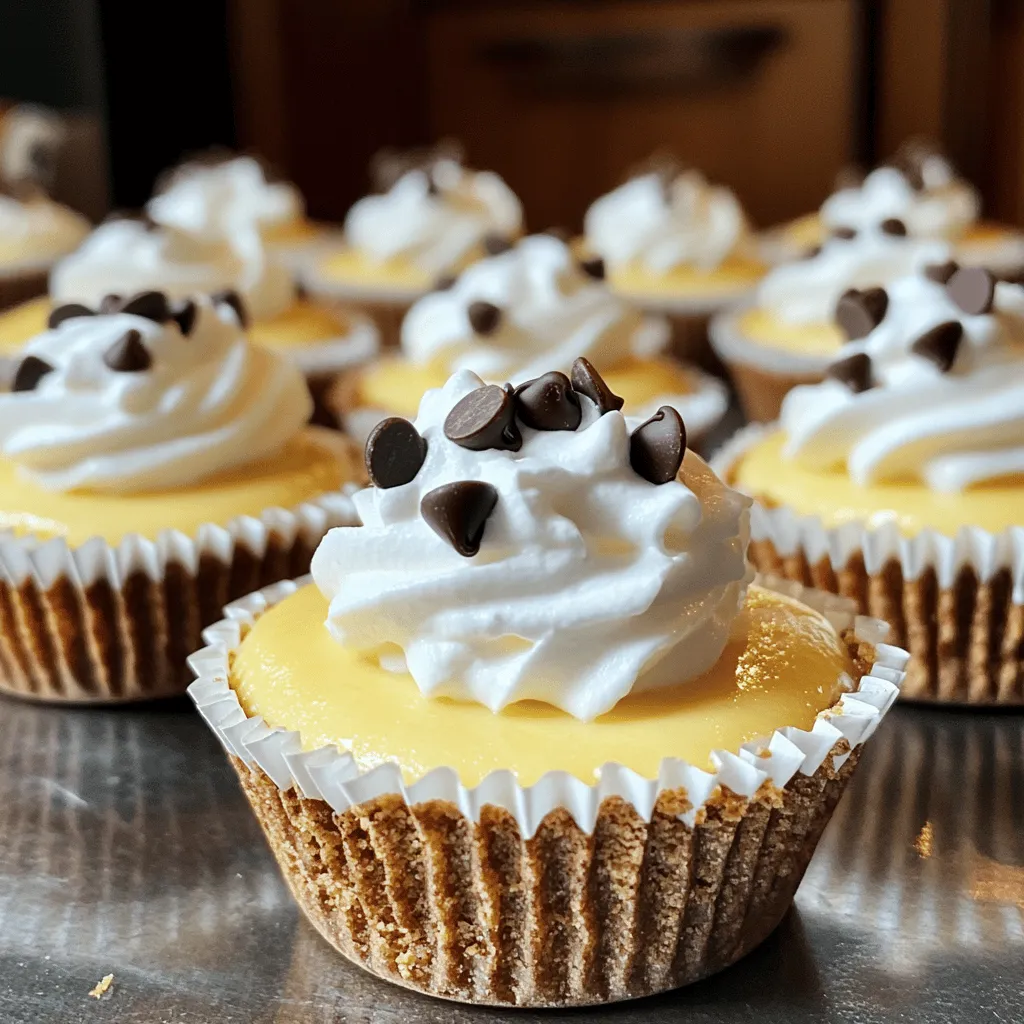
Get ready to enjoy the sweetest treat with my Mini Chocolate Chip Cheesecakes! These delightful bites are simple to make and oh-so-tasty. With creamy filling and melted chocolate, they are sure to please any dessert lover. Whether you’re a baking pro or a beginner, I’ll walk you through every step. Let’s dive into the ingredients and tips that will make your cheesecakes a hit at any gathering!
Ingredients
Full ingredient list for Mini Chocolate Chip Cheesecakes
– 1 cup graham cracker crumbs
– 4 tablespoons unsalted butter, melted
– 16 ounces cream cheese, softened
– 1/2 cup granulated sugar
– 1 teaspoon vanilla extract
– 2 large eggs
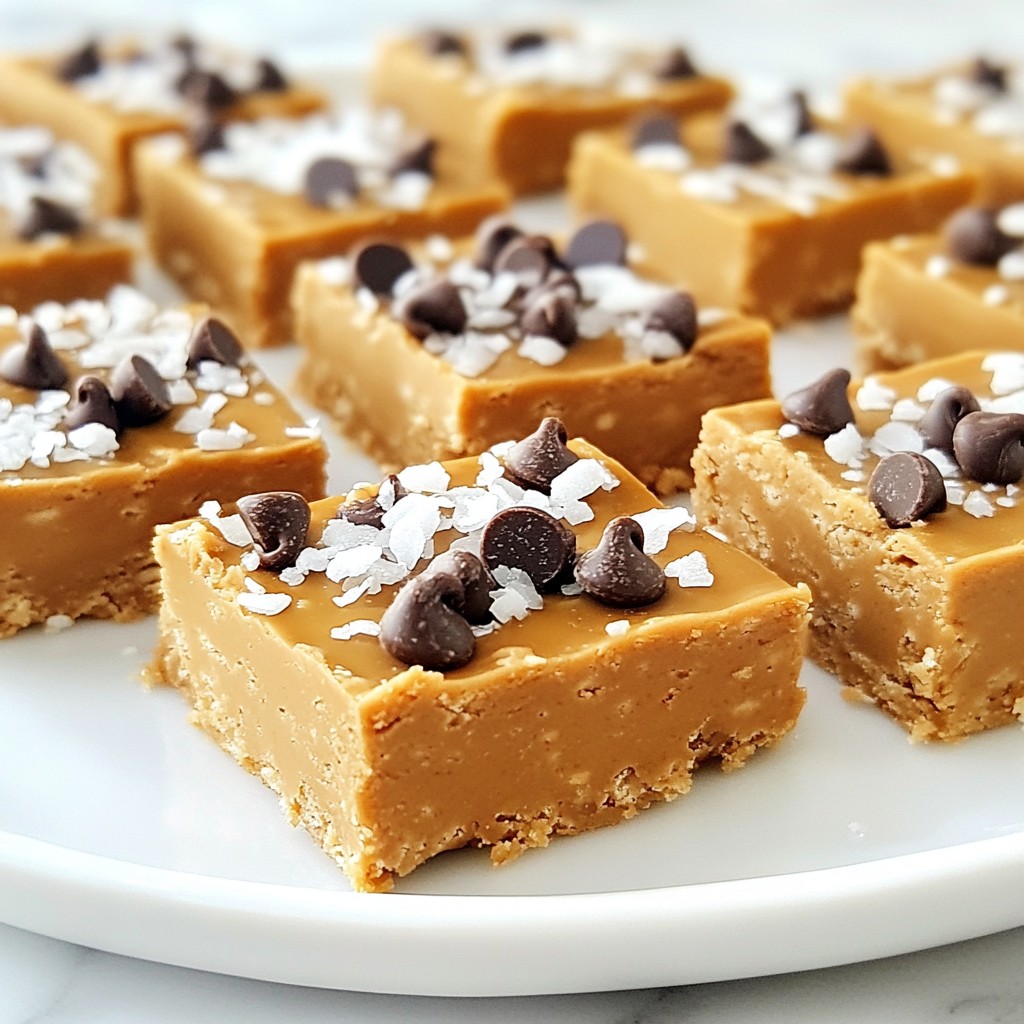
– 1 cup mini chocolate chips
– 1/2 cup sour cream
– A pinch of salt
Detailed description of key ingredients
Graham cracker crumbs form the crust. They give a sweet and crunchy base. Melted unsalted butter helps bind the crumbs together. Cream cheese is the star of this recipe. It brings creaminess and richness. Granulated sugar adds sweetness, balancing the tang of cream cheese. Vanilla extract enhances flavor. Eggs provide structure and help set the cheesecakes. Mini chocolate chips add bursts of chocolate goodness. Sour cream adds a smooth texture and a hint of tang. A pinch of salt rounds out the flavors.
Potential substitutions for dietary restrictions
You can replace graham cracker crumbs with crushed nuts or gluten-free cookies for gluten-free options. Use dairy-free cream cheese and yogurt for a vegan version. Instead of eggs, try flaxseed meal mixed with water as a binder. If you want less sugar, consider using a sugar substitute. Always check labels to ensure they meet your dietary needs.
Step-by-Step Instructions
Preparation steps for crust and filling
Start with the crust. Mix 1 cup of graham cracker crumbs with 4 tablespoons of melted unsalted butter. Use a fork to blend them until they look like wet sand. Line a muffin tin with cupcake liners. Take about 1 tablespoon of the crumb mixture and press it into the bottom of each liner. Make sure it is firm and even.
Next, prepare the filling. In a large bowl, beat 16 ounces of softened cream cheese until smooth. Add 1/2 cup of granulated sugar and mix well. Then, add 1 teaspoon of vanilla extract and 1/2 cup of sour cream. Mix until everything is smooth again.
Now, it’s time for the eggs. Add 2 large eggs one at a time. Be careful not to overmix. Finally, fold in 1 cup of mini chocolate chips. This adds that yummy chocolate flavor.
Baking instructions and timing for perfect mini cheesecakes
Preheat your oven to 325°F (160°C). Once the filling is ready, spoon it into the prepared muffin cups. Fill each cup about 2/3 full. This allows space for the cheesecakes to rise.
Bake them for 18 to 20 minutes. The edges should be set, but the center should still jiggle. This jiggle means they are not overcooked. Once baked, turn off the oven but leave the mini cheesecakes inside for 10 more minutes. This gentle heat helps them finish cooking without cracking.
Cooling and chilling process for optimal texture
Take the mini cheesecakes out of the oven. Let them cool at room temperature for about 15 minutes. After that, transfer them to the fridge. Allow them to chill for at least 2 hours. Chilling helps them set properly.
Serve these delightful treats chilled. You can add whipped cream and extra chocolate chips on top for a fun touch.
Tips & Tricks
Common pitfalls to avoid when making mini cheesecakes
One mistake many people make is overmixing the batter. This can create air bubbles. Air bubbles lead to cracks in your cheesecakes. Mix just until smooth. Another pitfall is filling the cups too full. Leave some space for the cheesecakes to rise. Lastly, don’t skip the chilling time. Chilling helps set the texture and flavor.
How to achieve the perfect texture and flavor
To get a creamy texture, use softened cream cheese. Cold cream cheese is harder to mix. Mix in your eggs one at a time. This helps keep the batter smooth. For flavor, use high-quality vanilla extract. A pinch of salt enhances the sweetness too. Folding in the mini chocolate chips at the end ensures even distribution.
Equipment recommendations for best results
Use a standard muffin tin for uniform sizes. Cupcake liners make for easy removal. An electric mixer helps achieve the right consistency. A rubber spatula is great for folding in chocolate chips. Lastly, have a cooling rack ready. This allows the cheesecakes to cool evenly after baking.
Variations
Flavor variations like fruit or different chocolate types
You can change the flavor of mini chocolate chip cheesecakes easily. Try adding fruit. Fresh strawberries or blueberries work well. You can also use fruit puree mixed into the filling. This gives a nice taste and color. If you love chocolate, switch to dark or white chocolate chips. Both add a rich flavor.
Suggestions for adding toppings and sauces
Toppings can make your cheesecakes even better. A drizzle of chocolate sauce is always a hit. You can also add caramel sauce for a sweet touch. For a fresh taste, try a fruit compote on top. Whipped cream makes a great addition too. Sprinkle some crushed nuts for a crunchy bite.
Gluten-free and vegan modifications
You can make these cheesecakes gluten-free. Use gluten-free graham crackers for the crust. For a vegan version, swap cream cheese for a plant-based option. Use flax eggs instead of regular eggs. You can also try coconut cream for a rich texture. These changes keep the flavor and make it friendly for different diets.
Storage Info
Best practices for refrigerating and freezing mini cheesecakes
To keep your mini chocolate chip cheesecakes fresh, store them in the fridge. Use an airtight container for best results. If you want to freeze them, wrap each cheesecake tightly in plastic wrap. Then, place them in a freezer-safe bag. This helps prevent freezer burn.
How long mini cheesecakes last when stored properly
When stored in the fridge, mini cheesecakes last about 5 days. If frozen, they can stay good for up to 2 months. Just remember to label the bags with the date. This way, you know when to enjoy them!
Reheating tips if served cold and what to do before serving
Mini cheesecakes are best served cold. If you want to warm them up, let them sit at room temperature for about 10 minutes. This makes them softer and creamier. Before serving, consider adding a dollop of whipped cream and a few extra mini chocolate chips on top. This adds a nice touch and makes them even more delightful!
FAQs
How do I know when my mini cheesecakes are done?
You can tell when mini cheesecakes are done by looking at the edges. They should be firm, while the center will be soft and jiggly. This means they are cooked just right! If you see any browning on the edges, they might be overbaked. Remember to let them cool in the oven for ten minutes after baking. This step helps them set perfectly.
Can I use regular chocolate chips instead of mini ones?
Yes, you can use regular chocolate chips. However, the mini ones mix in better and create more chocolatey bites. If you use regular chips, chop them into smaller pieces. This way, you get even distribution of chocolate in every cheesecake.
What should I do if my cheesecakes crack on top?
Cracks often happen due to overmixing or baking at high temperatures. To avoid this, mix the batter just until combined. If cracks do appear, don’t worry! You can cover them with whipped cream or chocolate ganache. This adds flavor and looks lovely on your cheesecakes.
How can I make these cheesecakes in advance?
You can make these mini cheesecakes a day ahead of serving. Just follow the recipe, cool them, and then store them in the fridge. They stay fresh and taste even better the next day! If you want to keep them longer, you can freeze them for up to a month. Just remember to thaw them in the fridge overnight before serving.
In this post, we covered how to make delicious mini chocolate chip cheesecakes. We looked at key ingredients, including possible substitutions for diets. I provided clear steps for preparation, baking, and cooling for the best texture. We discussed tips to avoid mistakes and enhance flavor. You learned about tasty variations and how to store your cheesecakes.
Remember, practice makes perfect. Enjoy experimenting with flavors and sharing these treats!