Looking to add a burst of flavor to your meals? Garlic dill refrigerator pickles are an easy and tasty solution! With just a few simple ingredients and steps, you can enjoy crunchy, tangy pickles ready to spice up sandwiches, salads, or snacks. In this guide, I’ll walk you through an uncomplicated recipe that anyone can master. Let’s dive into the world of pickling and discover how this quick treat can elevate your dining experience!
Ingredients
Main Ingredients
– 4 medium cucumbers
– 4 cloves of garlic
– 1 cup water
– 1 cup distilled white vinegar
Seasoning Ingredients
– 1 tablespoon sugar
– 1 tablespoon salt
– 1 teaspoon mustard seeds
– 1 teaspoon black peppercorns
– 1 teaspoon dill seeds or fresh dill
Optional Add-Ins
– Red pepper flakes for heat
– Fresh herbs like thyme or cilantro for added flavor
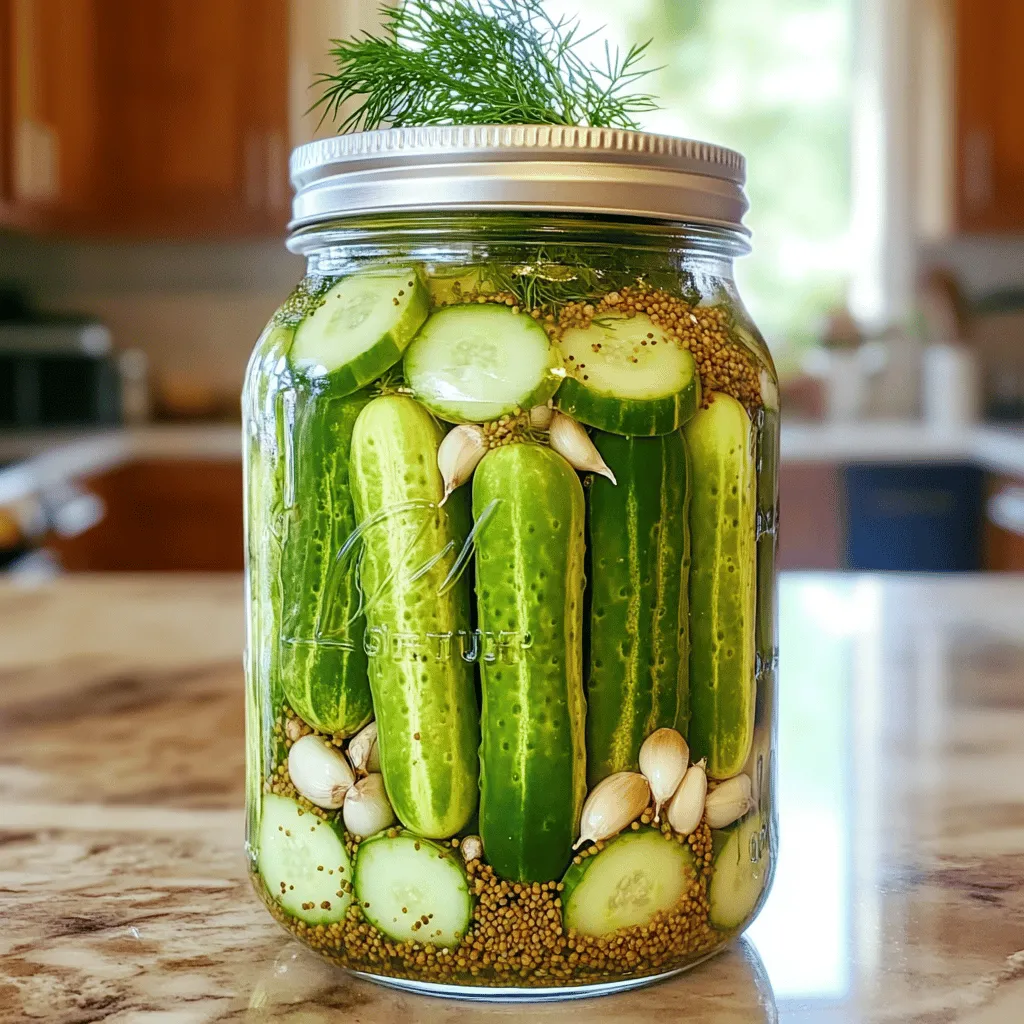
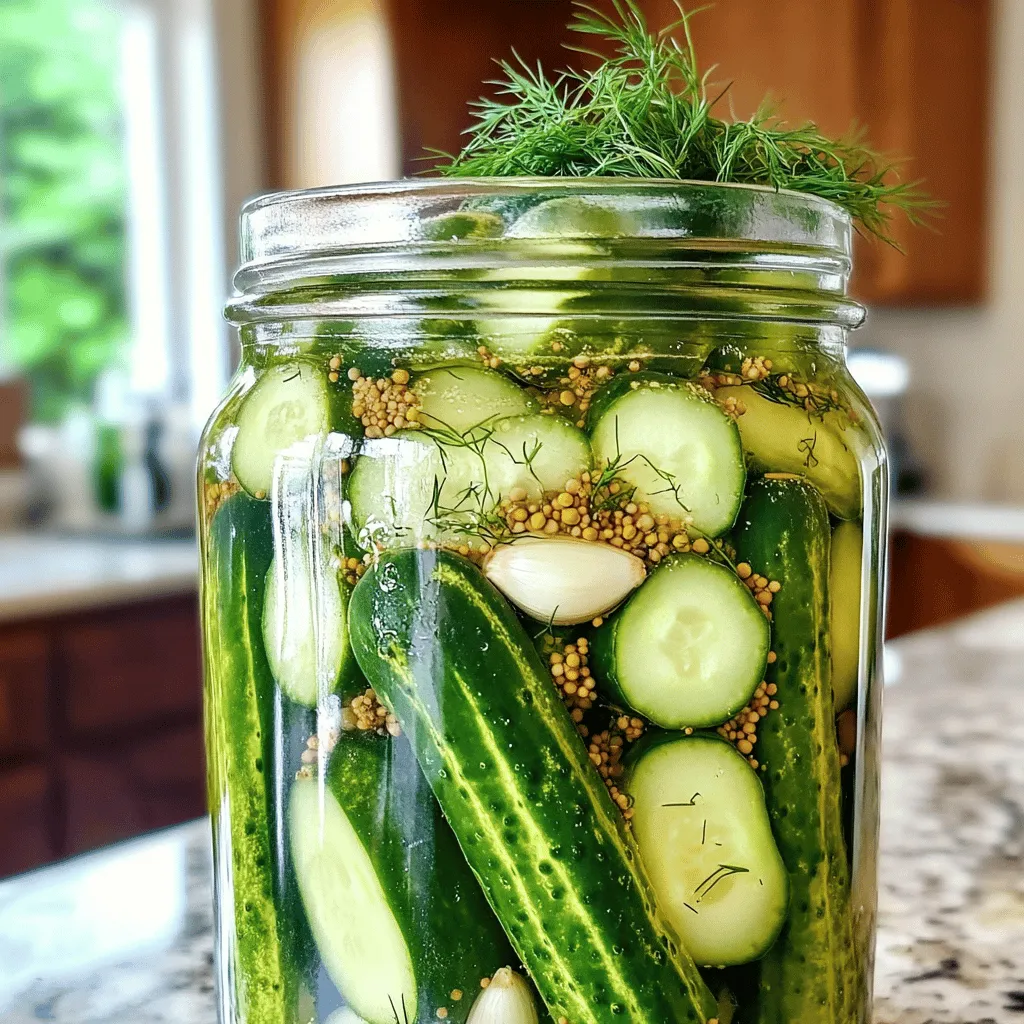
Garlic Dill Refrigerator Pickles are easy to make. Start with fresh cucumbers. You can slice them into spears or rounds. I like to use medium-sized cucumbers because they hold their crunch well. The garlic adds a strong flavor that pairs nicely with dill.
Next, gather your spices. Mustard seeds and black peppercorns add depth. The sugar balances the tang from the vinegar. Using both white vinegar and water helps create the brine. It’s important to measure these ingredients for the best taste.
If you like a kick, consider adding red pepper flakes. For a twist, try fresh herbs like thyme or cilantro. These add unique flavors that make your pickles stand out.Prepare to enjoy your homemade pickles as a great snack or side dish!
Step-by-Step Instructions
Prepping the Cucumbers
Start by washing the cucumbers well under cold water. It is key to remove any dirt. After washing, slice the cucumbers into either spears or rounds. Spear cuts give a crunchy bite, while rounds offer a classic look. Choose the shape you like best.
Assembling Ingredients in the Jar
Grab a clean glass jar, at least one quart in size. Place the peeled and crushed garlic cloves at the bottom. Next, add the mustard seeds, black peppercorns, dill seeds, and salt. Layering these spices adds depth. Now, pack the cucumber slices tightly into the jar over the spices. This helps the flavors mix well.
Making the Pickling Brine
In a medium saucepan, mix water, distilled white vinegar, and sugar. Stir the mixture and bring it to a gentle boil. Keep stirring until the sugar dissolves fully. Once it boils, remove it from heat and let it cool for a few minutes. This step is crucial for the right brine.
Finalizing the Pickles
Carefully pour the cooled pickling brine over the cucumbers in the jar. Make sure they are fully submerged. Press down on the cucumbers gently if needed. Seal the jar tightly. Allow it to cool to room temperature before putting it in the fridge. For the best flavor, chill the pickles for at least 24 hours.
Tips & Tricks
Best Practices for Crunchy Pickles
To get the best crunch from your pickles, choose the right cucumber. I like to use Kirby cucumbers. They are small and firm, which makes them perfect for pickling. If you can’t find Kirbys, look for pickling cucumbers. They hold their shape well and taste great.
Fresh ingredients are key. Use cucumbers that are crisp and firm. Check for blemishes or soft spots. Fresh garlic also adds a punch to the flavor. The better the ingredients, the better the pickles.
Enhancing Flavor
Let your pickles chill for at least 24 hours. This time allows the flavors to blend well. The longer they sit, the better they taste. I often wait two or three days for the best flavor.
You can add more herbs and spices to change the taste. Try fresh dill, red pepper flakes, or even bay leaves. Experiment and find what you like best!
Common Mistakes
One mistake is overpacking the jar. If you stuff too many cucumbers in, they won’t soak up the brine. Keep them snug but not forced. This way, they will absorb the flavors well.
Another common error is skipping the cooling step before refrigeration. Always let the brine cool to room temp. This helps the pickles stay crisp and tasty. If you put hot brine on the cucumbers, they may become soft.
Variations
Spicy Garlic Dill Pickles
To make your pickles spicy, you can add fresh chili peppers or a splash of hot sauce. Slice the peppers and add them with the garlic. You can also toss in black peppercorns for an extra kick. This will give your pickles a delightful heat that pairs well with sandwiches.
Sweet Garlic Dill Pickles
If you want a sweeter flavor, adjust the sugar in your brine. Try adding two tablespoons instead of one. You can also switch up the vinegar. Using apple cider vinegar can create a different taste. This sweetness balances well with the garlic and dill.
Herb-Infused Pickles
For a fresh twist, use thyme, bay leaves, or cilantro. Simply add the herbs to the jar with the cucumbers. You can try different fresh herbs to see what you like best. This adds layers of flavor to your pickles and makes them unique.
Storage Info
Best Storage Practices
Using a clean glass jar is key for storing your pickles. It keeps the pickles safe and fresh. Always wash the jar with hot, soapy water. Rinse it well to remove any soap. After packing your pickles, seal the jar tightly. This helps keep air out and flavor in.
Shelf Life of Pickles
Garlic dill refrigerator pickles taste best within two weeks. They can last up to a month in the fridge. Look for signs of spoilage, like bubbles or a strange smell. If you see mold, throw them away right away. Always trust your senses when it comes to food safety.
Freezing vs. Refrigerating
Freezing pickles is an option, but it changes texture. Frozen pickles may become soft and mushy when thawed. Refrigerating keeps them crunchy and fresh. Choose refrigeration for the best taste and texture. Save freezing for when you have too many cucumbers to use at once.
FAQs
How long do Garlic Dill Refrigerator Pickles last?
Garlic dill refrigerator pickles last about two months in the fridge. Store them in a clean jar with a tight lid. Keep an eye on the pickles for signs of spoilage, such as mold or off smells. If you notice any, it’s best to discard them. The taste may also change over time. The brine should stay clear, and the cucumbers should remain crunchy.
Can I reuse the pickling brine?
You can reuse pickling brine, but be cautious. If you choose to reuse it, make sure it is still clear and smells fresh. Using old brine can lead to off flavors or spoilage. You can also add fresh spices and garlic for a new batch. Just remember, the brine will be less potent than the first use.
What can I serve Garlic Dill Refrigerator Pickles with?
Garlic dill refrigerator pickles are great with many meals. Serve them as a crunchy side with sandwiches or burgers. They add a nice contrast to rich dishes. You can also enjoy them as a snack on their own. For a fun twist, try adding pickles to a charcuterie board. They pair well with cheese, meats, and olives.
How can I make them less salty?
To make your pickles less salty, reduce the salt in the brine. Start with half the amount and taste as you go. You can also soak the cucumber slices in water for an hour before pickling. This helps draw out some saltiness. Another option is to add more sugar to balance the flavors.
You can easily make delicious garlic dill pickles at home. We covered all the key steps, from choosing fresh ingredients to storing your pickles for the best taste. Don’t forget to experiment with different flavors and spices to find your perfect mix. Follow the tips for crunchy pickles and avoid common mistakes for great results. Enjoy your tasty treats as snacks or with meals. Now, go make your first batch of pickles and savor the fresh, tangy flavors. Happy pickling!