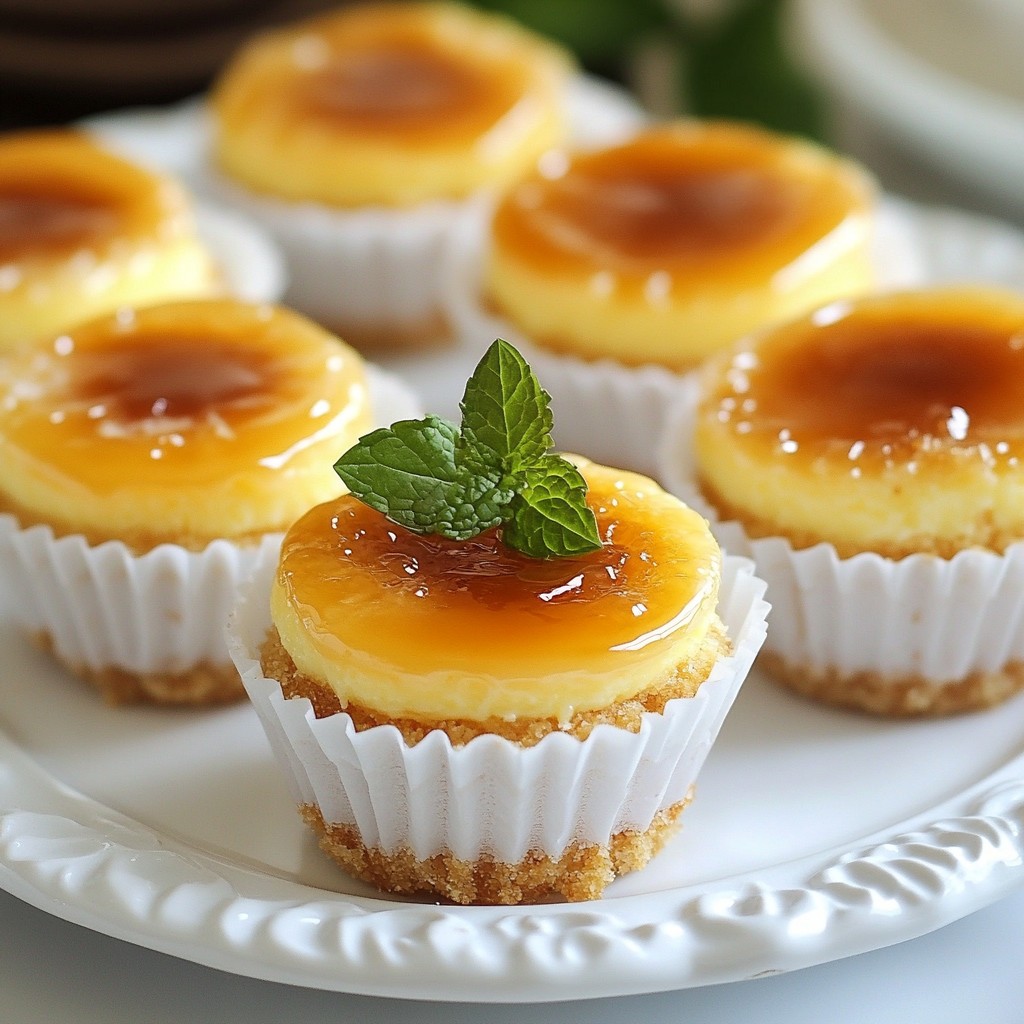
Looking for a show-stopping dessert this holiday season? The Festive Red Velvet Cheesecake is just the treat you need to impress your friends and family. With its vibrant color and rich flavor, this cheesecake combines the classic red velvet cake with a creamy, delightful cheesecake layer. Get ready to dive into a step-by-step guide that will transform your holidays into a sweet celebration! Let’s get baking!
Why I Love This Recipe
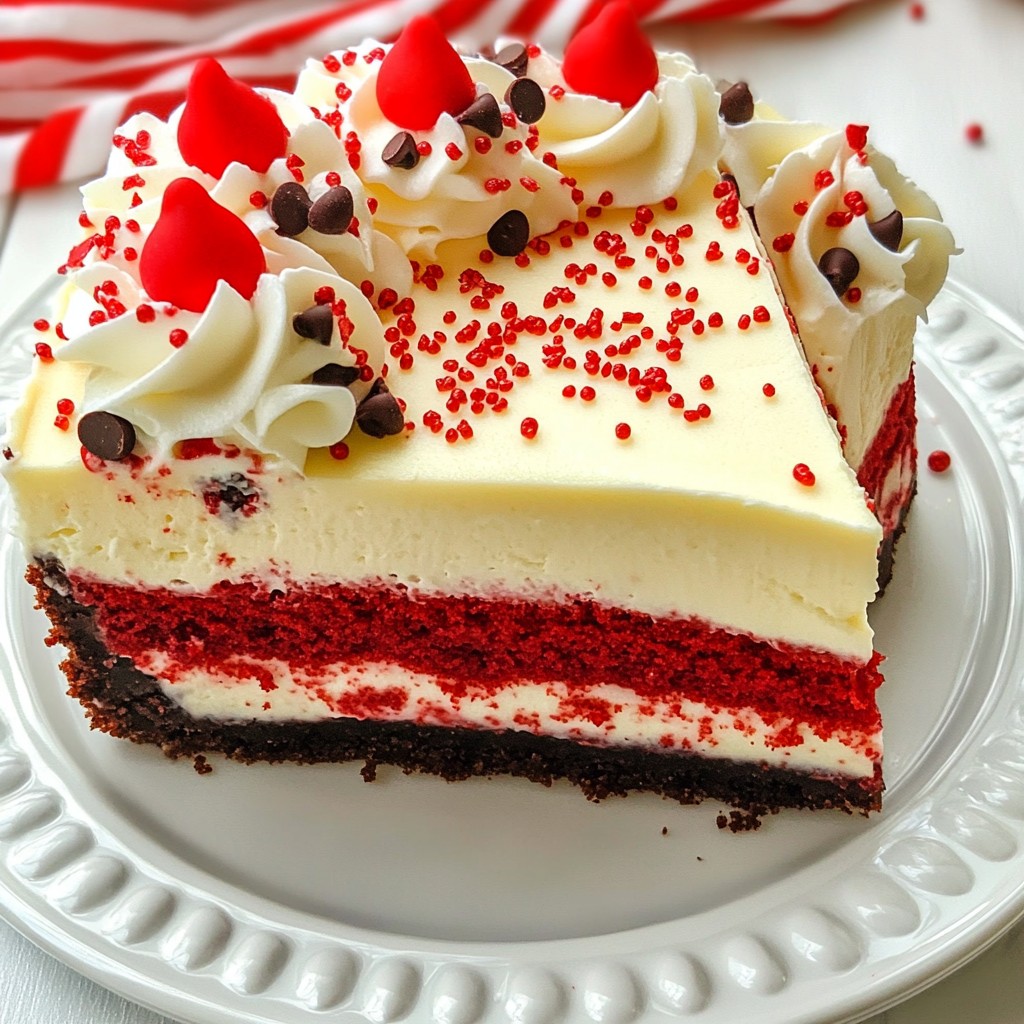
- Festive Flavor: This cheesecake captures the essence of celebration with its vibrant red color and rich cream cheese filling, making it perfect for any festive occasion.
- Decadent Texture: The combination of the moist red velvet cake layer and the smooth cheesecake creates a delightful contrast that melts in your mouth.
- Customizable Toppings: Add your favorite garnishes like chocolate chips or sprinkles to personalize your cheesecake and make it uniquely yours.
- Impressive Presentation: This stunning dessert is sure to impress your guests with its beautiful layers and festive look, making it a showstopper at any gathering.
Ingredients
Main Ingredients
- 2 cups red velvet cake mix
- 8 oz cream cheese, softened
- 1 cup granulated sugar
Additional Ingredients
- 1 cup sour cream
- 3 large eggs
- 1 teaspoon vanilla extract
Optional Garnishes
- 1/2 cup chocolate chips
- Red and white sprinkles
- 1 tablespoon powdered sugar (for whipped cream)
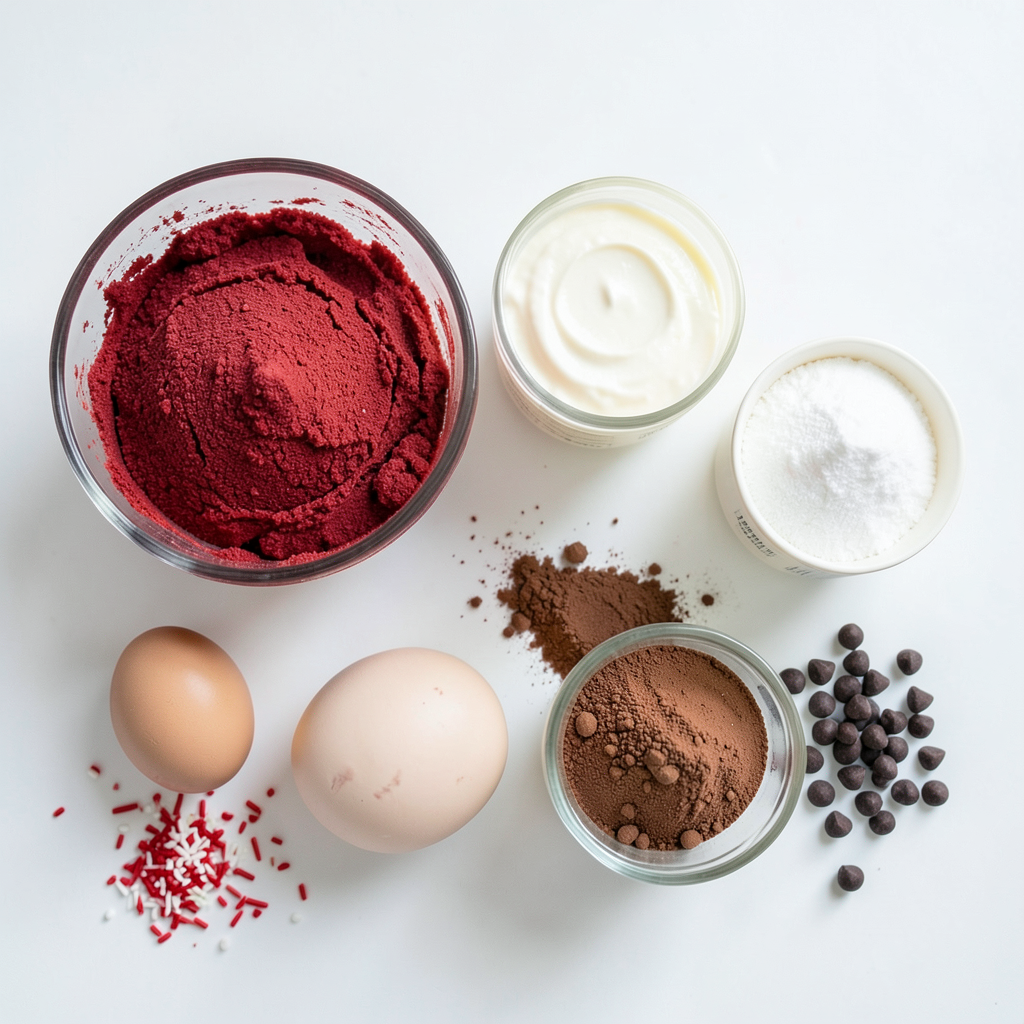
The main ingredients for this festive red velvet cheesecake create a rich and creamy treat. The red velvet cake mix gives it that beautiful color and flavor. Cream cheese adds a smooth texture. Granulated sugar sweetens the filling just right.
Additional ingredients round out the cheesecake. Sour cream adds a slight tang. Eggs help bind the filling and make it fluffy. Vanilla extract gives a warm flavor that enhances all the other ingredients.
You can add optional garnishes for extra flair. Chocolate chips add a fun crunch. Red and white sprinkles give a festive look. A dusting of powdered sugar on whipped cream completes the dessert perfectly. This combination makes your cheesecake not only tasty but also beautiful for any holiday table!
Step-by-Step Instructions
Preparing the Cake Layer
First, preheat your oven to 350°F (175°C). Grease a 9-inch springform pan and line it with parchment paper. In a large bowl, mix together the red velvet cake mix, 3 large eggs, 1/2 cup of water, and 1/4 cup of vegetable oil. Beat this mix on medium speed for about 2 minutes. You want it to be well blended.
Baking the Cake
Next, pour the red velvet batter into the greased pan. Bake it in the oven for 25 to 30 minutes. To check if it's done, insert a toothpick into the center. If it comes out clean, the cake is ready. Let the cake cool completely in the pan before moving on.
Making the Cheesecake Filling
While the cake cools, prepare the cheesecake filling. In another bowl, beat 8 oz of softened cream cheese until smooth. Gradually add 1 cup of granulated sugar while mixing until creamy. Then, add 1 cup of sour cream, 3 large eggs, 1 teaspoon of vanilla extract, and 1/4 cup of unsweetened cocoa powder. Mix until everything is just combined.
Assembling and Baking the Cheesecake
Once the red velvet cake is cool, pour the cheesecake filling over it in the springform pan. Use a spatula to smooth the top. Tap the pan gently on the counter to release any air bubbles. Bake the cheesecake in the oven at 325°F (160°C) for 60 to 70 minutes. It should be set around the edges but still wobbly in the center. Turn off the oven and leave the cheesecake inside for another hour.
Chilling the Cheesecake
After the cheesecake has cooled at room temperature, refrigerate it for at least 4 hours. For the best taste, leave it overnight.
Preparing and Serving the Whipped Cream
To make the whipped cream, take a chilled mixing bowl and beat 1 cup of heavy whipping cream until soft peaks form. Add 1 tablespoon of powdered sugar and whip until stiff peaks form. When ready to serve, carefully remove the cheesecake from the springform pan. Spread the whipped cream over the top. You can garnish with chocolate chips and red and white sprinkles as desired.
Tips & Tricks
Baking Tips
- Ensuring a moist cheesecake: To keep your cheesecake moist, do not overbake it. You want it set around the edges but still a bit jiggly in the center. This ensures the cheesecake remains creamy. Another key is to cool it slowly. After baking, turn off the oven and leave it inside for an hour. This helps prevent cracks.
- Proper cooling techniques: Let your cheesecake cool at room temperature before refrigerating. Quickly chilling it can cause cracks. Once cool, cover it with plastic wrap and chill for at least four hours. Overnight is best for flavors to blend well.
Decorating Ideas
- Festive presentation options: When serving your cheesecake, top it with whipped cream. Use a spatula to spread it evenly. Add red and white sprinkles for a festive touch. You can also create a pattern with chocolate chips for an eye-catching look.
- Alternative garnishes: If you want more flavor, try fresh berries or a drizzle of chocolate sauce. A sprinkle of crushed nuts can add texture. Use edible gold or silver dust to make it extra special for the holidays.
Common Mistakes to Avoid
- Overmixing the batter: Mix the cheesecake filling just until combined. Overmixing can add too much air and lead to cracks in your cheesecake. Use a spatula to fold in ingredients gently.
- Underbaking the cheesecake: Be sure to bake it long enough. If the center looks too wobbly, it needs more time. An underbaked cheesecake can turn out too soft and not hold its shape.
Pro Tips
- Use Room Temperature Ingredients: Ensure your cream cheese and eggs are at room temperature for a smooth and creamy cheesecake filling.
- Don’t Overmix: When combining the cheesecake filling ingredients, mix just until combined to avoid incorporating too much air, which can cause cracks during baking.
- Water Bath Method: For an ultra-smooth cheesecake, consider baking your cheesecake in a water bath. Wrap the springform pan in foil and place it in a larger pan filled with hot water.
- Chill Overnight: Allowing the cheesecake to chill overnight enhances the flavors and makes it easier to slice.
Variations
Flavor Variations
You can add fun twists to your festive red velvet cheesecake. Here are two ideas:
- Chocolate red velvet cheesecake: Mix in extra cocoa powder for a richer taste. This adds depth and makes the cheesecake even more indulgent.
- Vanilla white chocolate twist: Blend in melted white chocolate and vanilla extract. This creates a smooth, sweet flavor that complements the red velvet nicely.
Dietary Modifications
If you have dietary needs, you can still enjoy this cheesecake:
- Gluten-free options: Use a gluten-free red velvet cake mix. Make sure all other ingredients are also gluten-free.
- Dairy-free alternatives: Replace cream cheese with a dairy-free cream cheese. Use coconut cream instead of sour cream for a tasty swap.
Seasonal Themes
Make your cheesecake fit any occasion with these ideas:
- Holiday-themed decorations: Top your cheesecake with red and white sprinkles. Add festive berries or edible glitter for a joyful look.
- Birthday and celebration variations: Personalize it with themed decorations. Use colorful sprinkles or a favorite character cake topper to make it special.
Storage Info
How to Store Leftovers
To keep your festive red velvet cheesecake fresh, store it in the fridge. Cover it well with plastic wrap or aluminum foil. This will help keep it moist and prevent it from absorbing other smells. It can last in the fridge for about 3 to 5 days.
If you want to save it for longer, you can freeze it. Wrap each slice in plastic wrap, then place them in a freezer-safe bag. Make sure to remove as much air as possible. It will stay good in the freezer for up to 3 months.
Shelf Life
How long does the cheesecake last? In the fridge, your cheesecake will be tasty for 3 to 5 days. If you freeze it, it can last for about 3 months.
Watch for signs of spoilage. If you see any mold or if it smells off, it’s best to throw it out. A change in texture can also mean it's time to say goodbye.
How to Reheat or Refresh
If you freeze your cheesecake, you need to defrost it before serving. Take it out of the freezer and place it in the fridge for about 6 to 8 hours. This will help it thaw slowly and keep its taste.
Once it’s thawed, you can serve it cold or let it sit at room temperature for 30 minutes before eating. You can add a fresh layer of whipped cream on top to make it look new. Enjoy it with friends and family for a tasty treat!
FAQs
Can I use a different cake mix?
Yes, you can use other cake mixes. Chocolate cake mix works well. You can also try vanilla cake mix for a lighter flavor. Red velvet remains the best choice for color and taste. Mix and match for fun flavors!
What can I substitute for sour cream?
If you need a substitute for sour cream, try Greek yogurt. It has a similar texture and taste. For a dairy-free option, use coconut yogurt or silken tofu. These options keep the cheesecake creamy and tasty.
How do I prevent cracks in my cheesecake?
To avoid cracks, make sure to bake at a low temperature. Don't open the oven while baking. Let your cheesecake cool in the oven. This gradual cooling helps reduce cracks. Also, a water bath can help keep it smooth.
Can I make this recipe ahead of time?
Absolutely! You can make this cheesecake one to two days in advance. Just be sure to chill it well. Store it in the fridge until you are ready to serve. This gives the flavors time to blend and taste even better!
This post covered how to make a red velvet cheesecake. You learned about the key ingredients, step-by-step baking, and creative ways to personalize the recipe. Don’t forget the tips for perfecting your dessert and storing leftovers. Whether you’re baking for a celebration or just because, this cheesecake is sure to impress. Enjoy experimenting with flavors and garnishes. Trust me, it's worth a try. Your taste buds will thank you!