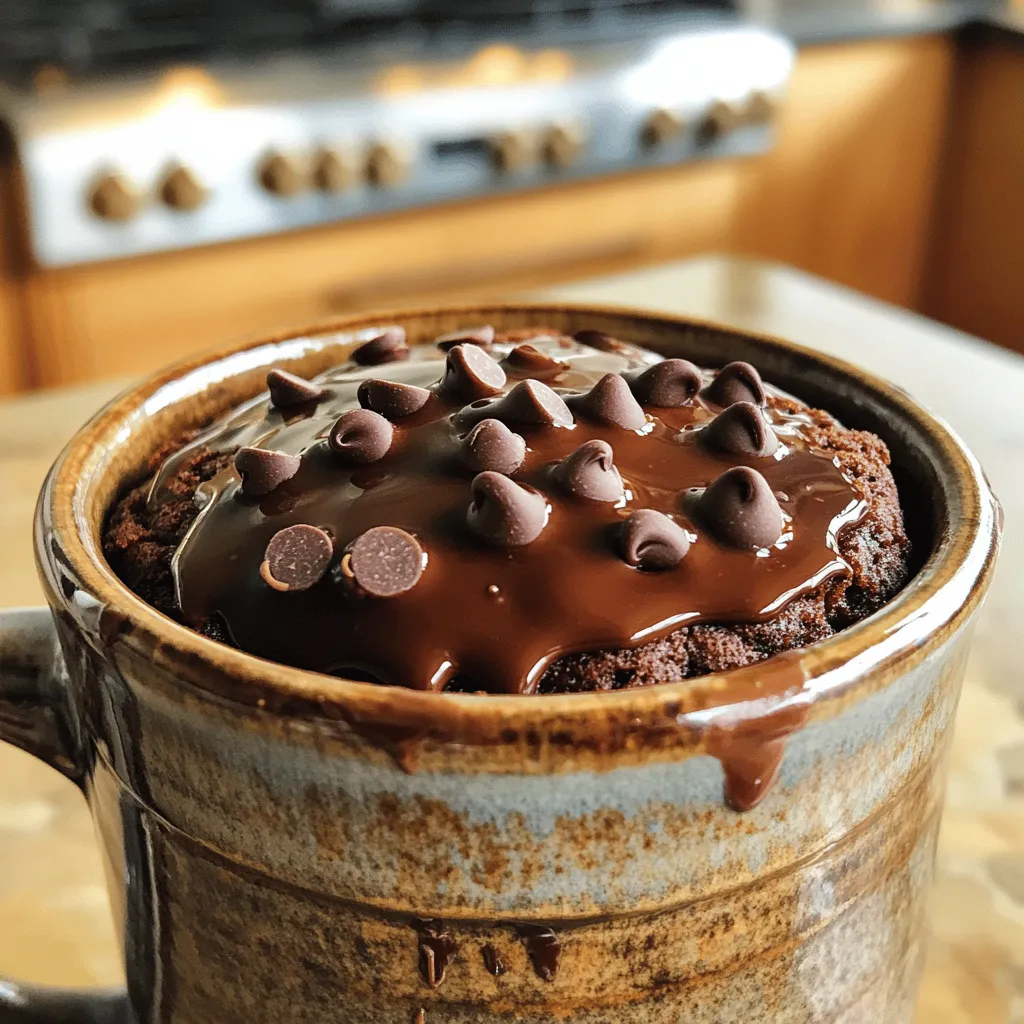
Are you craving a quick dessert that feels like a treat from a fancy café? Look no further! This Decadent Chocolate Lava Mug Cake recipe gives you that warm, gooey center in just minutes and with just a few simple ingredients. Whether you’re a beginner or an experienced cook, this cake will impress your taste buds. Dive into this easy recipe and indulge yourself in chocolate heaven!
Ingredients
List of Required Ingredients
– 4 tablespoons all-purpose flour
– 4 tablespoons granulated sugar
– 2 tablespoons unsweetened cocoa powder
– 1/8 teaspoon baking powder
– 1/8 teaspoon salt
– 3 tablespoons milk
– 2 tablespoons vegetable oil
– 1/2 teaspoon vanilla extract
– 1 tablespoon chocolate chips (plus extra for melting)
To make this chocolate lava mug cake, gather these ingredients. Each one plays a key role in creating that rich, molten center. I love using all-purpose flour for its versatility. Granulated sugar adds sweetness, while cocoa powder brings that deep chocolate flavor.
The baking powder helps the cake rise. Salt enhances all the flavors. Milk keeps the cake moist, and vegetable oil gives it a tender crumb. Vanilla extract adds a nice touch of warmth. Finally, the chocolate chips create that gooey center that makes this cake a true delight.
Once you have everything ready, you can move on to making this quick and easy treat.
Step-by-Step Instructions
Preparation of Dry Ingredients
– Combine 4 tablespoons of flour, 4 tablespoons of sugar, 2 tablespoons of cocoa powder, 1/8 teaspoon of baking powder, and 1/8 teaspoon of salt in a microwave-safe mug.
– Mix well until you see no lumps. This step is key to a smooth cake.
Mixing Wet Ingredients
– Next, add 3 tablespoons of milk, 2 tablespoons of vegetable oil, and 1/2 teaspoon of vanilla extract to the dry mix.
– Stir until the mixture is smooth and well combined. This ensures even blending of flavors.
Baking the Mug Cake
– Gently fold in 1 tablespoon of chocolate chips into the batter. Make sure they spread evenly.
– Then, create a small indent in the center of the batter. Place a few extra chocolate chips into this indent.
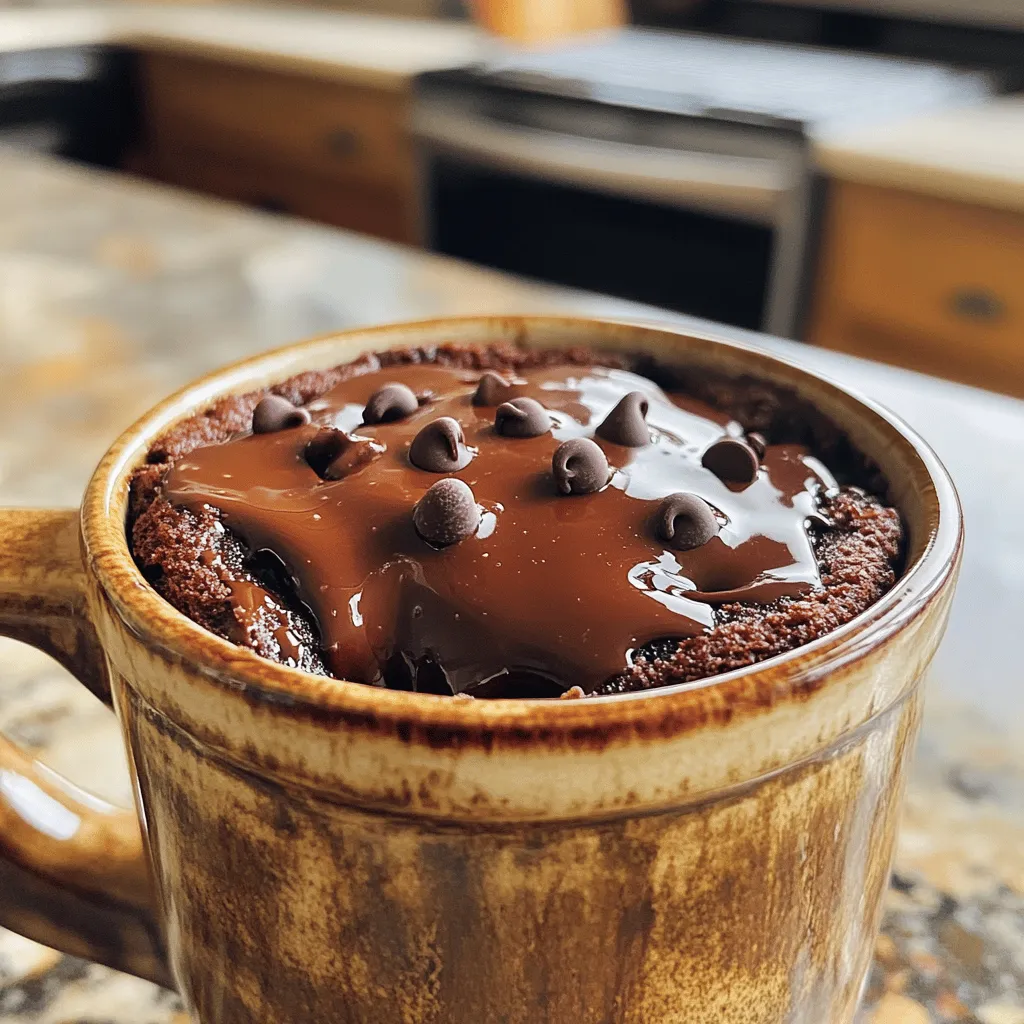
– Microwave the mug on high for 40-60 seconds. Watch closely as it cooks. The edges should look set, but the center should stay soft.
– Let the mug cake cool for about 1 minute before serving. This helps the molten center to set slightly for the best lava effect.
Tips & Tricks
Achieving the Perfect Texture
To get the best texture in your mug cake, avoid overcooking. The goal is a soft center that flows like lava. Microwaves vary a lot, so timing is key. For most microwaves, 40 to 60 seconds works well. Start with 40 seconds. Check if the edges are set, but the center is still soft. If it needs more time, add 10 seconds. Keep an eye on it!
Enhancing Flavor
You can switch up the vanilla if you want. Almond extract gives a nice twist. You could also use flavored syrups for a different taste. For toppings, think about adding a scoop of ice cream or whipped cream. Fresh berries add a fun pop of flavor and color. You can even mix in nuts or peanut butter for extra crunch. Each choice can make your mug cake special!
Variations
Healthier Alternatives
You can make this chocolate lava mug cake healthier. Try using whole wheat flour instead of white flour. Whole wheat adds fiber and nutrients. You can also swap granulated sugar for a sugar substitute. Options like stevia or monk fruit work well. If you need dairy-free choices, almond milk or oat milk are great. They keep the cake moist and tasty.
Gourmet Twists
To give your cake a gourmet touch, consider adding espresso powder. It brings out the chocolate flavor. Just a pinch will make your cake taste like a rich mocha. You can also mix in fruits or nuts. Chopped walnuts or raspberries add texture and flavor. Just fold them into the batter before microwaving. These twists make your mug cake special and fun to enjoy!
Storage Info
Best Practices for Leftovers
If you have leftover batter, you can store it in the fridge for up to two days. Make sure to cover the mug with plastic wrap or a lid. This keeps the batter fresh and ready for later. If you bake the cake and have leftovers, let it cool first. Then, place it in an airtight container. You can keep it in the fridge for about three days.
Want to enjoy it later? You can freeze the mug cake too! Wrap it tightly in plastic wrap. Then, place it in a freezer bag. It will stay good for about a month. When you want to eat it, just thaw it in the fridge overnight.
Reheating Instructions
To reheat your mug cake, use the microwave. Place the mug cake in the microwave for about 10 to 15 seconds. Check the cake to see if it is warm enough. If it needs more heat, add a few more seconds. Make sure to not overheat it. This keeps the soft, molten center nice and gooey.
If you freeze the mug cake, let it thaw first. After thawing, reheat it the same way. Enjoy that warm, chocolaty goodness!
FAQs
How do I know when my chocolate lava mug cake is done?
You can tell your mug cake is done when it rises well. The edges should be firm. The center should look soft and slightly wet. Be careful not to overcook it. If you microwave it too long, you lose the lava effect.
Can I make a larger batch of this recipe?
Yes, you can make a larger batch. Just multiply the ingredients by how many servings you want. Use a larger bowl instead of a mug. You will need to adjust the cooking time. Start with one minute and check if it is done.
What other toppings pair well with chocolate lava mug cake?
You can add many tasty toppings. Ice cream is a great choice. It melts into the warm cake. Whipped cream adds a light touch. Fresh fruits like berries or bananas taste amazing too. Try mixing and matching for fun flavors!
You learned how to make a chocolate lava mug cake. We covered the needed ingredients, step-by-step instructions, and tips for perfecting your cake. You can try variations for a healthier or gourmet treat. Proper storage and reheating can keep your cake tasty.
Enjoy experimenting with this easy recipe! A warm mug cake is quick and fun to make. It’s a great dessert for any time. Treat yourself or share it with friends. Happy baking!