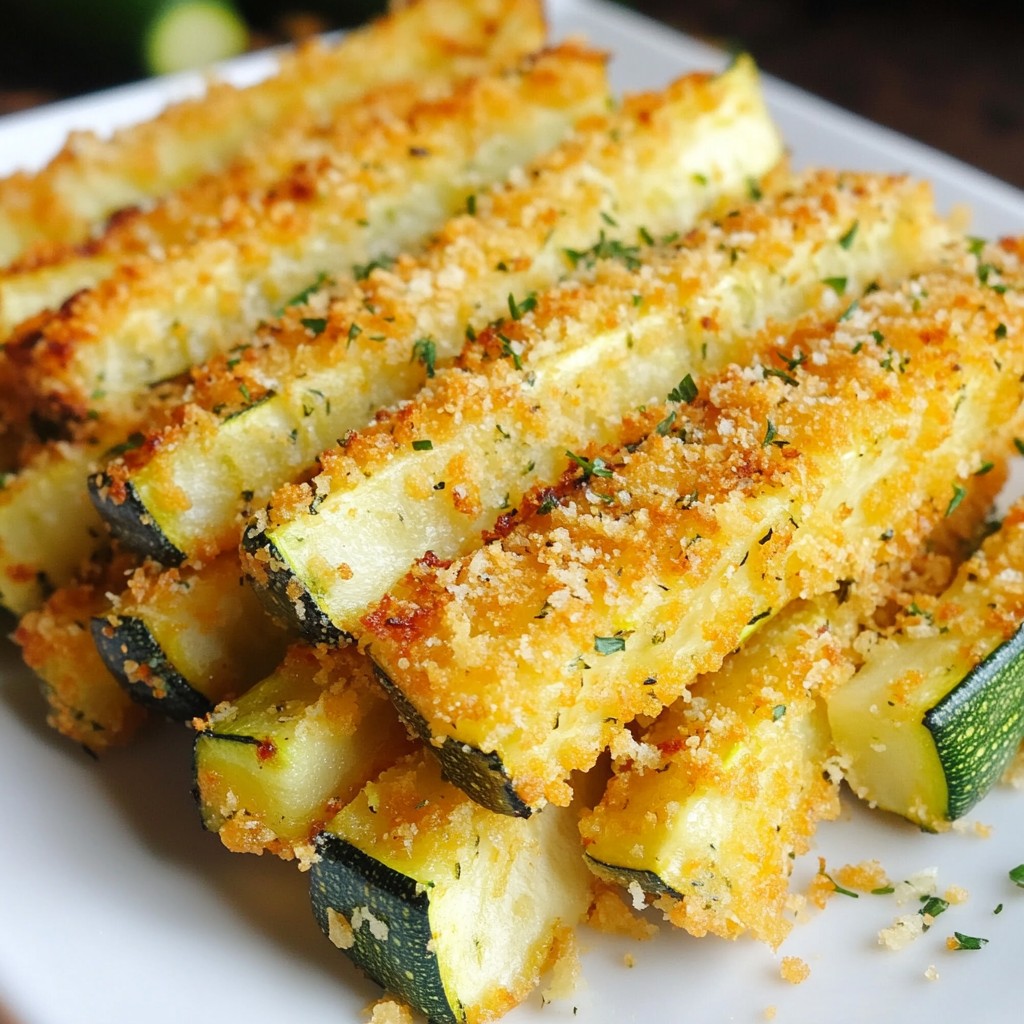
Are you ready to elevate your snack game? Crispy Fried Cheese Bites are fun, easy to make, and oh so tasty! In this article, I'll share the best cheese types, secrets for the perfect crisp, and how to keep them fresh. Whether you're hosting a party or just craving a simple treat, these bites will satisfy! Let’s dive into the delicious world of crispy perfection together!
Why I Love This Recipe
- Easy to Make: This recipe requires minimal ingredients and is straightforward, making it perfect for cooks of all skill levels.
- Perfect for Snacking: These crispy cheese bites are an ideal snack for parties, game days, or just a cozy night in.
- Customizable: You can easily switch up the cheese types or add spices to cater to your taste preferences.
- Deliciously Indulgent: Fried cheese is always a crowd-pleaser, delivering a satisfying crunch and gooey center that everyone loves.
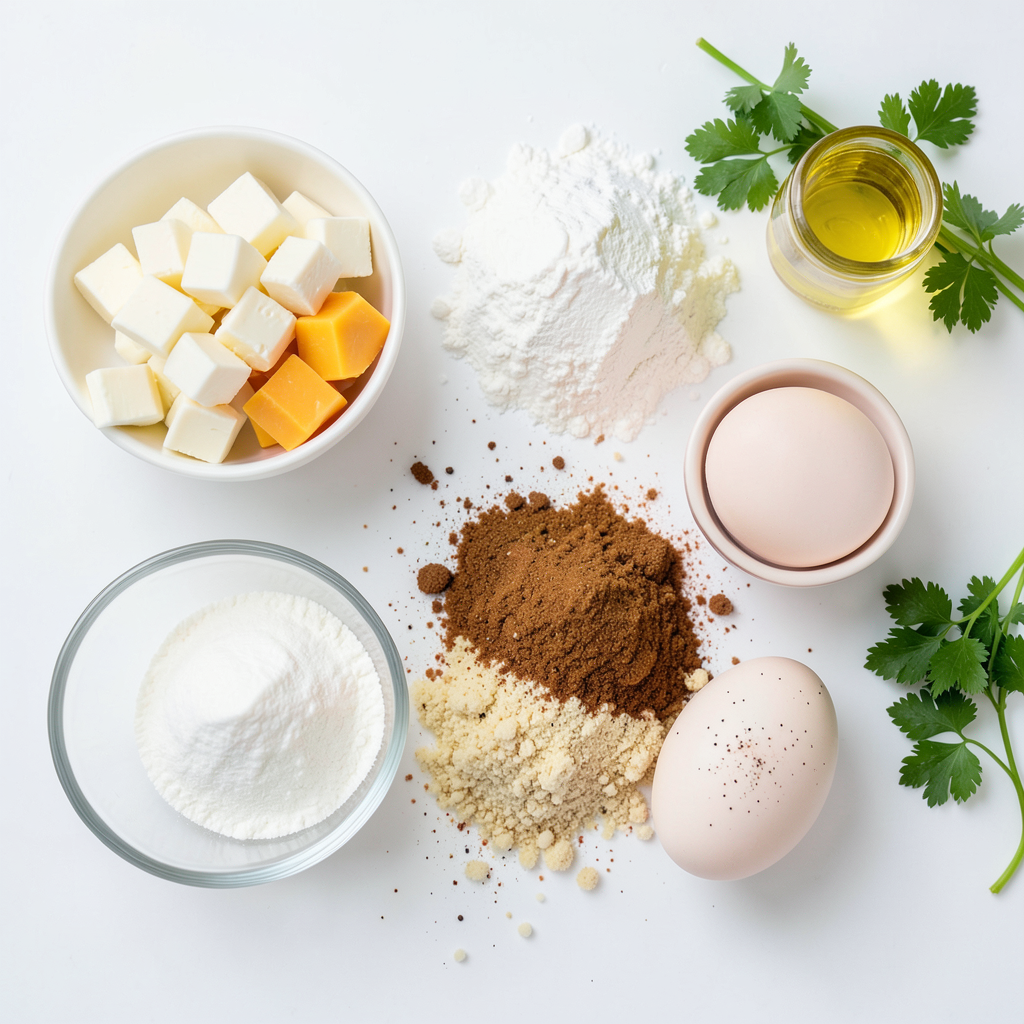
Ingredients
Cheese Varieties
For these crispy fried cheese bites, I love using a mix of mozzarella and cheddar.
- 1 cup mozzarella cheese, cut into 1-inch cubes
- 1 cup cheddar cheese, cut into 1-inch cubes
These cheeses melt well and create a tasty, gooey center. You can also try gouda or pepper jack for a fun twist.
Dry Ingredients
The dry ingredients create a great coating. They give the bites a nice crunch.
- 1 cup all-purpose flour
- 1 cup breadcrumbs (preferably panko for extra crunch)
You can use gluten-free flour and breadcrumbs if needed.
Seasoning & Dipping Sauce Options
Seasoning adds flavor. I use a mix that really boosts the taste.
- 1 teaspoon garlic powder
- 1 teaspoon onion powder
- ½ teaspoon smoked paprika
- Salt and pepper to taste
For dipping, marinara or ranch pairs well. You can also try honey mustard or a spicy aioli for extra zing.
Step-by-Step Instructions
Preparing the Cheese
First, you need to freeze the cheese cubes. I recommend freezing them for about 30 minutes. This step is key. It helps keep the cheese shape while frying. If you skip this, the cheese may melt too fast.
Setting Up the Dredging Station
Next, set up your dredging station. Grab three shallow bowls. In the first bowl, mix the flour with garlic powder, onion powder, smoked paprika, salt, and pepper. In the second bowl, crack the eggs and beat them until smooth. Finally, fill the third bowl with breadcrumbs. Panko works best for a crispy bite.
Cooking Tips for Frying
Now it's time for cooking. Heat vegetable oil in a deep frying pan. Aim for a temperature of about 350°F (175°C). To test if the oil is ready, drop a small piece of bread in. It should sizzle and turn golden brown in about 30 seconds.
Carefully add a few cheese cubes to the hot oil. Fry them for about 1-2 minutes. They should look golden brown and crispy. Don’t overcrowd the pan, or the cheese bites won’t fry evenly. Once they are done, use a slotted spoon to take them out. Place them on a plate lined with paper towels. This helps soak up extra oil.
Tips & Tricks
Achieving the Perfect Crispiness
To get the best crunch, follow these tips. First, freeze the cheese cubes for 30 minutes. This helps them hold shape while frying. Use panko breadcrumbs for extra crispy bites. They are light and airy, which gives a great texture. Always heat the oil to 350°F (175°C). Too cool oil can make your bites soggy. Fry in small batches to avoid crowding. This allows even cooking and crisping.
Alternative Frying Methods
If you want to try different ways, consider these methods. You can use an air fryer for less oil. Set it to 375°F (190°C) and cook for about 8 to 10 minutes. Check them halfway through and shake the basket. Another option is baking them. Preheat your oven to 400°F (200°C). Place the cheese bites on a baking sheet lined with parchment paper. Bake for about 15 to 20 minutes, flipping halfway through.
Common Mistakes to Avoid
Avoid these common mistakes for the best results. Do not skip freezing the cheese. It’s key to keeping the cubes intact. Make sure to coat the cheese fully in flour, eggs, and breadcrumbs. If you miss a spot, they may fall apart. Use enough oil for frying. If the oil is too low, the bites won’t cook evenly. Lastly, don’t rush the frying process. Let them get golden brown for that perfect crunch.
Pro Tips
- Freeze for Firmness: Freezing the cheese cubes for about 30 minutes is crucial. It helps maintain their shape during frying, preventing them from melting too quickly.
- Season the Flour: Don't skip seasoning the flour mixture! Adding garlic powder, onion powder, and smoked paprika enhances the flavor of the cheese bites significantly.
- Panko Breadcrumbs for Crunch: Using panko breadcrumbs instead of regular breadcrumbs gives the cheese bites an extra crunch, making them even more irresistible.
- Dipping Sauce Variations: Experiment with different dipping sauces like spicy aioli, honey mustard, or ranch to elevate your cheese bites and cater to various taste preferences.
Variations
Different Cheese Combinations
You can mix and match cheeses for fun flavors. Mozzarella and cheddar are classic, but try pepper jack for heat. Gouda adds a creamy touch, while parmesan gives a nice bite. Each cheese brings its own taste, making your bites unique.
Baked vs. Fried Options
Frying gives a golden, crispy shell. Baked cheese bites are lighter but still tasty. To bake, preheat your oven to 400°F. Place cheese bites on a baking sheet and spray with oil. Bake for 15-20 minutes until golden. Both methods work, so choose your favorite!
Flavor Additions
Add spices to kick up the flavor. Try cayenne for heat or Italian herbs for a fresh taste. You can also mix in some chopped jalapeños for extra zing. Experimenting with flavors makes these cheese bites your own. Enjoy the creative process!
Storage Info
Storing Leftovers
To store leftovers, let the cheese bites cool completely. Place them in an airtight container. They can stay fresh in the fridge for up to three days. Don’t forget to separate layers with parchment paper. This helps prevent them from sticking together.
Reheating Tips
When you’re ready to eat, preheat your oven to 350°F (175°C). Place the cheese bites on a baking sheet. Bake for about 10 minutes or until they are hot and crispy again. Avoid using the microwave. It can make them soggy, and we want that crunch!
Freezing Instructions
To freeze, first cool the cheese bites completely. Arrange them in a single layer on a baking sheet. Freeze for about two hours, then transfer them to a freezer bag. They can last up to three months in the freezer. When you're ready to eat, you can fry them straight from frozen. Just add a couple of extra minutes to the cooking time. Enjoy your crispy treat!
FAQs
What cheese is best for frying?
The best cheeses for frying are mozzarella and cheddar. They melt well and create a nice texture. Mozzarella gives you that gooey stretch. Cheddar adds a sharp taste that complements the dish. You can also try other cheeses like pepper jack or gouda for fun flavors.
Can I make Crispy Fried Cheese Bites in an air fryer?
Yes, you can use an air fryer for this recipe. This method gives you a healthier option. Preheat your air fryer to about 375°F (190°C). Place the coated cheese bites in a single layer in the basket. Cook for about 6-8 minutes, flipping halfway through. Keep an eye on them to avoid burning.
How can I make this recipe gluten-free?
To make this recipe gluten-free, swap the all-purpose flour with gluten-free flour. You can also use gluten-free breadcrumbs. Many brands offer good options now. Just make sure to check the labels for hidden gluten ingredients. This way, you can enjoy crispy bites without worry!
You learned about choosing cheese, dry ingredients, and sauces for your dish. I shared steps for preparing and frying cheese bites. We also covered tips for crispiness and common mistakes. You can try different cheese types and even bake them. Lastly, I gave advice on storage and reheating.
Remember, practice makes perfect. Experiment with flavors and methods. Enjoy making crispy fried cheese bites your way!