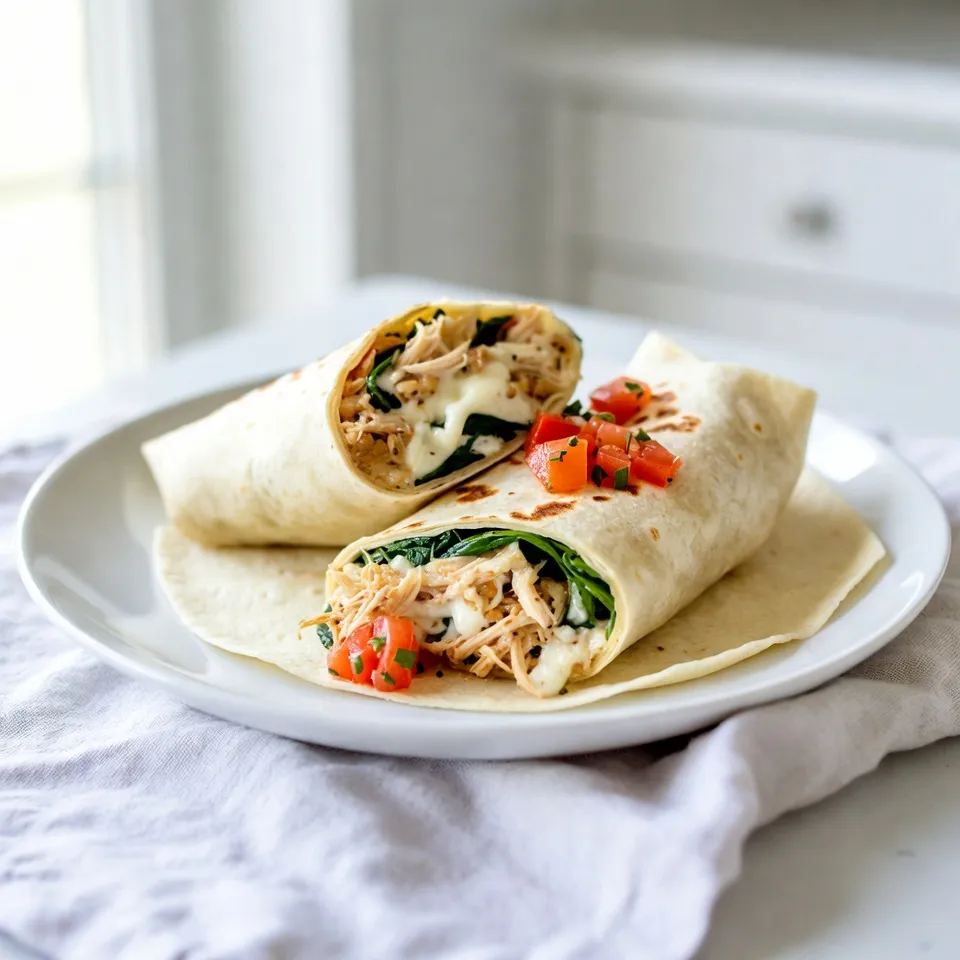
Looking for a quick and tasty meal? Cheesy Garlic Chicken Wraps are here to save the day! This simple recipe combines tender chicken, creamy cheese, and zesty garlic, all wrapped in a warm tortilla. Whether you need a lunch on the go or a satisfying dinner, this dish is both flavorful and easy to make. Let’s dive into the ingredients and get cooking!
Why I Love This Recipe
- Quick and Easy: This recipe comes together in just 25 minutes, making it perfect for busy weeknights.
- Cheesy Goodness: The combination of cream cheese and mozzarella creates a rich and creamy filling that’s irresistible.
- Customizable: You can easily swap out ingredients or add your favorite vegetables to make it your own.
- Perfect for Meal Prep: These wraps hold up well, making them ideal for lunches or quick snacks throughout the week.
Ingredients
Main Ingredients
– 2 cups cooked chicken, shredded or diced
– 1 cup shredded mozzarella cheese
– 1/2 cup cream cheese, softened
– 3 cloves garlic, minced
Additional Ingredients
– 1 tablespoon olive oil
– 1 teaspoon dried Italian herbs (oregano, basil, thyme)
– 4 large tortillas (flour or whole wheat)
– 1 cup fresh spinach leaves
– 1/2 cup diced tomatoes
– Salt and pepper to taste
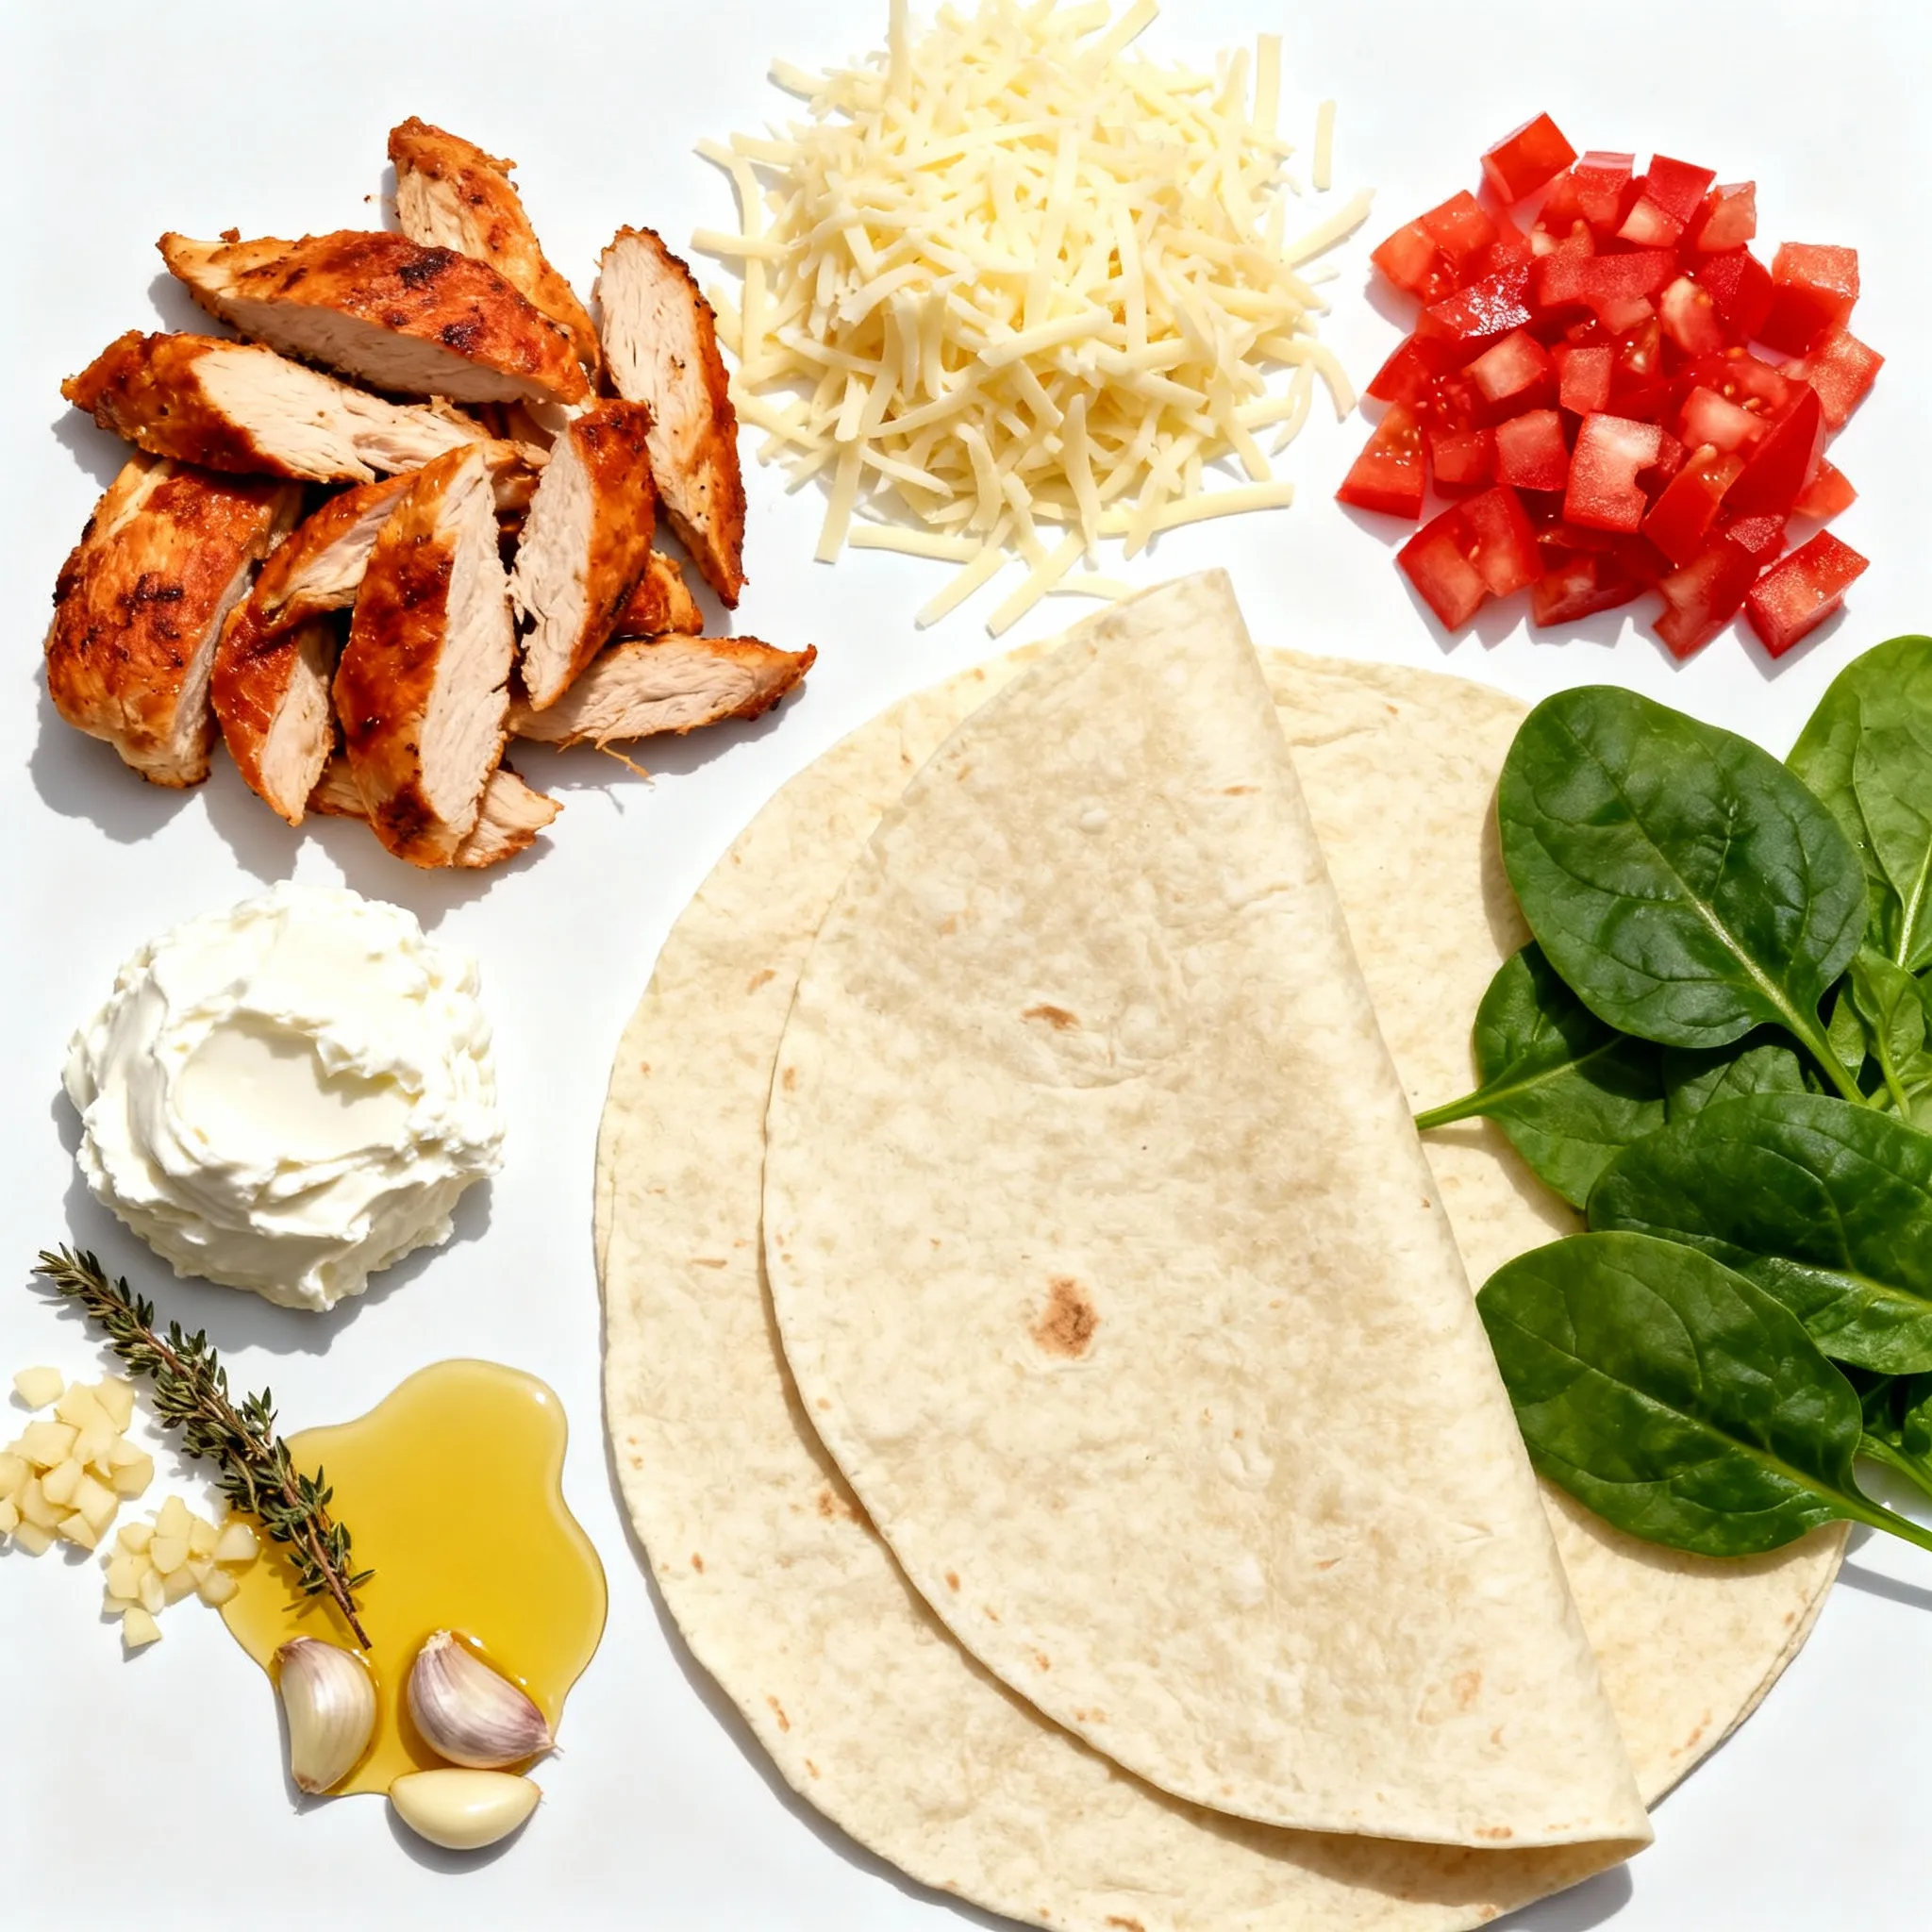
When making Cheesy Garlic Chicken Wraps, you want to gather all your ingredients first. The main ingredients include cooked chicken, mozzarella cheese, cream cheese, and minced garlic. These form the base of your wrap.
Next, you need some additional ingredients. Olive oil helps sauté the garlic. Dried Italian herbs add flavor. Tortillas serve as the wrap. Fresh spinach gives a nice crunch. Diced tomatoes add freshness. Lastly, salt and pepper enhance all the flavors.
Having everything prepped makes cooking easier. It also ensures you don’t miss any key ingredient. Plus, you can customize your wraps to suit your taste.
Tips & Tricks
Cooking Tips
To make sure your chicken is warm, heat it in a skillet. Add olive oil and minced garlic first, then the chicken. Cook for 3-4 minutes until it’s hot. This step boosts flavor and makes your wraps tasty.
Melting cream cheese can be tricky. To make it easy, let it sit out for a while before using. The cream cheese will soften quickly. Stir it into the warm chicken mix. It will melt nicely and create a creamy texture.
Wrapping Techniques
To prevent your filling from spilling out, use a small amount of filling. Place the filling in the center of the tortilla, leaving space at the edges. This way, you can fold the sides in before rolling. It keeps everything neat.
For tight wraps, tuck the sides in as you roll. Start rolling from the bottom up. This helps keep the filling inside. If you want a crispy wrap, cook seam-side down in a skillet. This step adds a nice crunch.
Serving Suggestions
Dips and sides make great pairings. Try ranch dressing or salsa for dipping. Fresh veggies or a salad can also balance the meal.
Serve your wraps warm for the best taste. They are creamy and cheesy when hot. Enjoy them right after cooking for the perfect flavor!
Variations
Ingredient Swaps
You can switch out mozzarella and cream cheese for other options. Try cheddar or pepper jack for a sharp kick. For cream cheese, use ricotta or Greek yogurt. These swaps change the flavor but keep it creamy and delicious.
For herbs and spices, you can use fresh basil, cilantro, or even chili flakes. Each brings a new twist. Don’t be afraid to mix and match!
Dietary Adjustments
If you need a gluten-free option, use corn tortillas instead of wheat. They hold the filling well and taste great.
For a vegetarian version, swap chicken for cooked lentils or beans. Add veggies like mushrooms or bell peppers for extra flavor. You still get that cheesy goodness without meat.
Flavor Enhancements
Want to spice things up? Add diced jalapeños or a dash of hot sauce to the mix. This gives your wraps a nice kick.
You can also try different cheeses. Gouda, feta, or even blue cheese add depth. Each cheese brings its own character to the dish. Don’t hesitate to explore new flavors!
Pro Tips
- Use Leftover Chicken: This recipe is perfect for using up leftover rotisserie chicken or any cooked chicken you have on hand, saving you time and reducing waste.
- Customize Your Fillings: Feel free to add other vegetables like bell peppers or zucchini for extra flavor and nutrition, or swap the cheese for your favorite variety.
- Make It Ahead: Assemble the wraps ahead of time and store them in the refrigerator. Just grill them when you’re ready to eat for a quick meal.
- Serving Suggestions: Pair these wraps with a side salad or some crispy veggie sticks for a complete meal that’s both healthy and satisfying.
Storage Info
Refrigerator Storage
To store leftover Cheesy Garlic Chicken Wraps, let them cool completely. Then, wrap each one in plastic wrap or foil. Place the wraps in an airtight container. This keeps them fresh and tasty. You can store them in the fridge for up to 3 days. After that, the quality may drop.
Freezing Guidelines
Yes, you can freeze Cheesy Garlic Chicken Wraps! Wrap each one tightly in plastic wrap, then place them in a freezer bag. This helps prevent freezer burn. They can last in the freezer for up to 2 months.
When you want to eat them, take them out of the freezer. Place them in the fridge overnight to thaw. This keeps the texture nice.
Reheating Tips
To reheat without losing quality, use an oven or a skillet. Preheat your oven to 350°F (175°C). Place the wraps on a baking sheet. Heat for about 15-20 minutes until warm.
If you use a skillet, heat it on medium. Add a bit of oil, then place the wraps seam-side down. Cook for about 3-4 minutes on each side. This way, they stay crispy.
FAQs
How do I make Cheesy Garlic Chicken Wraps spicier?
To add spice, you can include red pepper flakes or diced jalapeños. Mix these in with the chicken while cooking. You can also use spicy cheese, like pepper jack. Another option is to serve your wraps with a spicy dipping sauce. This can really elevate the heat and flavor.
Can I use raw chicken in this recipe?
Yes, you can use raw chicken. Make sure to cook it fully before adding the other ingredients. Cut the chicken into small pieces for quicker cooking. Sauté the chicken in olive oil until it reaches 165°F. This will keep the wrap safe to eat and delicious.
What can I serve with Cheesy Garlic Chicken Wraps?
Many sides pair well with these wraps. Here are some popular options:
– A fresh garden salad
– Crispy potato wedges
– Steamed veggies
– A side of salsa or guacamole
– Chips for extra crunch
These sides add color and flavor, making your meal even more enjoyable!
In this blog post, we covered how to make Cheesy Garlic Chicken Wraps. We explored the main and additional ingredients needed, detailed step-by-step instructions, and provided handy tips for cooking and wrapping. We also discussed variations and storage tips to keep your wraps fresh.
In closing, making these wraps is simple and fun. Don’t hesitate to try new flavors or tweak the recipe to match your taste. Enjoy your cooking and the delicious result