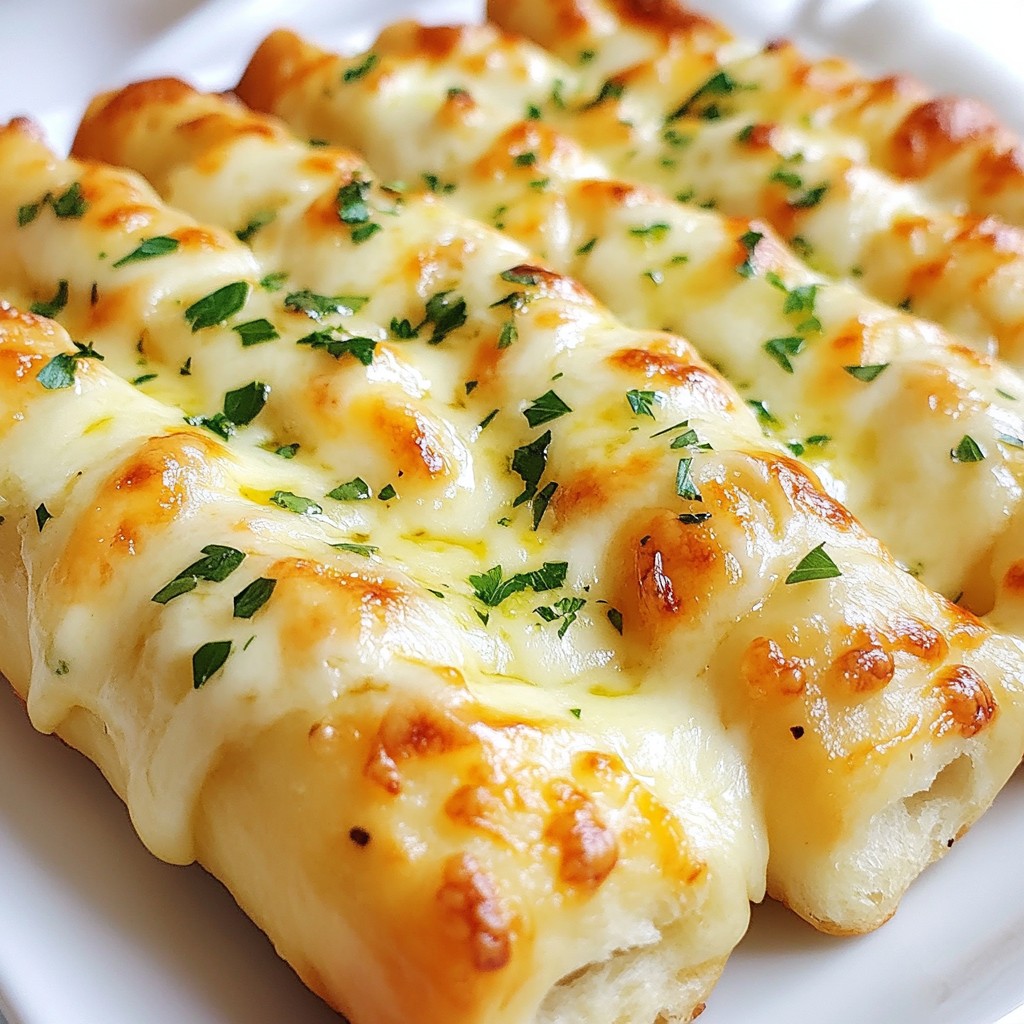
Are you craving a warm, cheesy treat that’s quick to make? You've found it! My cheesy garlic breadsticks recipe combines gooey cheese, garlic, and simple ingredients for a perfect snack or side dish. Whether you're hosting friends or just enjoying a cozy night, these breadsticks deliver comfort and joy in every bite. Dive in, and let’s make your kitchen smell amazing with this easy recipe!
Why I Love This Recipe
- Delicious Flavor: The combination of garlic and melted cheese creates an irresistible flavor that everyone loves.
- Easy to Make: This recipe is straightforward, making it perfect for both novice and experienced bakers.
- Perfect for Sharing: These cheesy breadsticks are great for parties, gatherings, or family movie nights.
- Customizable: You can easily add your favorite herbs or spices to make them uniquely yours.
Ingredients
Essential Ingredients for Cheesy Garlic Breadsticks
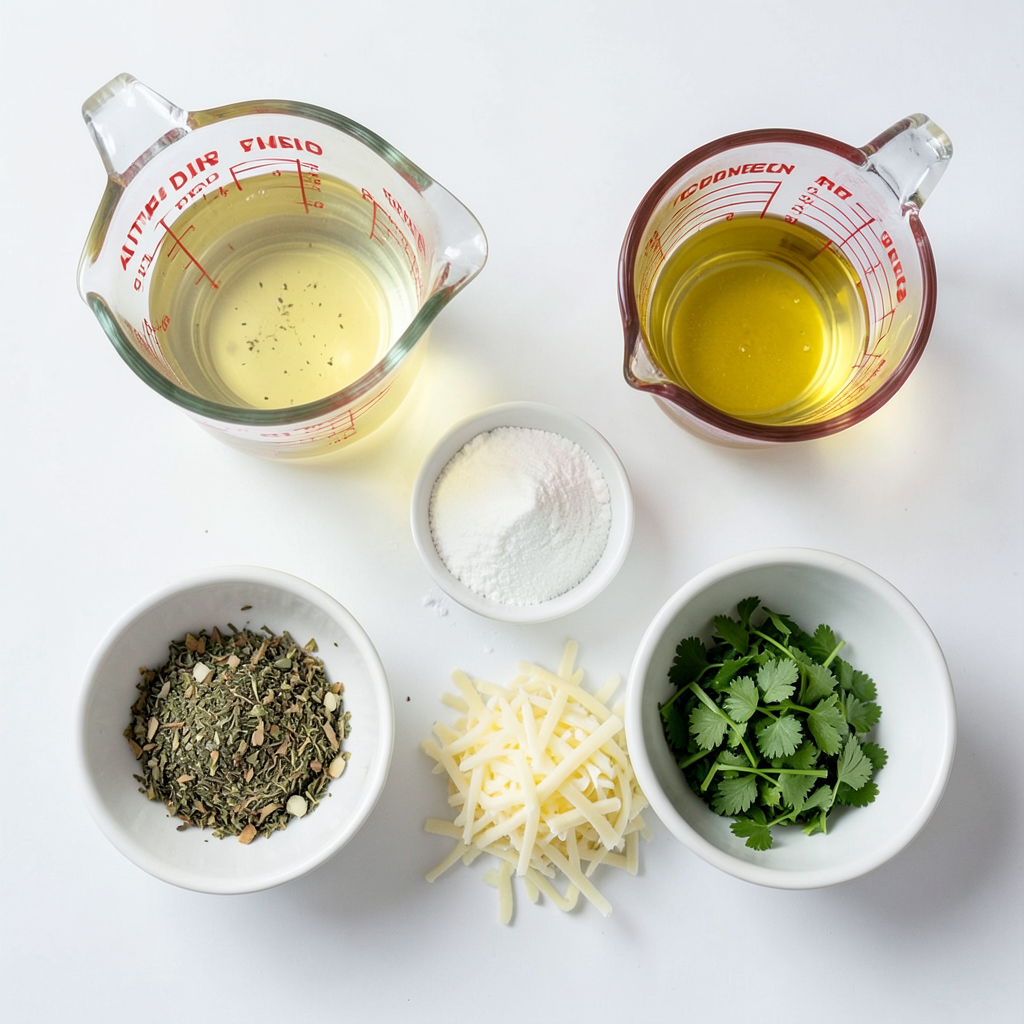
To make cheesy garlic breadsticks, you need some key ingredients. Here’s what you’ll need:
- 1 cup warm water (110°F)
- 2 ¼ teaspoons active dry yeast (1 packet)
- 1 tablespoon sugar
- 3 cups all-purpose flour
- 1 teaspoon salt
- 2 tablespoons olive oil
- 4 tablespoons butter, melted
- 4 cloves garlic, minced
- 1 teaspoon dried Italian herbs (oregano, basil, thyme)
- 1 ½ cups shredded mozzarella cheese
These ingredients come together to create a soft, tasty dough. The warm water helps activate the yeast. Sugar feeds the yeast, making it bubbly and alive.
Optional Seasonings and Garnishes
You can add extra flavors to your breadsticks. Consider these options:
- Red pepper flakes for a spicy kick
- Garlic powder for more garlic flavor
- Parmesan cheese for a salty touch
- Fresh herbs like thyme or rosemary for aroma
These optional seasonings elevate the taste. They make your breadsticks unique and full of personality.
Recommended Cheese Types
While mozzarella is a classic choice, you can mix it up. Here are some great cheese options:
- Cheddar for a sharper taste
- Gouda for creaminess
- Provolone for a smoky flavor
Feel free to experiment! Mixing cheeses can create a delicious blend. Choose what you love most for the best results.
Step-by-Step Instructions
Preparation of the Yeast Mixture
To start, we need to wake up the yeast. In a small bowl, mix 1 cup of warm water (about 110°F) with 2 ¼ teaspoons of active dry yeast and 1 tablespoon of sugar. Stir it gently and let it sit for 5 minutes. You will see bubbles form on the surface. This means the yeast is alive and ready to work.
Making the Dough
Next, grab a large mixing bowl. In this bowl, combine 3 cups of all-purpose flour and 1 teaspoon of salt. Make a small well in the center. Pour in your yeast mixture and 2 tablespoons of olive oil. Stir everything with a wooden spoon or your hands until the dough starts to come together. Now, place the dough on a floured surface. Knead it for about 5-7 minutes until it feels smooth and elastic.
Once you finish kneading, put the dough in a greased bowl. Cover it with a damp cloth and let it rise in a warm spot. Wait for about 1 hour, or until it doubles in size.
Shaping and Baking the Breadsticks
Preheat your oven to 425°F (220°C). While it heats, prepare the garlic butter mix. In a small bowl, combine 4 tablespoons of melted butter, 4 minced garlic cloves, and 1 teaspoon of dried Italian herbs.
After the dough has risen, punch it down. Roll it out to about ½ inch thick on a floured surface. Cut it into strips, about 1 inch wide. Place these strips on a greased baking sheet. Brush each with the garlic butter mix and sprinkle 1 ½ cups of shredded mozzarella cheese on top.
Let the breadsticks rise again for 15 minutes on the baking sheet. Finally, bake them for 12-15 minutes, or until they are golden and the cheese is bubbly. When they come out of the oven, brush them with any remaining garlic butter. You can also sprinkle some chopped parsley for color. Enjoy your warm, cheesy garlic breadsticks!
Tips & Tricks
Achieving the Perfect Dough Texture
To get the best dough, start with warm water. It should feel like a cozy bath, around 110°F. This warmth wakes up your yeast. Mix the yeast and sugar with the water. Let it sit for five minutes. If it bubbles, you did it right! When combining flour and salt, make a well in the center. This helps the dough mix well. Knead the dough until it's smooth and elastic, about 5-7 minutes. If it's too sticky, sprinkle a bit more flour.
Cooking Times and Temperature Adjustments
Bake your breadsticks at 425°F (220°C). This heat makes them golden and crisp. The baking time is key. Check them around 12 minutes. If they are not golden yet, give them a few more minutes. Every oven is a bit different. Keep an eye on your breadsticks. They should be bubbly and slightly brown.
Enhancing Flavor with Additional Ingredients
Want to boost the flavor? Add more garlic! You can use up to six cloves if you love garlic. Try adding fresh herbs like rosemary or thyme for a twist. Cheese lovers can mix in some parmesan for extra richness. For fun, sprinkle red pepper flakes for a spicy kick. You can also serve them with marinara sauce for dipping. It's a tasty combo!
Pro Tips
- Use Fresh Garlic: Freshly minced garlic will give your breadsticks a more vibrant flavor compared to pre-minced options.
- Let Dough Rise Properly: Ensure your dough rises in a warm environment for the best texture; a cold space can hinder its growth.
- Experiment with Cheese: While mozzarella is classic, try mixing in provolone or cheddar for a unique twist on flavor.
- Serve with Sauce: Enhance your breadsticks by serving them with a side of marinara or garlic dipping sauce for added flavor.
Variations
Herb and Cheese Variations
You can change your cheesy garlic breadsticks by adding different herbs and cheeses. For a fresh twist, try adding fresh rosemary or thyme. These add great flavor and a nice aroma. You can also mix in cheese like cheddar or provolone. This makes each bite even more delightful.
Gluten-Free Options
If you need a gluten-free option, use a gluten-free flour blend. Many blends work well in bread recipes. Look for one that has xanthan gum in it. This helps the breadsticks rise and stay soft. Just follow the same steps as the original recipe.
Vegan Replacements for Butter and Cheese
To make your breadsticks vegan, swap the butter for a plant-based butter. For cheese, use vegan cheese shreds. Many brands now offer tasty vegan cheeses that melt well. This way, everyone can enjoy cheesy garlic breadsticks. You won’t miss the dairy at all!
Storage Info
Best Storage Practices for Leftover Breadsticks
After enjoying your cheesy garlic breadsticks, you might want to save some for later. To keep them fresh, let the breadsticks cool completely. Then, place them in an airtight container. This helps to keep them soft and tasty. You can also wrap them in plastic wrap. Make sure to store them at room temperature if you plan to eat them within two days. For longer storage, consider the freezer.
Reheating Instructions
When you're ready to enjoy your leftovers, reheating is simple. Preheat your oven to 350°F (175°C). Place the breadsticks on a baking sheet. Cover them lightly with foil to keep them moist. Bake for about 10-12 minutes. If you want them extra cheesy, add a sprinkle of mozzarella on top before reheating. You can also reheat them in the microwave, but they may lose some crispiness.
Freezing for Long-Term Storage
If you want to save your cheesy garlic breadsticks for a while, freezing is a great option. To do this, wrap each breadstick in plastic wrap. Then, place them in a freezer bag or airtight container. Label the bag with the date. They can last up to three months in the freezer. When you want to eat them, thaw in the fridge overnight. Reheat them in the oven to restore their crispy texture.
FAQs
How can I make my garlic breadsticks extra cheesy?
To make your garlic breadsticks extra cheesy, you can add more mozzarella cheese. Try using 2 cups instead of 1.5 cups. You can also mix in other cheeses. Parmesan, cheddar, or provolone work great. Spread the cheese on top before baking. For a fun twist, add cheese inside the dough. Just roll some cheese into each breadstick before baking.
Can I use bread flour instead of all-purpose flour?
Yes, you can use bread flour instead of all-purpose flour. Bread flour has more protein. This gives your breadsticks a chewier texture. Just substitute it in a 1:1 ratio. You may need to adjust the water slightly. Start with the same amount and add more if needed. This way, your dough will not get too dry.
What can I serve with cheesy garlic breadsticks?
Cheesy garlic breadsticks pair well with many dishes. They are great with marinara sauce for dipping. You can also serve them with soup or salad. Try them with a rich pasta dish or pizza for a fun meal. For a snack, enjoy them with a glass of wine. They make an excellent appetizer at parties too.
You learned how to make cheesy garlic breadsticks from start to finish. We covered the key ingredients, from essential cheeses to extra seasonings. You gained step-by-step tips to shape and bake perfectly delicious sticks. We shared variations to suit your taste, including vegan options. Remember the storage methods to keep them fresh. Baking is fun and easy, whether for a snack or a meal. Enjoy making and sharing these tasty treats with family or friends!