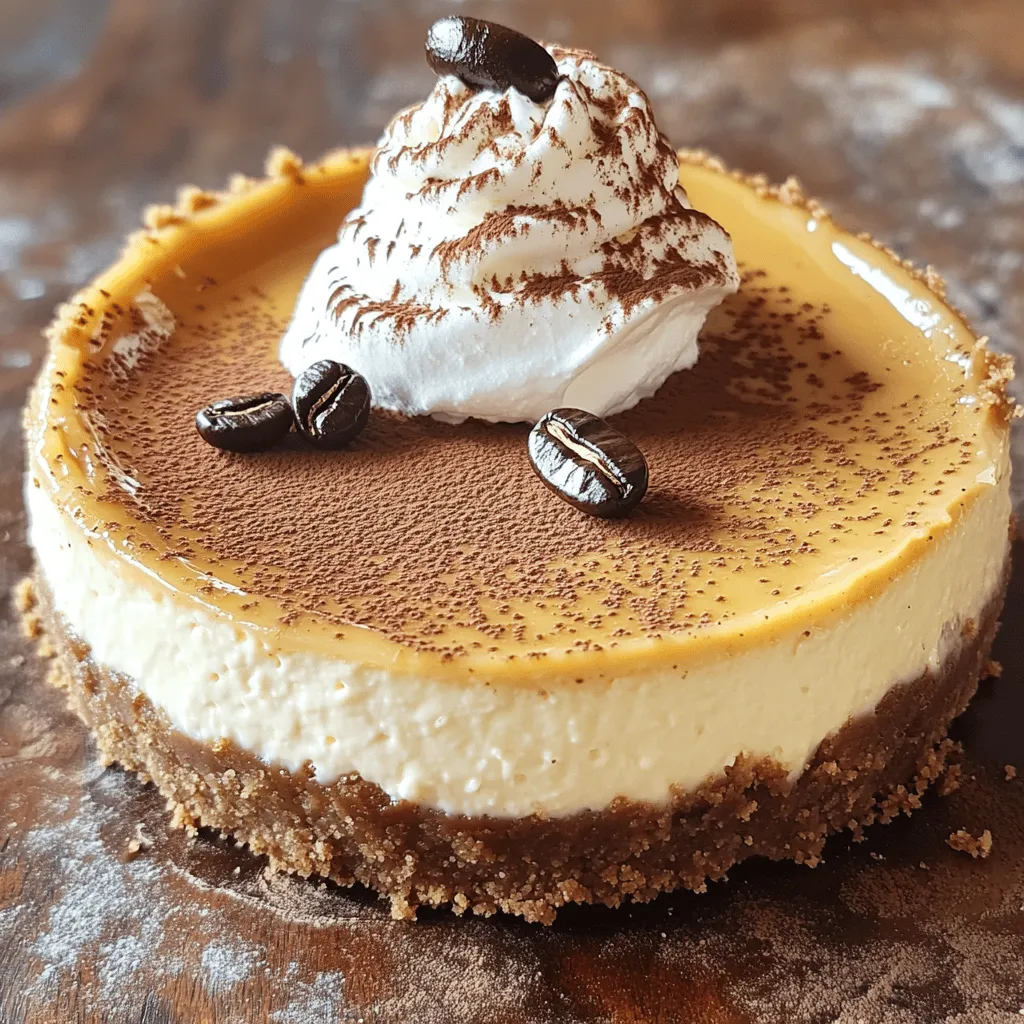
If you love coffee and cheesecake, you’re in for a treat! This Baked Coffee Cheesecake is a delightful mix of flavors and textures. Imagine a creamy, smooth filling paired with a buttery crust—perfect for any occasion. I’ll guide you step-by-step through making this delicious dessert, from ingredients to storage tips. Get ready to impress your friends and family with a dessert that’s both easy to make and oh-so-tasty!
Ingredients
Detailed Ingredient List
To make a Baked Coffee Cheesecake, you need the right ingredients. Here’s a breakdown:
– 1 ½ cups graham cracker crumbs
– ½ cup unsalted butter, melted
– 2 tablespoons sugar
– 3 (8 oz) packages cream cheese, softened
– 1 cup sugar
– 3 large eggs
– 1 tablespoon vanilla extract
– ½ cup strong brewed coffee, cooled
– 1 tablespoon instant coffee granules
– 1 cup sour cream
– 2 tablespoons all-purpose flour
– Pinch of salt
Each ingredient plays a key role. The graham cracker crumbs give a nice base. The cream cheese makes it rich and creamy. The coffee adds that perfect flavor.
If you want to make swaps, you can use Greek yogurt instead of cream cheese. It still gives a creamy texture. You can also swap sour cream for plain yogurt.
For sweeteners, you can use brown sugar or maple syrup. These give a different flavor and depth. If you want a crust with a twist, try using crushed nuts or cookies instead of graham crackers.
These options let you customize your cheesecake to match your taste.Enjoy making your own creamy coffee delight!
Step-by-Step Instructions
Preparation Steps
First, preheat your oven to 325°F (160°C). This step is key for even baking. Next, grab a 9-inch springform pan. Grease it with butter or cooking spray.
Now, let’s make the graham cracker crust. In a medium bowl, combine 1 ½ cups of graham cracker crumbs, ½ cup of melted unsalted butter, and 2 tablespoons of sugar. Mix it well until the crumbs are coated.
Press this mixture into the bottom of your pan. Make sure it forms an even layer. Bake the crust for 10 minutes, then take it out of the oven and let it cool.
Next, we will mix the cheesecake filling. In a large bowl, beat 3 packages of softened cream cheese until it’s smooth. Gradually mix in 1 cup of sugar until it’s fully combined.
Add 3 large eggs one at a time. Mix well after each egg. Then, stir in 1 tablespoon of vanilla extract, ½ cup of cooled brewed coffee, and 1 tablespoon of instant coffee granules. Blend until it’s smooth.
In another bowl, mix 1 cup of sour cream, 2 tablespoons of flour, and a pinch of salt. Once combined, slowly fold this into your cream cheese mixture. Make sure there are no lumps left.
Pour this filling over your cooled crust. Smooth the top with a spatula.
Baking Process
Now it’s time to bake! Place your cheesecake in the preheated oven for 50-60 minutes. You want the edges to be set but the center should still jiggle slightly.
To ensure a smooth texture, avoid over-mixing the filling. This helps prevent air bubbles, which can cause cracks.
Cooling and Chilling
Cooling matters a lot for your cheesecake. After baking, turn off the oven and leave the cheesecake inside with the door slightly ajar. Let it cool for about 1 hour. This gradual cooling helps prevent cracks.
Once it cools, take it out and let it reach room temperature. Then, chill it in the refrigerator for at least 4 hours. For the best flavor, chill it overnight before serving.
Enjoy your baked coffee cheesecake!
Tips & Tricks
Achieving the Perfect Texture
To prevent cracks in your cheesecake, follow these simple steps:
– Mix slowly: Be gentle when mixing the cream cheese. Avoid overmixing.
– Room temperature ingredients: Use cream cheese and eggs at room temperature. This helps them blend smoothly.
– Cool slowly: After baking, turn off the oven and leave the cheesecake inside. This lets it cool gradually.
Using a water bath also helps create a creamy texture. Here’s how:
– Wrap the pan: Use aluminum foil to wrap the bottom of your springform pan. This stops water from leaking in.
– Add water: Place the wrapped pan in a larger pan filled with hot water. Bake as usual. The steam keeps the cheesecake moist.
Serving Suggestions
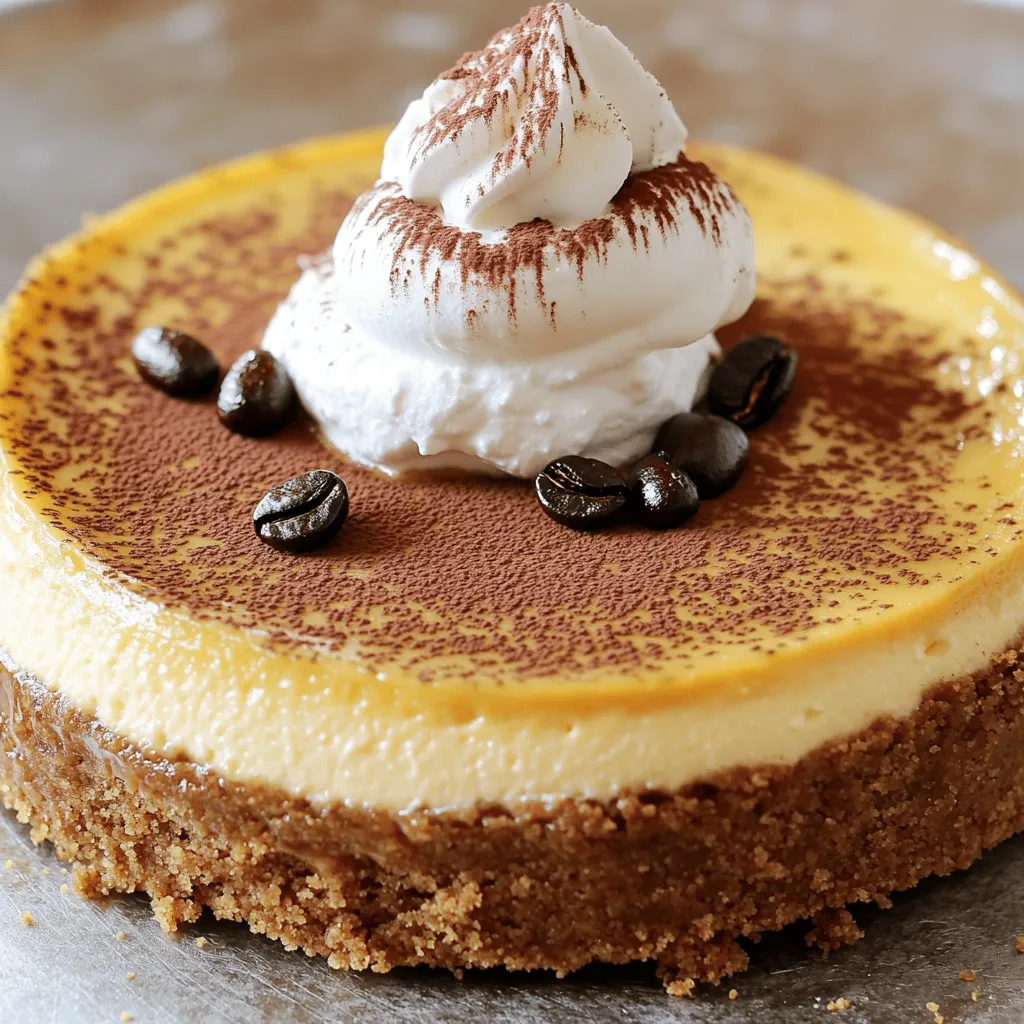
For garnishing your coffee cheesecake, consider these tasty options:
– Whipped cream: A dollop of fresh whipped cream adds lightness.
– Cocoa powder: Dust cocoa powder on top for a rich touch.
– Chocolate shavings: Sprinkle chocolate shavings for extra flair.
When it comes to drinks, pair your cheesecake with:
– Coffee: A nice cup of coffee enhances the coffee flavor.
– Espresso: Serve with a shot of espresso for a bold taste.
– Dessert wine: A sweet wine can balance the cheesecake’s richness.
Variations
Flavor Enhancements
You can make your baked coffee cheesecake even better. Try adding chocolate or caramel to the filling. These flavors mix well with coffee. Use melted chocolate or caramel sauce and swirl it into the batter just before baking. This adds a rich taste and fun texture.
You can also use different types of coffee grounds. Dark roast gives a bold flavor. Light roast adds a soft, fruity note. Experiment with flavored coffee, like hazelnut or vanilla, to give your cheesecake a twist.
Dietary Modifications
Want to make it gluten-free? Use gluten-free graham cracker crumbs for the crust. You can also replace cream cheese with cashew cream or a vegan cream cheese. This way, everyone can enjoy this treat.
If you’re looking for low-calorie or sugar-free options, use a sugar substitute like stevia or monk fruit. You can use Greek yogurt instead of sour cream to cut calories. These swaps keep the cheesecake tasty while fitting your diet.
Storage Info
Proper Storage Techniques
To keep your baked coffee cheesecake fresh, follow these steps:
– Refrigerate: After it cools, cover it tightly with plastic wrap or foil. This keeps moisture in and prevents odors from affecting the flavor.
– Use an airtight container: If you have extra slices, store them in an airtight container. This helps maintain the texture and flavor for longer.
For longer storage, you can freeze your baked coffee cheesecake:
– Wrap well: Use plastic wrap to cover the cheesecake, then wrap it in aluminum foil. This helps prevent freezer burn.
– Freeze: Place it in the freezer for up to three months. When you’re ready to enjoy it, thaw it in the fridge overnight.
Shelf Life
Your cheesecake can last in the fridge for about five to seven days. Make sure to check for freshness before enjoying.
Look for these signs that it has gone bad:
– Odor: A sour or off smell indicates spoilage.
– Texture: If it feels slimy or excessively dry, discard it.
– Mold: Any visible mold means it’s time to throw it away.
Storing your baked coffee cheesecake properly ensures you enjoy every delicious bite!
FAQs
Commonly Asked Questions
How can I tell when the cheesecake is done?
You can tell the cheesecake is done by looking at the edges. They should be set, while the center remains slightly jiggly. The cheesecake will firm up as it cools.
Can I make this cheesecake ahead of time?
Yes, you can make this cheesecake a day or two ahead. It tastes even better after chilling in the fridge. Just keep it covered to maintain its freshness.
What can I serve with my baked coffee cheesecake?
I love serving my cheesecake with whipped cream and a sprinkle of cocoa powder. You can also add chocolate shavings or coffee beans for a nice touch.
Troubleshooting
What to do if the cheesecake cracks?
If your cheesecake cracks, don’t worry! It happens to many. You can cover it with whipped cream or chocolate sauce. This hides any cracks and adds flavor.
How to fix a runny cheesecake filling?
A runny filling can happen if the batter is not mixed well. To fix this, add a bit more flour and mix gently. Bake it a bit longer, but keep an eye on it.
In this article, we explored the ingredients for a delicious baked coffee cheesecake. We broke down each element, including helpful substitutions and variations. The step-by-step guide covered preparation, baking, and cooling, ensuring a smooth texture. I shared tips for perfecting your cheesecake and creative serving ideas. Additionally, we looked at variations, storage, and answered common questions.
With these insights, you’re set to impress with your cheesecake. Enjoy baking and sharing it with others!