![- 2 cups cooked pasta (rotini or penne) - 1 cup cooked chicken breast, diced - 1 cup cherry tomatoes, halved - 1 cup cucumber, diced - ½ cup red bell pepper, diced - ½ cup red onion, finely chopped - ½ cup black olives, sliced - ¼ cup feta cheese, crumbled - 3 tablespoons fresh parsley, chopped - 3 tablespoons olive oil - 2 tablespoons lemon juice - 1 tablespoon Dijon mustard - 1 teaspoon garlic powder - Salt and pepper to taste - Other vegetables - Different types of cheese - Alternative proteins You can mix and match the main ingredients to fit your taste. I love adding extra veggies like spinach or carrots. You can also swap out the feta for a creamy cheese. If you want to change proteins, try grilled shrimp or chickpeas for a twist. For the dressing, I often play with flavors. A hint of honey can add sweetness. You can use vinegar for a tangy kick too. This flexibility makes the recipe fun and unique! Check out the Full Recipe for exact measurements and directions. Enjoy your cooking adventure! 1. In a large mixing bowl, combine 2 cups of cooked pasta and 1 cup of diced chicken. 2. Next, add 1 cup of halved cherry tomatoes, 1 cup of diced cucumber, ½ cup of diced red bell pepper, ½ cup of finely chopped red onion, ½ cup of sliced black olives, and ¼ cup of crumbled feta cheese. 3. To make the dressing, whisk together 3 tablespoons of olive oil, 2 tablespoons of lemon juice, 1 tablespoon of Dijon mustard, 1 teaspoon of garlic powder, and salt and pepper to taste. 1. Pour the dressing over the salad. 2. Toss gently to combine all the ingredients well. 3. Finally, sprinkle 3 tablespoons of chopped parsley on top for garnish. 1. Refrigerate the salad for at least 30 minutes. This step enhances the flavors. 2. Serve the salad chilled for the best taste. Feel free to check the [Full Recipe] for more details! You can swap out pasta for gluten-free options like quinoa or rice noodles. This makes it friendly for those with gluten issues. If you want a different protein, use turkey or even tofu for a plant-based choice. Both will keep the salad tasty and filling. This chicken pasta salad pairs well with crusty bread or soft rolls. It makes a great side dish for any meal. It's also perfect for potlucks and picnics. Just pack it in a cooler, and it’s ready to shine at your gathering. To make the salad pop, add fresh herbs like basil or dill. A sprinkle of red pepper flakes can also add a nice kick. When it comes to dressings, consider using homemade for a fresh taste. Store-bought can work too, but homemade often beats it in flavor. For the best results, mix up your own dressing using olive oil, lemon juice, and Dijon mustard from the [Full Recipe]. {{image_2}} You can change the flavor of your chicken pasta salad with different dressings. Creamy dressings add a rich taste. You can use ranch or Caesar dressing for a smooth texture. They make the salad feel hearty and fulfilling. Vinegar-based dressings are lighter and zestier. A basic vinaigrette gives a fresh kick. Mix olive oil, vinegar, and your favorite herbs for a simple twist. This option works well for a summer meal. Seasonal ingredients can make your salad shine. In summer, add fresh vegetables like zucchini or bell peppers. These bright colors and flavors enhance the dish. You can even toss in some corn for sweetness. In fall, think about roasted sweet potatoes. They add warmth and a hint of sweetness. You can also use squash, which pairs well with the chicken. Seasonal changes keep your salad exciting. You can also take your chicken pasta salad on a world tour. A Mediterranean twist adds olives and artichokes. These ingredients bring a taste of the sun to your plate. You can sprinkle in some oregano for a fragrant touch. For Asian-inspired flavors, try sesame oil. It gives your salad a nutty taste. Add some sliced green onions and peanuts for crunch. This variation is fun and different from the classic recipe. For the complete recipe, check out the [Full Recipe]. How long will it last in the fridge? Chicken pasta salad will stay fresh for up to three days in the fridge. Just make sure to store it in an airtight container. What are the best practices for storing leftovers? Always let the salad cool down to room temperature before putting it in the fridge. Keep the dressing separate if you want to maintain the crispness of the veggies. Can it be frozen? You can freeze chicken pasta salad, but I don’t recommend it. Freezing can change the texture of the vegetables and pasta. How to properly freeze and thaw? If you decide to freeze it, use a freezer-safe bag. Lay it flat to save space. To thaw, move it to the fridge overnight. What are the best containers for storage? Use glass or plastic containers with tight lids. These keep the salad fresh and prevent spills. How to keep salad fresh? Add a paper towel inside the lid to absorb moisture. This helps keep the salad crisp and tasty. To make chicken pasta salad ahead, follow these tips: - Cook the pasta and chicken the day before. Cool them completely. - Cut the vegetables and store them in the fridge, covered. - Mix the dressing and keep it separate until serving. This keeps the salad fresh. - Combine everything just before serving. This step keeps the pasta and veggies crisp. Yes, you can use many pasta shapes! Here are some options: - Bowtie pasta adds a fun look. - Fusilli gives a nice twist and holds dressing well. - Gluten-free pasta works great if you need it. Feel free to choose any shape that you like. The taste will still shine! This chicken pasta salad can be healthy. Here’s a quick look: - Each serving has about 300 calories, depending on ingredients. - You can reduce calories by using less oil or cheese. - Add more veggies for extra fiber and vitamins. Use whole grain pasta for more nutrients. You can create a healthy meal without losing flavor! In this blog post, I shared the key ingredients for a delicious chicken pasta salad. We covered how to mix the salad and serve it chilled. I also provided tips on ingredient substitutions, serving ideas, and variations to keep things fresh. Remember, you can customize this dish to your liking. Enjoying your meal can be easy and fun. Try different vegetables or dressings to make it yours. Happy cooking!](https://flavorsprint.com/wp-content/uploads/2025/07/897c066b-f2a7-48e0-9c69-5960ca942a43.webp)
Chicken Pasta Salad Fresh and Flavorful Recipe
Are you in search of a fresh and tasty dish that’s easy to prepare? Look no further than this Chicken
Are you in search of a fresh and tasty dish that’s easy to prepare? Look no further than this Chicken
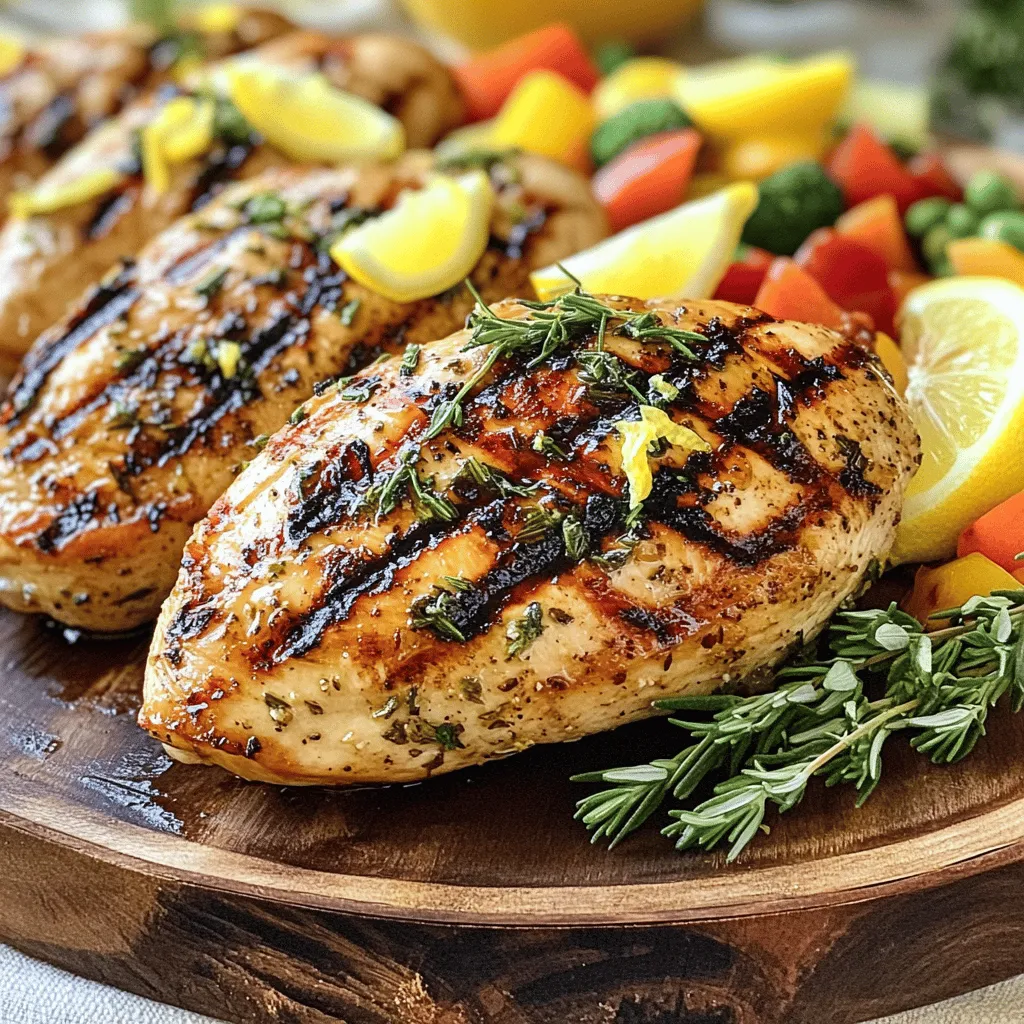
Looking for a delicious and easy way to spice up your dinner? My Lemon Herb Grilled Chicken recipe is just

Get ready to experience a dessert that redefines joy: Peach Pie Cruffins! These tasty treats blend flaky pastry with sweet

Are you ready to experience a delicious twist on your morning pick-me-up? The Strawberry Coffee Latte combines rich coffee with
![- 1 cup cherry tomatoes, halved - 1 zucchini, sliced into half-moons - 1 yellow bell pepper, diced - 1 cup fresh spinach - Fresh basil leaves for garnish - 12 oz spaghetti or your favorite pasta - 3 tablespoons olive oil - 2 cloves garlic, minced - 1 teaspoon dried basil - 1 teaspoon dried oregano - Salt and pepper to taste - Grated Parmesan cheese for serving The key to this dish is fresh produce. I love using cherry tomatoes for their sweet burst. Slicing zucchini into half-moons gives a nice texture. A yellow bell pepper adds a pop of color and sweetness. Fresh spinach brings a rich green color and nutrients. Don't forget the fresh basil leaves; they finish the dish with a fragrant touch. For the pasta, I usually go for spaghetti, but you can choose any type you enjoy. Olive oil is essential for flavor and helps cook the garlic. Minced garlic adds a lovely aroma. Dried basil and oregano bring depth to the dish with their warm notes. Finally, season with salt and pepper to make all the flavors shine. For a special touch, consider adding grated Parmesan cheese as an optional topping. It melts beautifully and adds a creamy richness. For the complete recipe, check out the [Full Recipe]. - Bring salted water to a boil. - Cook pasta according to package instructions until al dente. Cooking pasta is simple and quick. I always like to add a good pinch of salt to the water. This helps flavor the pasta as it cooks. Follow the package directions, and don't forget to stir it a bit. This keeps the pasta from sticking together. Once it's ready, drain it and set it aside. - Heat olive oil and sauté garlic. - Add zucchini, bell pepper, and cherry tomatoes. In a large skillet, I heat olive oil over medium heat. Once the oil shimmers, I add minced garlic. The smell is amazing! After about 30 seconds, I toss in the sliced zucchini, diced yellow bell pepper, and halved cherry tomatoes. I let them cook for about 5 to 7 minutes. I stir occasionally until the veggies are slightly tender. This brings out their natural sweetness and flavor. - Stir in spinach and cooked pasta. - Add seasoning and toss well. Now comes the fun part! I add fresh spinach to my skillet and then mix in the cooked pasta. The heat wilts the spinach perfectly. Next, I sprinkle in dried basil, oregano, salt, and pepper. I toss everything together until it’s well mixed. This is where the flavors really come together. I always taste it at this point to see if I need to adjust the seasoning. The dish is bright, fresh, and ready to serve! For the full recipe, check it out. Cooking pasta to the right texture is key. You want it al dente, which means firm to the bite. This keeps the pasta from getting mushy. To achieve this, check the pasta two minutes before the package time ends. Taste a piece to see if it’s done. When draining the pasta, save some water. This starchy water can help bind the sauce later. Use a colander to drain the pasta. Rinse it with cold water if you’re not mixing it right away. This stops the cooking process. Fresh herbs pack more flavor than dried ones. They brighten up dishes and make them feel fresh. I love using fresh basil and parsley in summer dishes. Just chop them finely and add them at the end of cooking. If you only have dried herbs, no worries! Use half the amount, as dried herbs are stronger. You can also try adding red pepper flakes for a kick. A sprinkle of lemon zest adds a nice brightness too. Garnishing makes your dish look stunning. Use fresh basil leaves on top. They add color and flavor. You can also sprinkle grated Parmesan for a nice touch. Serve the pasta in a large bowl for a family-style meal. This way, everyone can help themselves. Place a few fresh basil leaves on each plate. It makes the dish pop and looks inviting. {{image_2}} You can use many summer veggies in this dish. Try bell peppers, corn, or eggplant. These add flavor and color. If you have leftovers, toss them in your pasta for extra taste. Leftover grilled veggies work great too. Simply chop and mix them in! If you're gluten-free, choose gluten-free pasta. Many brands offer tasty options that cook well. For a vegan twist, skip cheese and use a plant-based pasta. You can also add more veggies, like mushrooms or kale, for protein. Want to add protein? Grilled chicken or shrimp make great choices. They pair well with the fresh veggies. You can also try different sauces. A light pesto or a lemon-garlic sauce adds a zesty kick. Both options enhance the taste of your Summer Garden Pasta. For the full recipe, check out the Summer Garden Pasta instructions above! To keep your Summer Garden Pasta fresh, store leftovers in the fridge. Use an airtight container. This helps keep moisture out and flavor in. Let the pasta cool for about 30 minutes before sealing it. This prevents condensation that can make the pasta soggy. When you reheat pasta, do it slowly. Use a skillet over low heat. Add a splash of water or olive oil to help it warm up. This keeps your noodles from getting dry or hard. Stir often to heat evenly. You can also use a microwave. Place the pasta in a bowl, cover it with a damp paper towel, and heat in short bursts. Check and stir every 30 seconds. Freezing Summer Garden Pasta is easy. First, let it cool completely. Then, place it in a freezer-safe container. You can also use zip-top bags, squeezing out as much air as you can. Label the bags with the date. To thaw, leave it in the fridge overnight. For quick thawing, you can use the microwave on low. Reheat it in a skillet, adding a bit of water to keep it moist. Enjoy your pasta later with just as much flavor! You can add many garden vegetables to this dish. Here are some great options: - Bell peppers add sweetness. - Zucchini gives a nice crunch. - Spinach brings a fresh taste. - Cherry tomatoes add a juicy burst. - Sweet corn offers a delightful pop. - Peas bring vibrant color and sweetness. These vegetables work well together, creating a tasty blend of flavors. You can store leftovers in the fridge for up to three days. Keep them in an airtight container. Make sure to let the pasta cool before sealing it. This helps keep it fresh. If you want to save it longer, consider freezing it. Yes, you can make this dish ahead of time. Cook the pasta and toss it with the veggies. Store it in the fridge for up to 24 hours. When ready to eat, simply reheat it in a skillet. Add a splash of olive oil to keep it moist. Enjoy your meal without stress! For the full recipe, check out the details above. We explored how to make a delicious Summer Garden Pasta using fresh vegetables and simple ingredients. You learned about essential produce, pasta cooking, and tips for flavor and presentation. I also shared variations, storage tips, and common questions. This dish is easy to make and fun to customize. Whether you include seasonal veggies or different proteins, you can enjoy a fresh meal any time. Now, gather your ingredients and get cooking! Your taste buds will thank you.](https://flavorsprint.com/wp-content/uploads/2025/07/84ab6ac1-c889-49a1-9b6f-4c6ab3a1a8c4.webp)
Summer is here, and it’s time to brighten up your plate with a vibrant dish! My Summer Garden Pasta combines
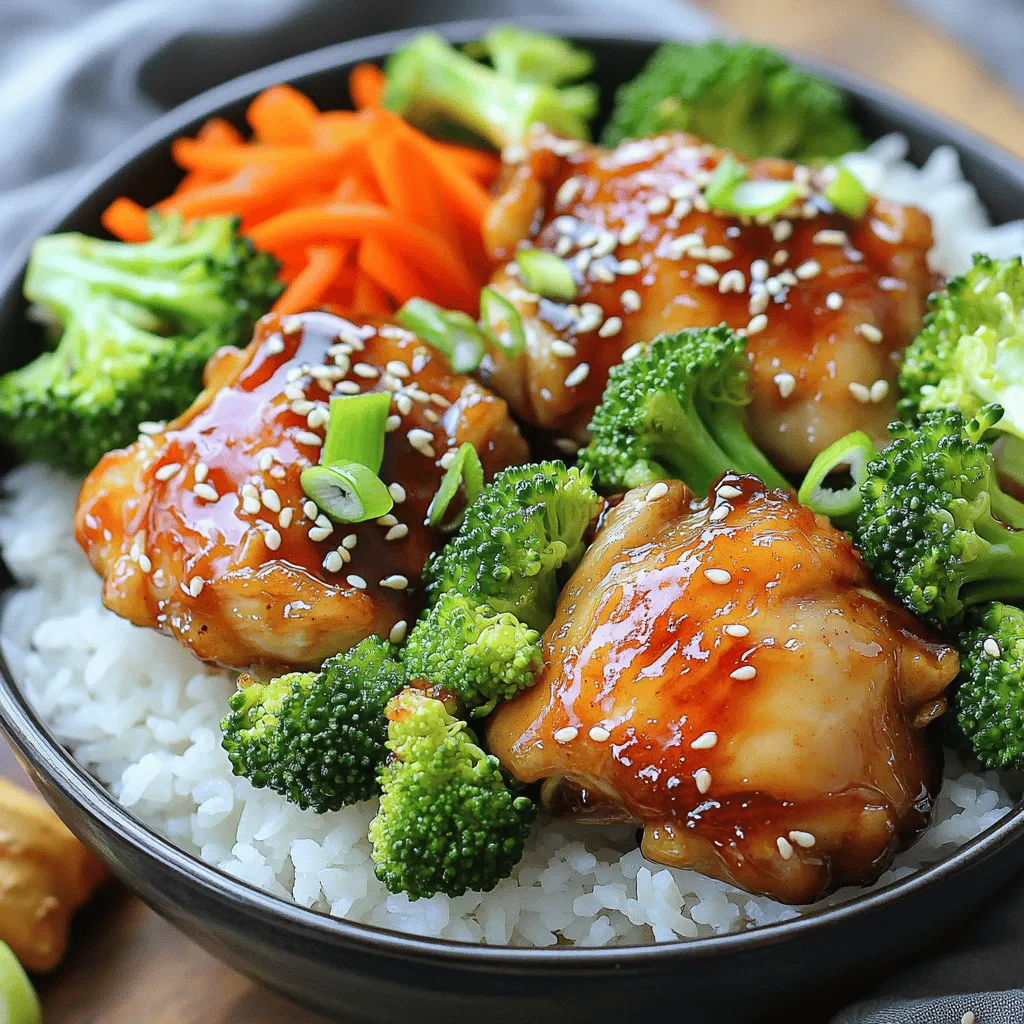
Looking for a quick, tasty meal that bursts with flavor? My Quick Teriyaki Chicken Bowl is a winner! With juicy

Looking for a treat that brightens your day? These Lemon Brownie Bars are just what you need! With a zesty
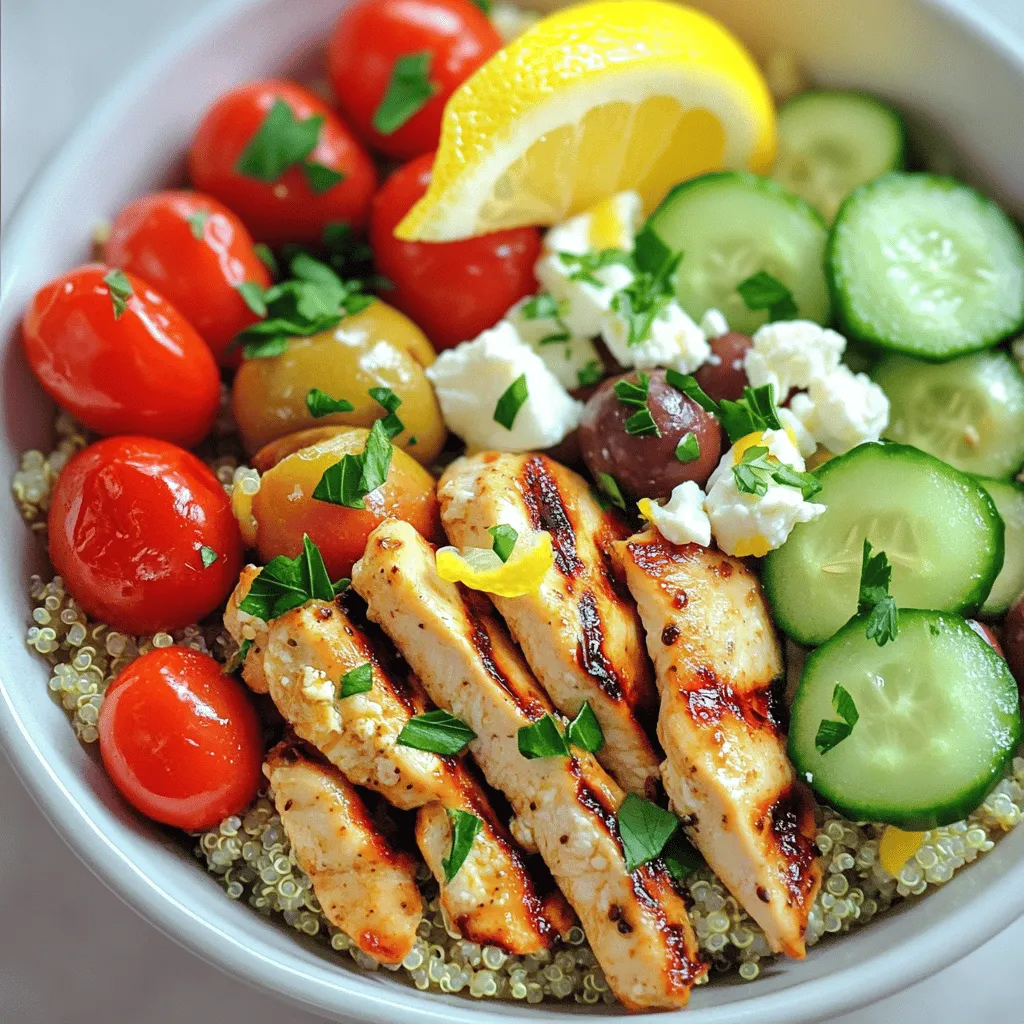
Craving a burst of flavors in a bowl? You’re in the right place! This Greek Chicken Bowl is not only
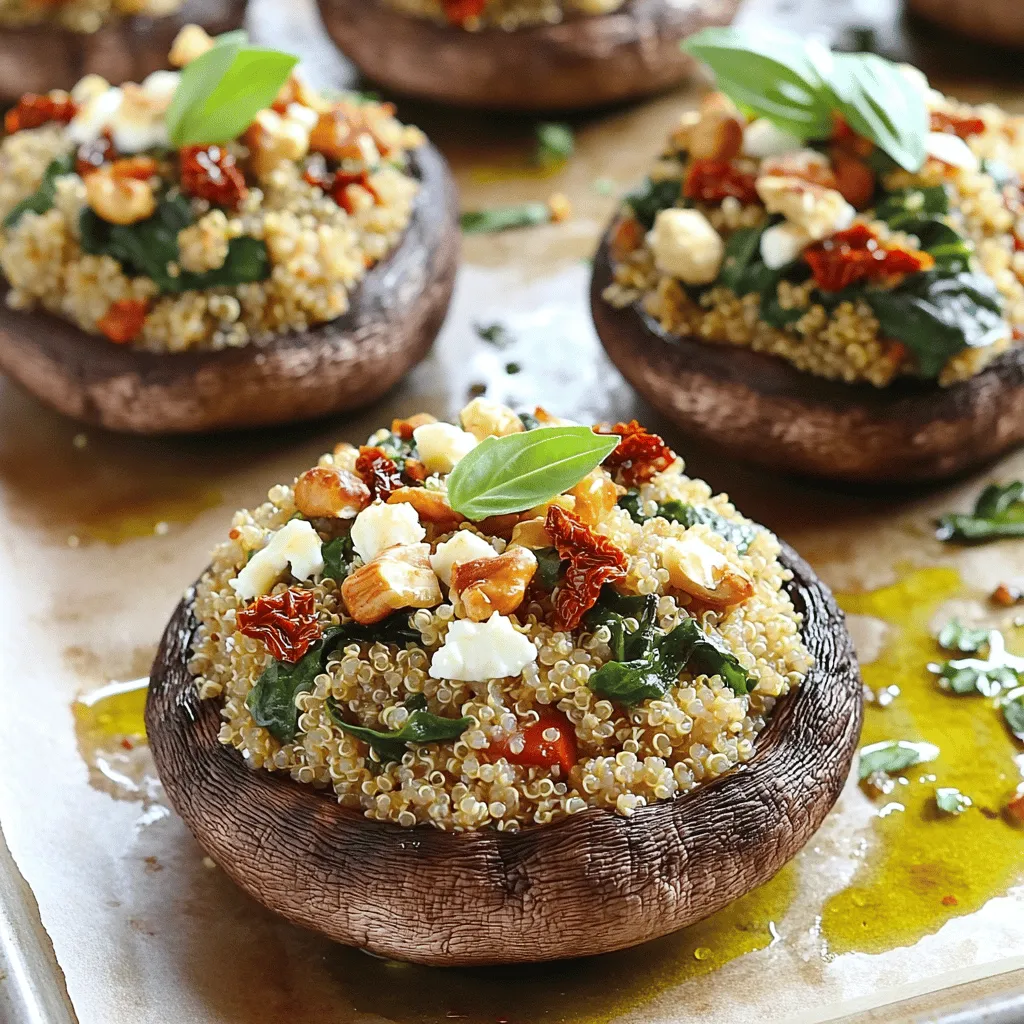
Are you on the hunt for a tasty and simple dish? Stuffed portobello mushrooms are a perfect choice. Packed with
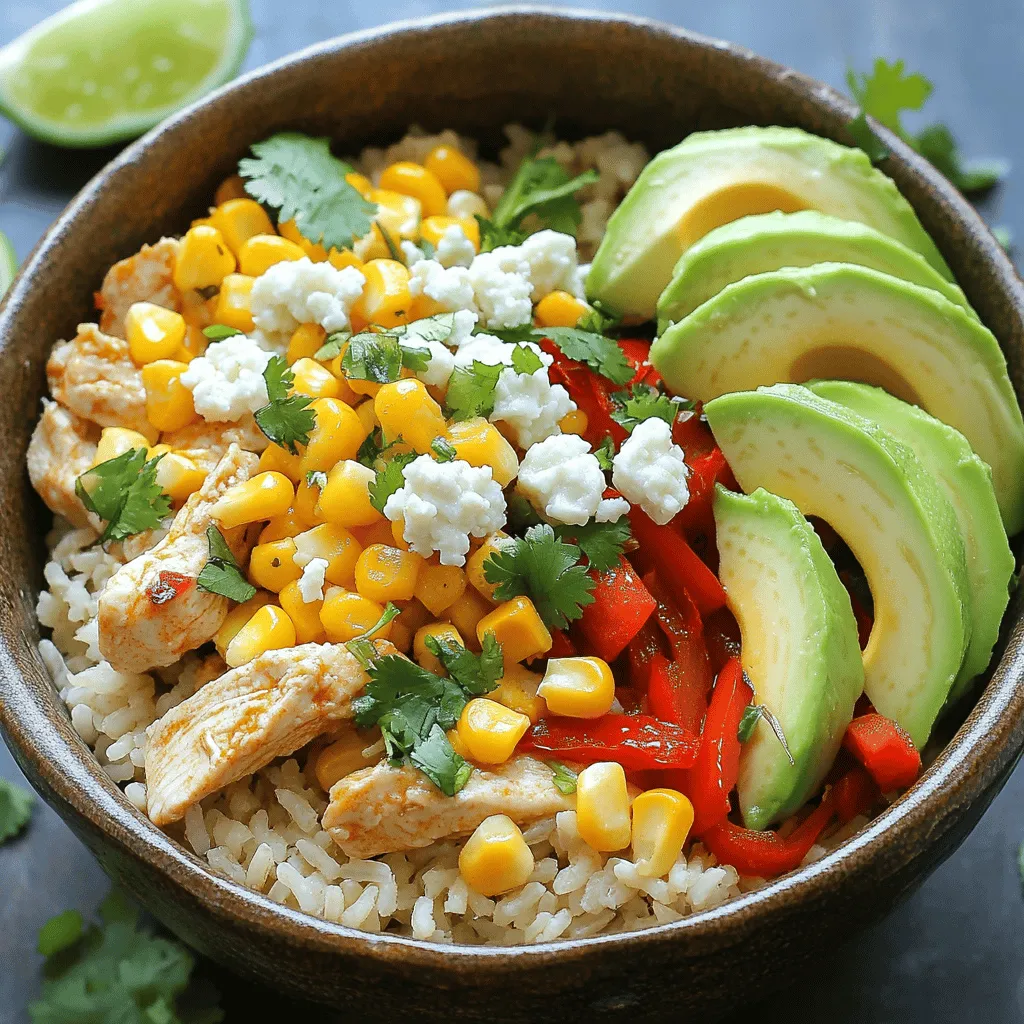
Are you ready to whip up a tasty meal? The Street Corn Chicken Rice Bowl combines juicy chicken, sweet corn,
