
Air Fryer Garlic Parmesan Wings Crispy and Savory Treat
Looking to impress your friends or spice up game day? You’ll love these Air Fryer Garlic Parmesan Wings! They’re crispy,
Looking to impress your friends or spice up game day? You’ll love these Air Fryer Garlic Parmesan Wings! They’re crispy,

Ready to bake something truly special? This Caramel Apple Upside-Down Loaf Cake is a fun twist on the classic dessert.
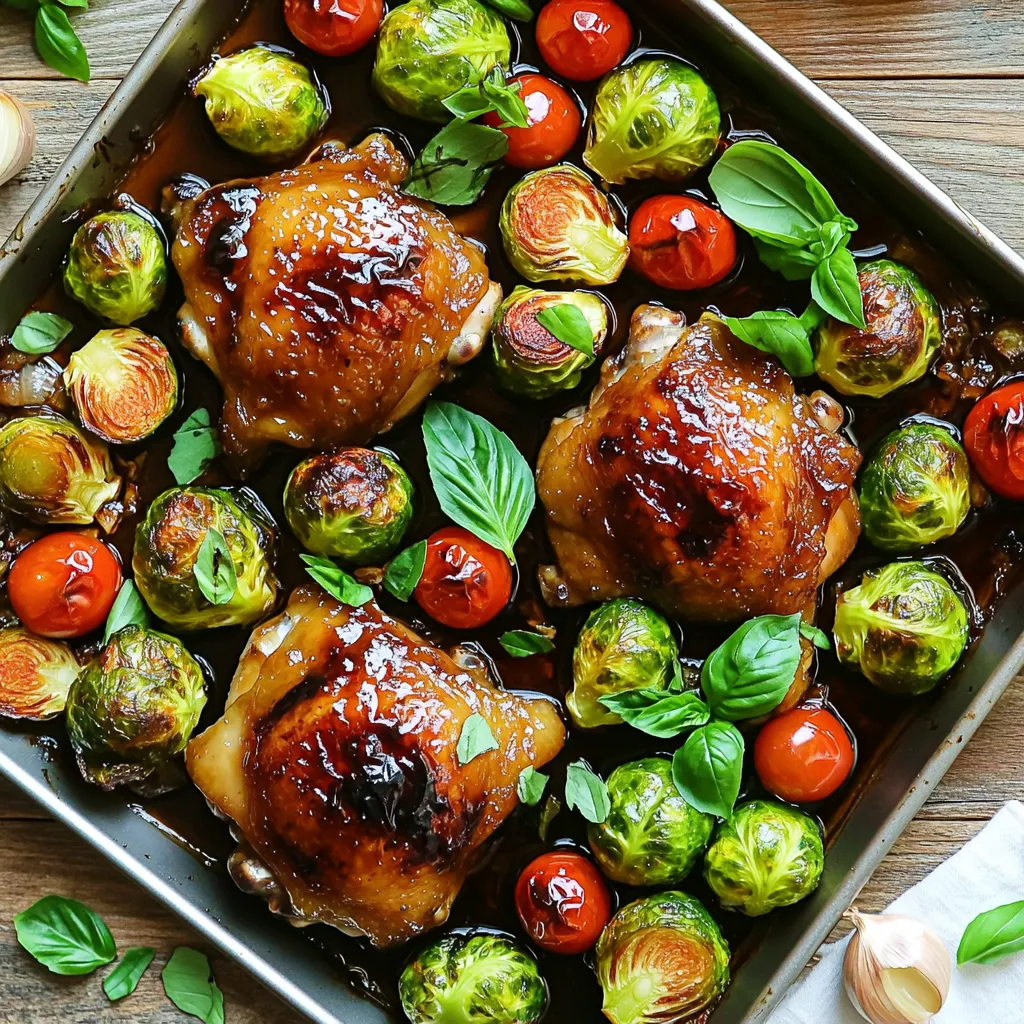
Are you ready for a meal that’s easy, tasty, and healthy? This Sheet-Pan Balsamic Chicken with Brussels Sprouts is just

As the leaves turn and the air gets crisper, there’s nothing quite like a Pumpkin Spice White Hot Chocolate to

Craving a sweet treat that’s easy to make? Look no further! My No-Bake Chocolate Peanut Butter Oat Squares are a
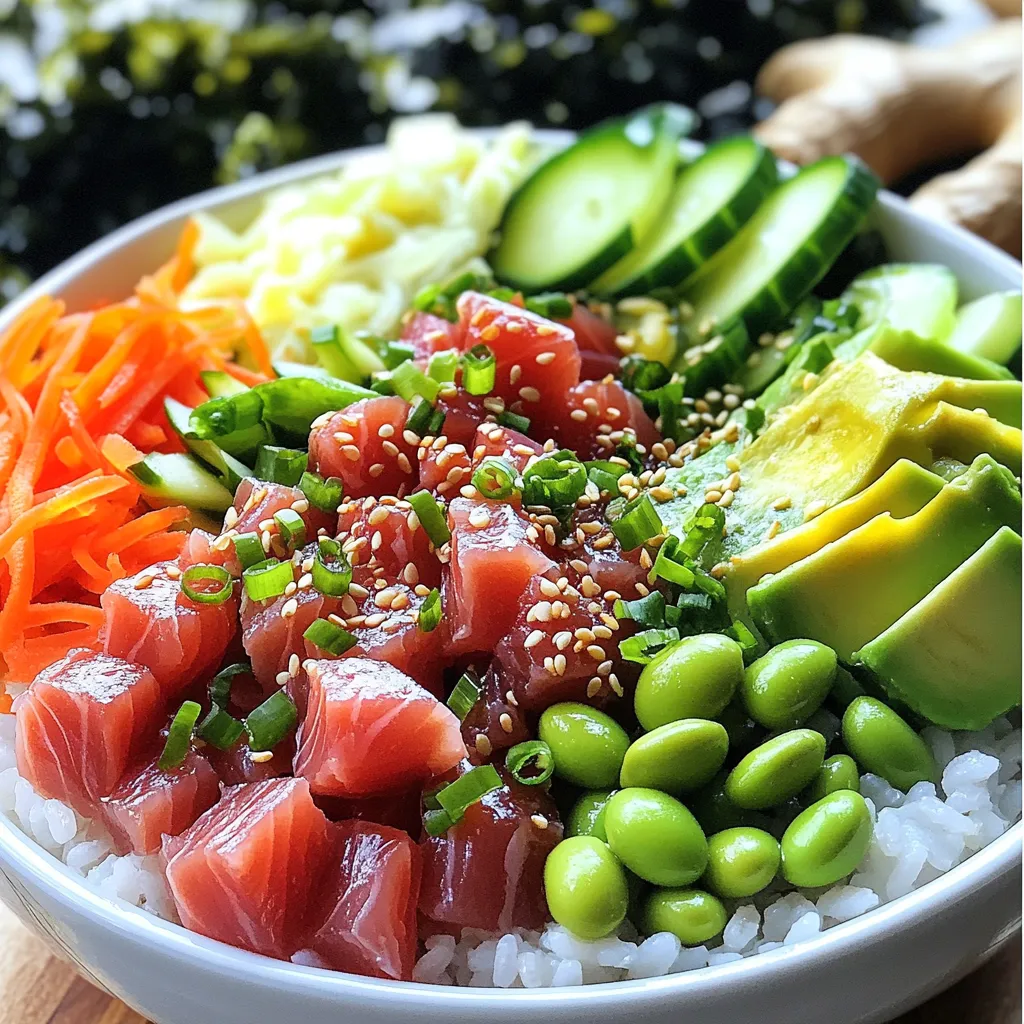
If you crave a fresh and tasty meal, try my Minute Tuna Poke Bowls. These bowls are quick to make,
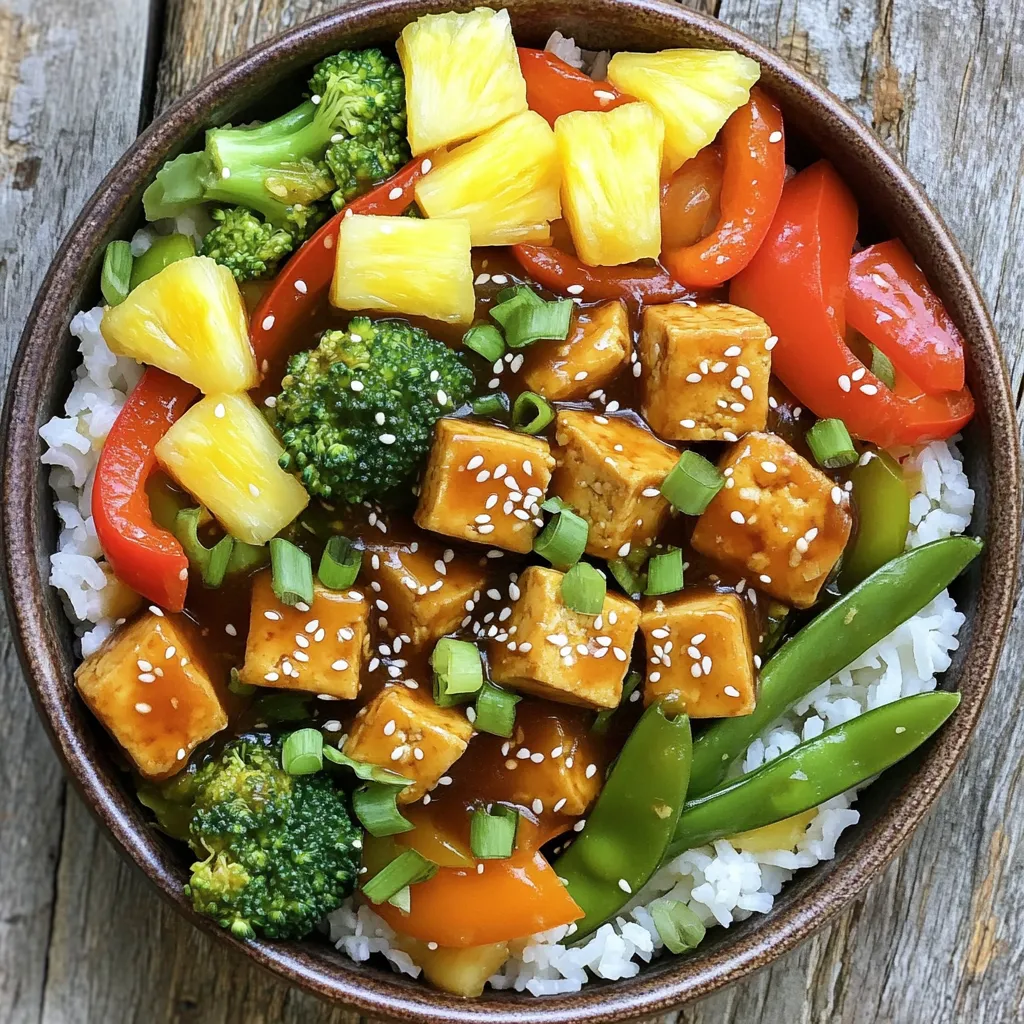
Are you ready to make a meal that is both tasty and easy? My Sweet and Sour Tofu Bowls will

Are you ready for a sweet treat that combines salty and sweet in one bite? My Salted Caramel Pretzel Bark

Do you crave a warm, tasty treat that fills your kitchen with the smell of cinnamon and apples? Look no
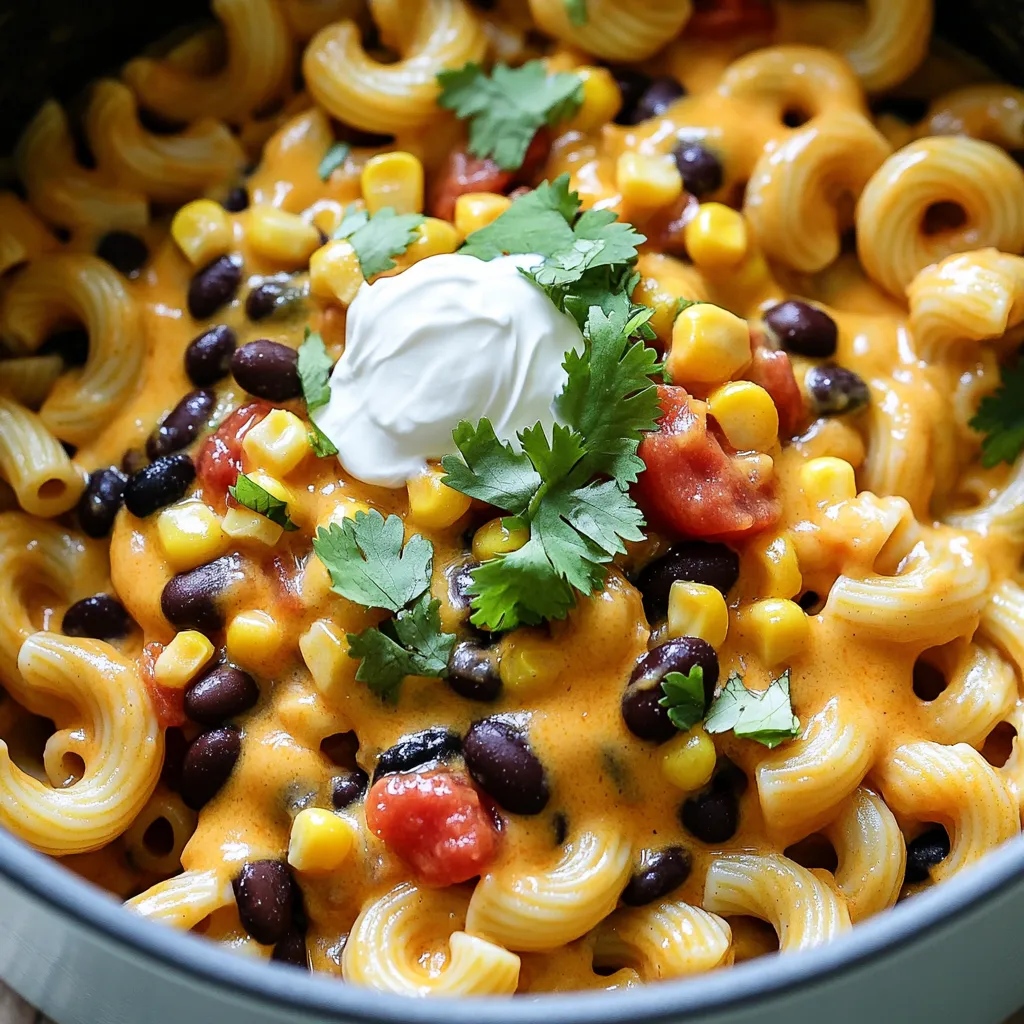
Are you ready for a meal that’s quick, cheesy, and bursting with flavor? One Pot Cheesy Taco Pasta is just
