
Slow Cooker Creamy Tuscan Chicken Simple and Delicious
Want to impress your family with an easy yet mouthwatering meal? Look no further! My Slow Cooker Creamy Tuscan Chicken
Want to impress your family with an easy yet mouthwatering meal? Look no further! My Slow Cooker Creamy Tuscan Chicken

Looking for a quick, tasty treat? My No Bake Peanut Butter Chocolate Oat Bars are perfect for you! This recipe
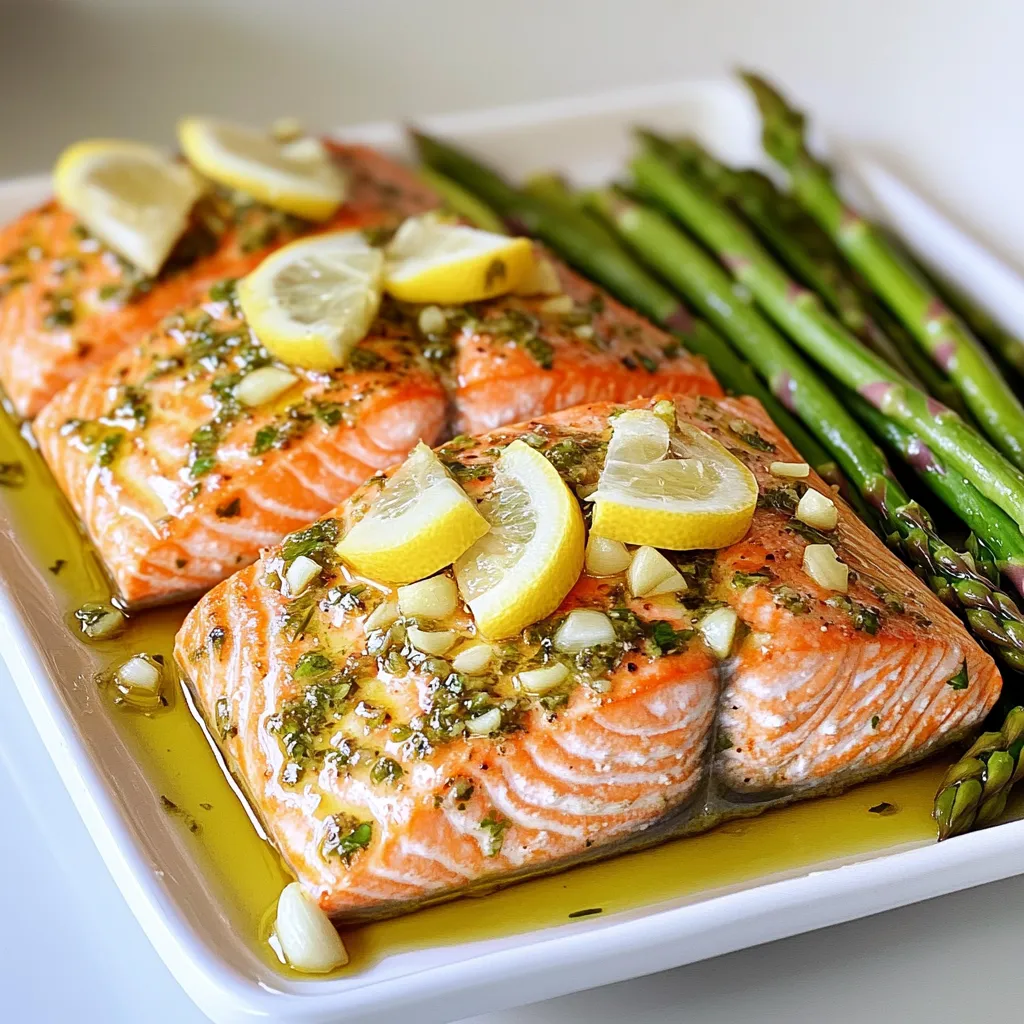
Get ready to impress your taste buds with my Garlic Herb Salmon and Asparagus Sheet Pan Delight! This easy dish
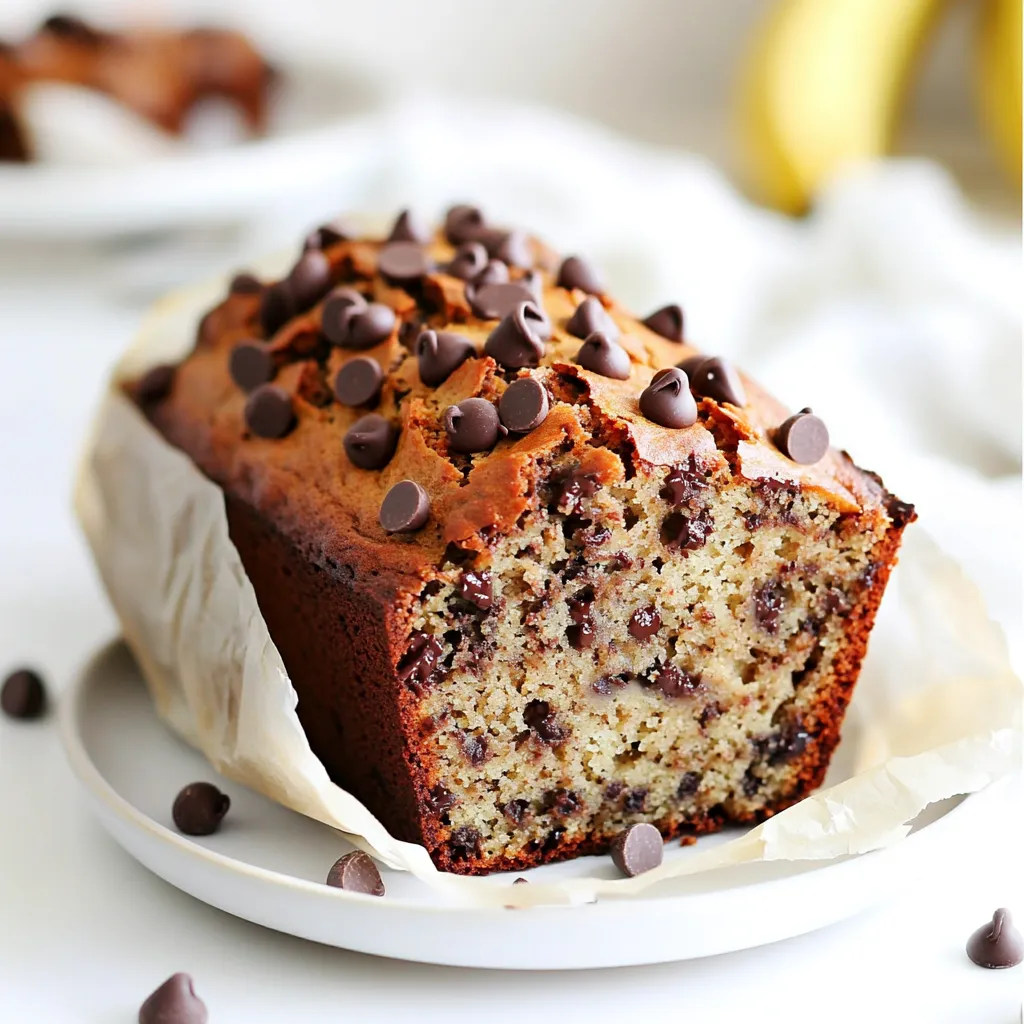
If you’ve ever craved the warm, comforting taste of chocolate chip banana bread, you’re in for a treat! In this

Craving something delicious that’s even better than takeout? You’re in the right place! My Easy and Crispy Better Than Takeout
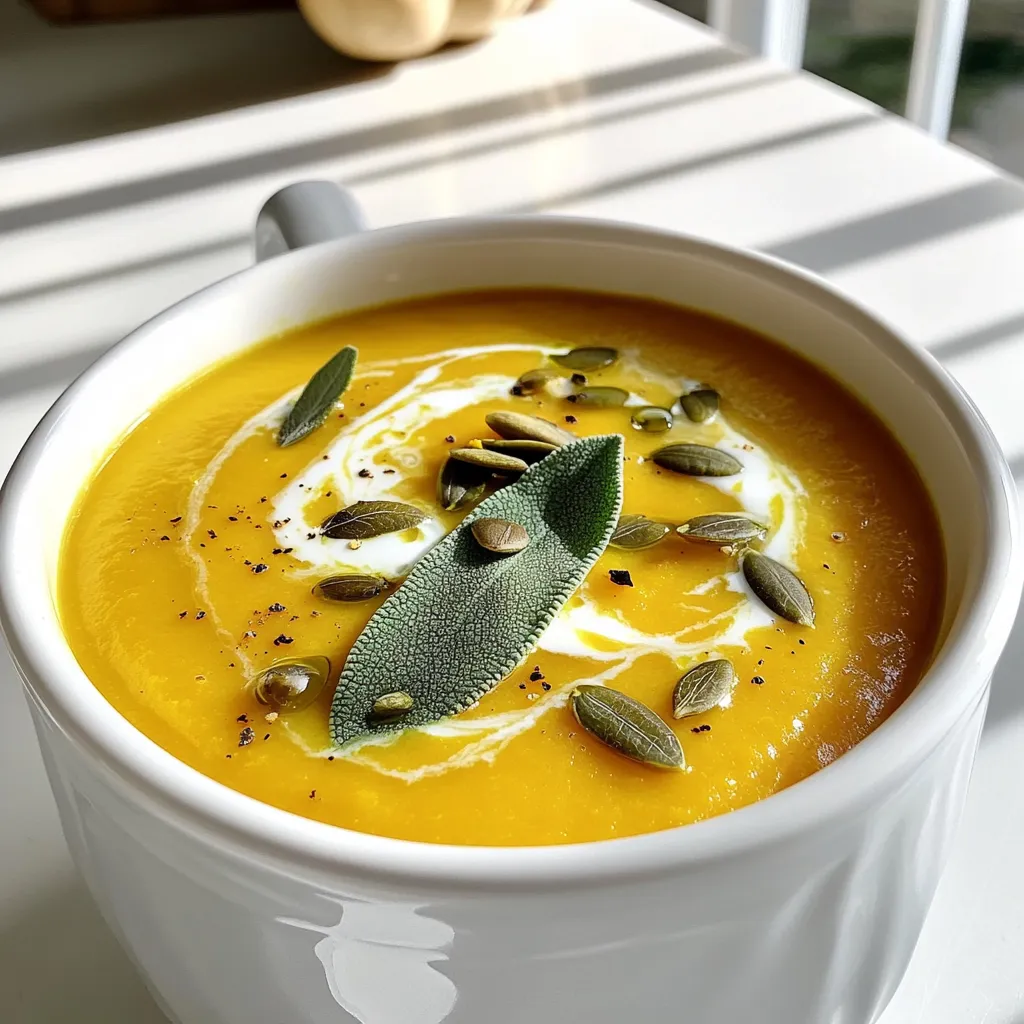
Dive into the cozy world of Butternut Squash Sage Soup—a meal that warms both heart and soul. This rich, creamy
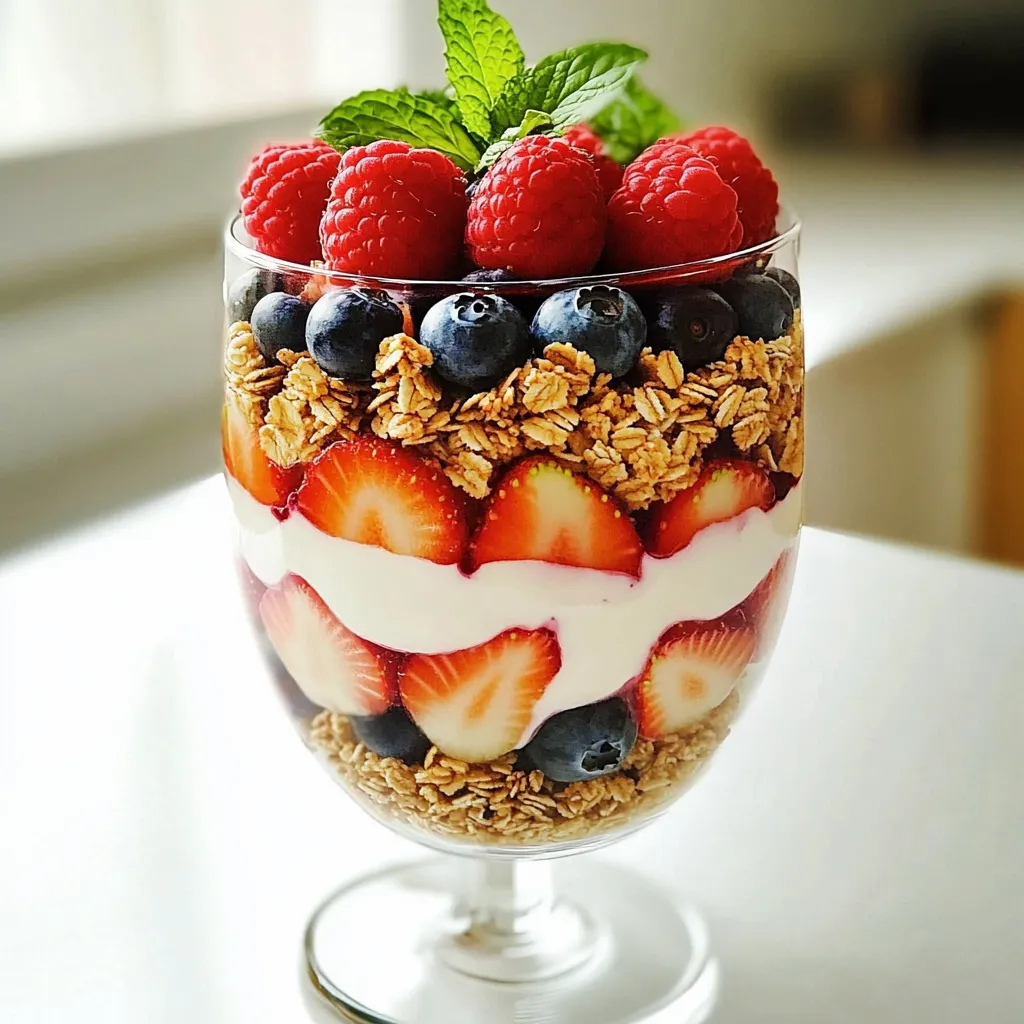
Are you ready to indulge in a tasty treat that’s both healthy and satisfying? The Greek Yogurt Berry Parfait is

Craving a meal that’s creamy, savory, and oh-so-satisfying? You’re in the right place! This Garlic Parmesan Tortellini with Chicken Delight

Indulge your senses with my Triple Chocolate Chip Bakery Muffins Delectable Delight! These muffins are rich, soft, and loaded with
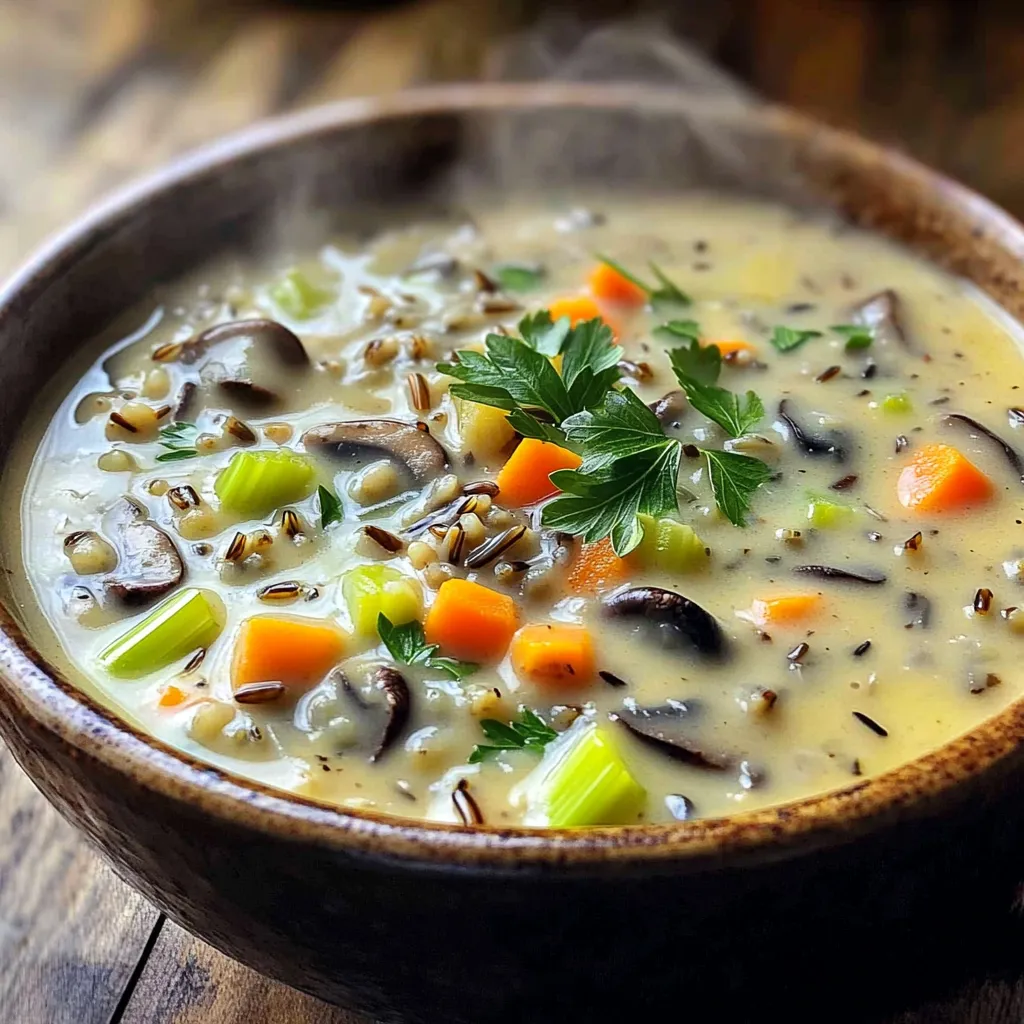
Warm up your kitchen with my Slow Cooker Creamy Wild Rice Mushroom Soup Delight. This rich and hearty soup combines
