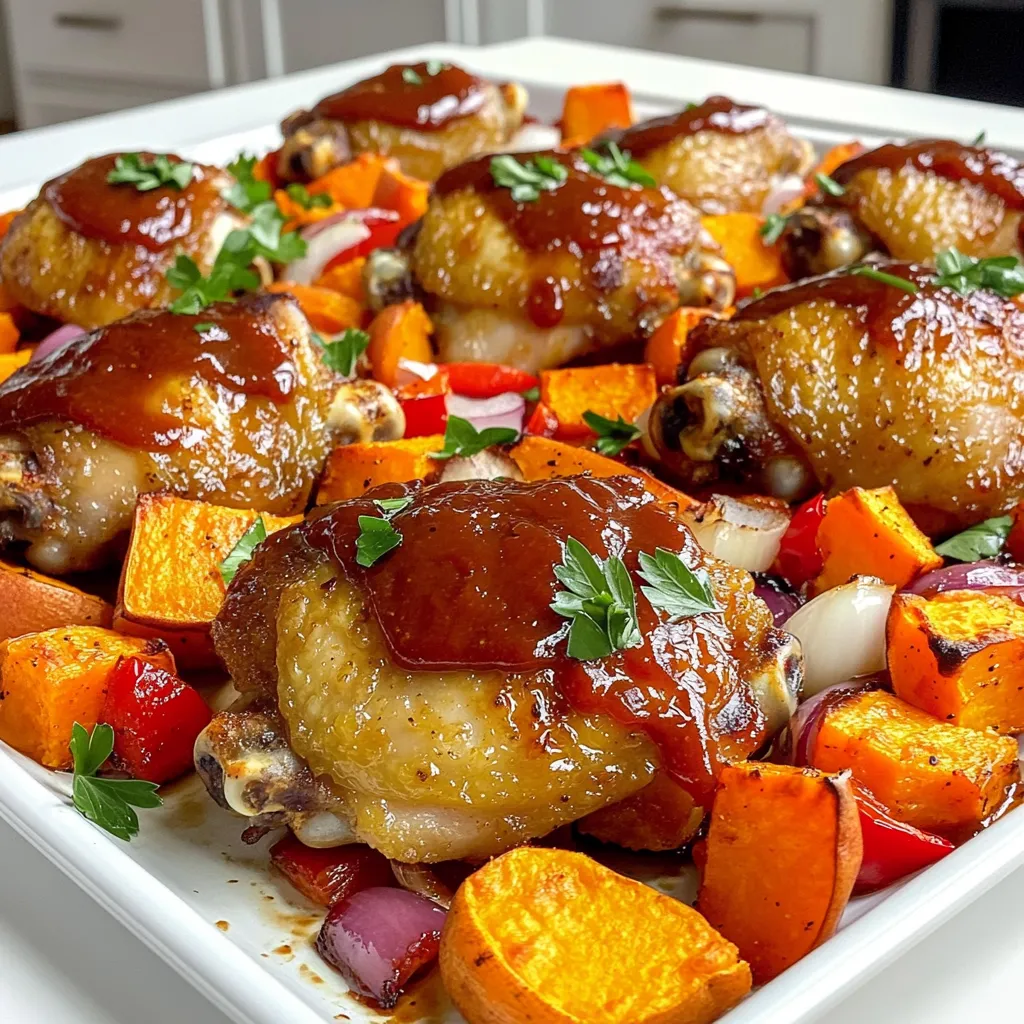
Sheet-Pan BBQ Chicken & Sweet Potatoes Delight
Looking for a simple, tasty dinner? This Sheet-Pan BBQ Chicken & Sweet Potatoes Delight is just what you need! With
Looking for a simple, tasty dinner? This Sheet-Pan BBQ Chicken & Sweet Potatoes Delight is just what you need! With
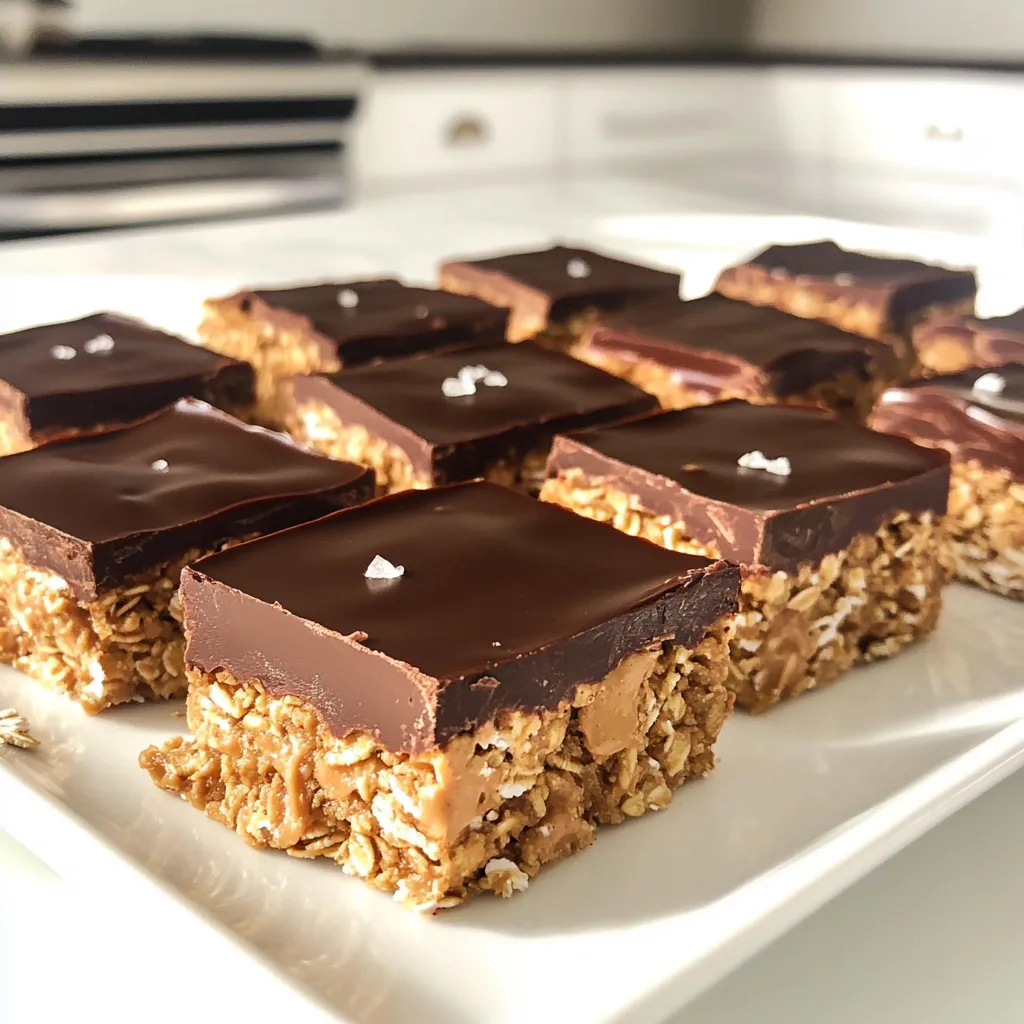
Are you craving a sweet treat that’s easy to make and no oven needed? Look no further! My No-Bake Chocolate
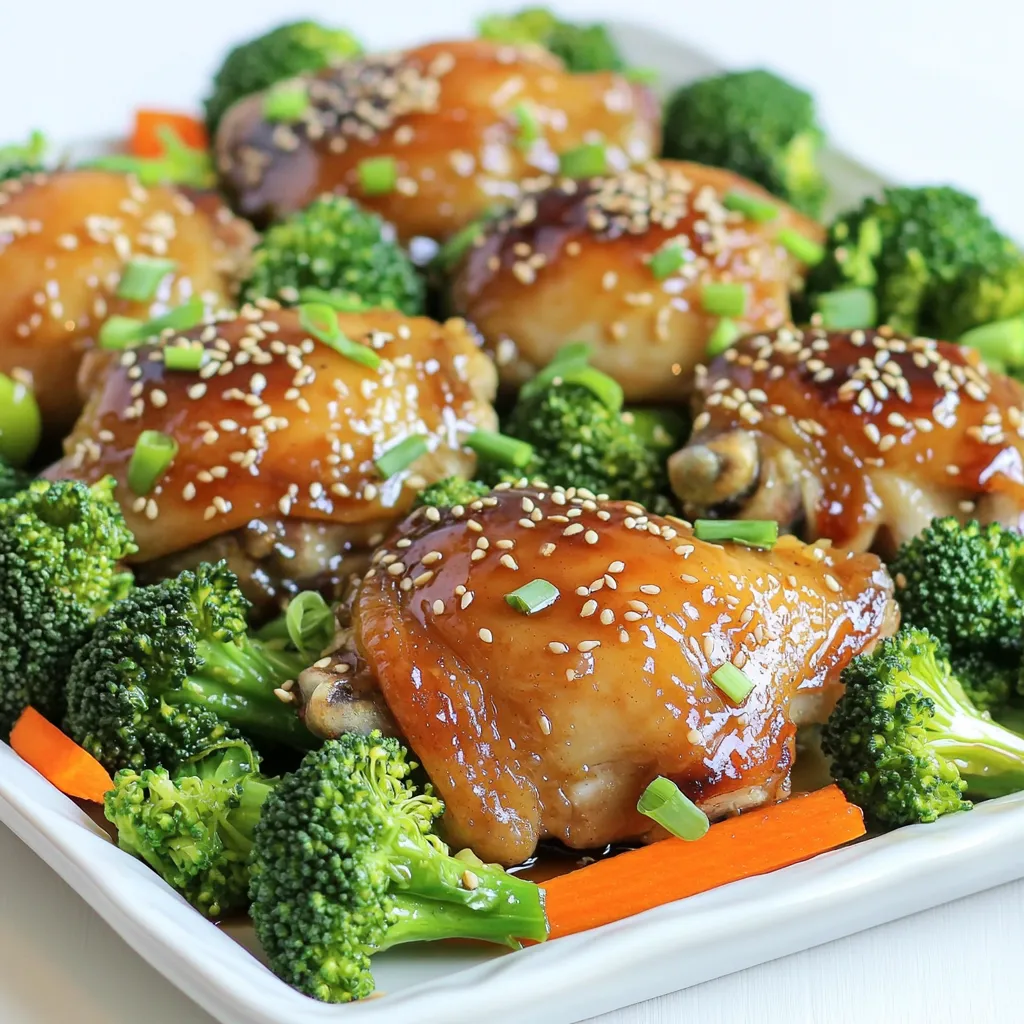
If you’re craving a quick and delicious meal, look no further! My Sheet-Pan Honey Garlic Chicken and Broccoli Delight is
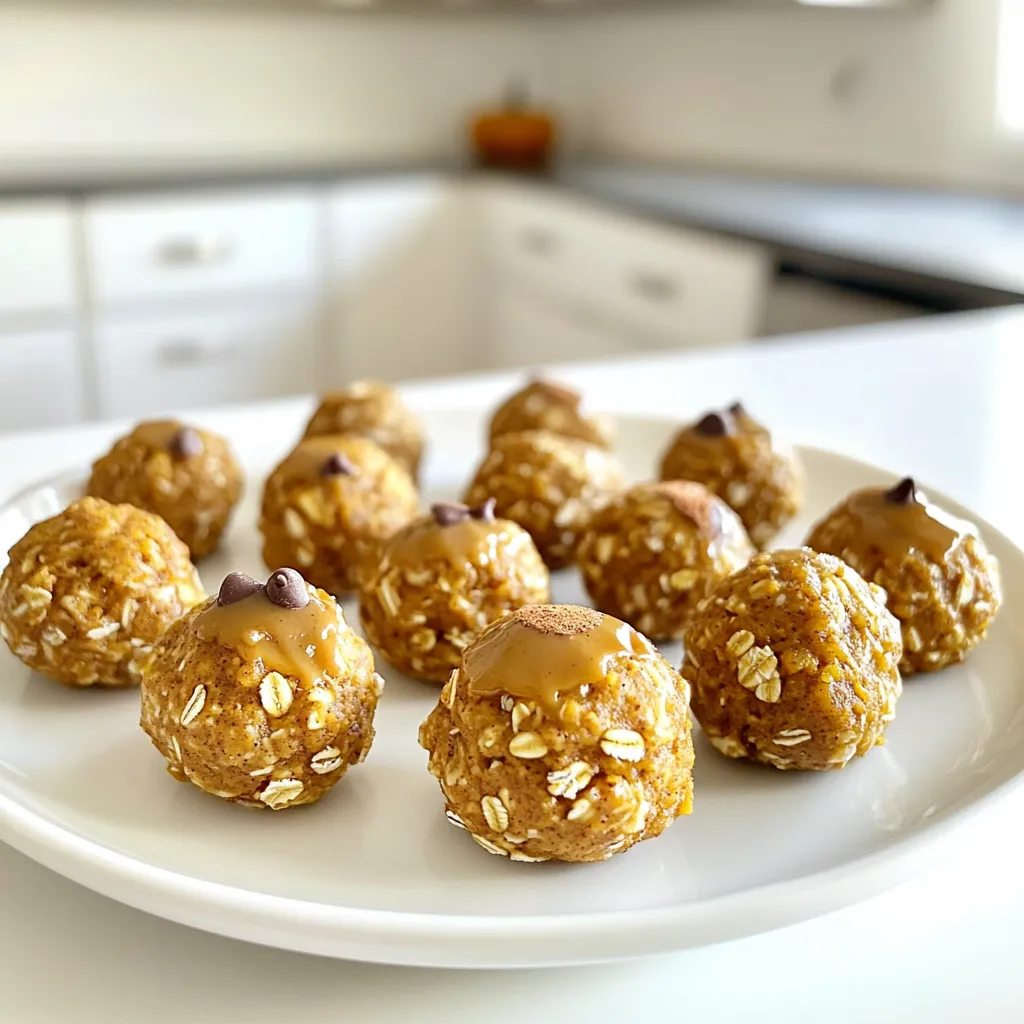
Looking for a quick, healthy snack that hits all the right notes? My No-Bake Pumpkin Spice Protein Bites are perfect
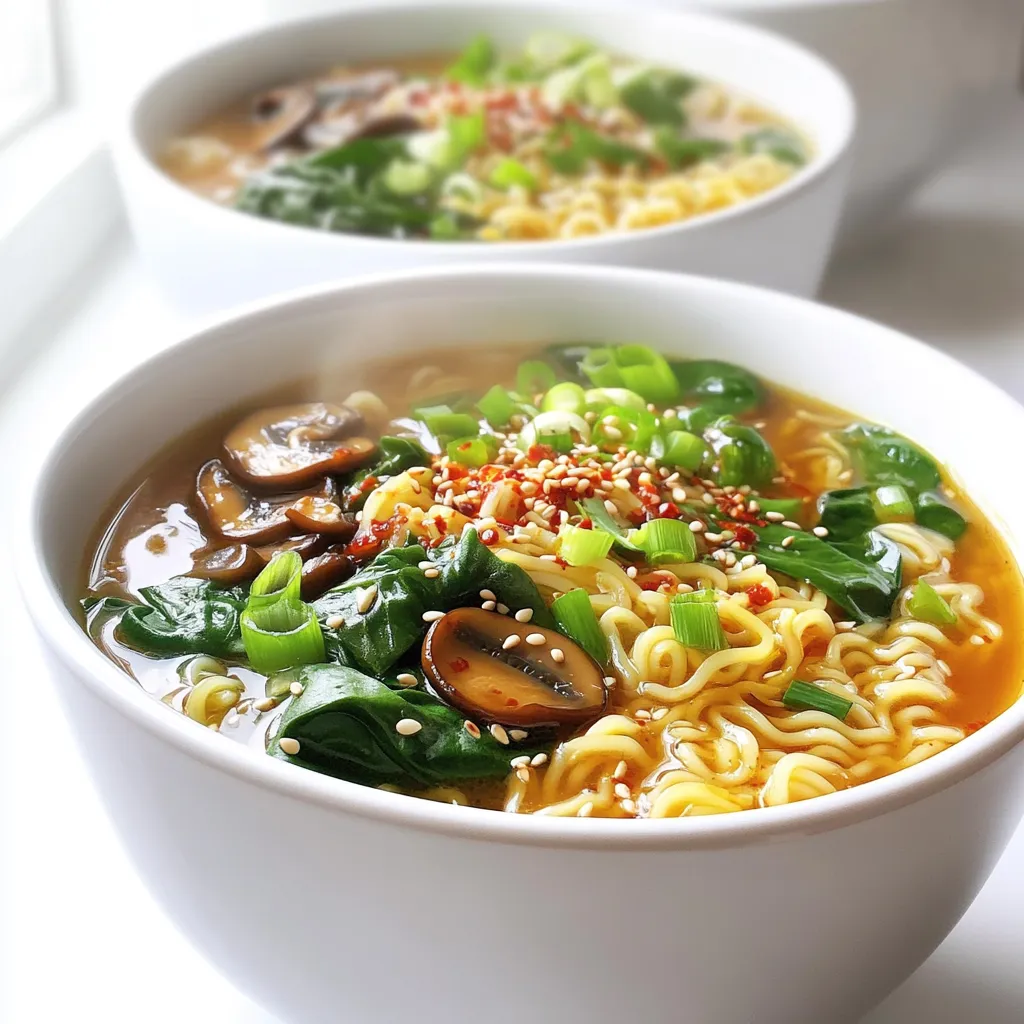
Looking for a quick, tasty meal? I have just the thing: Minute Garlic Chili Oil Ramen! In this post, I’ll
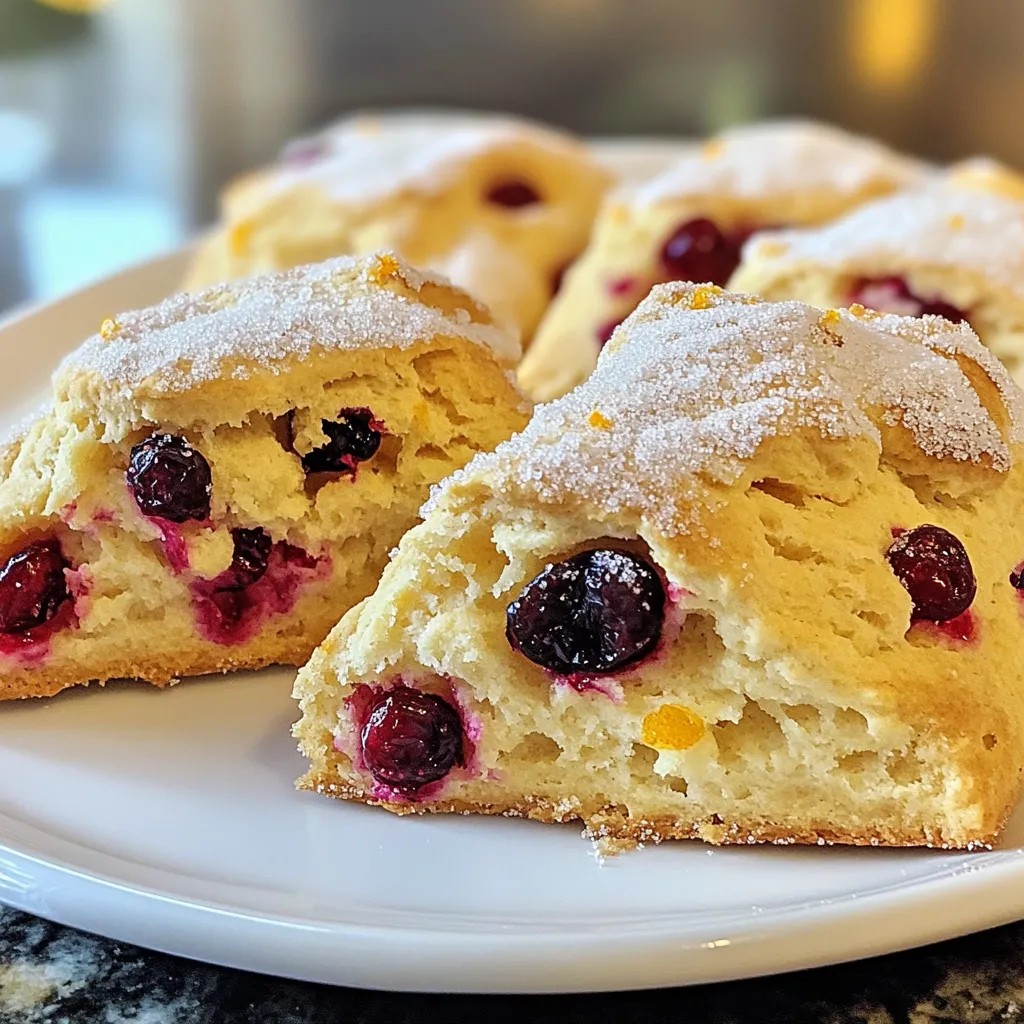
Are you ready to bring the bakery home? These Bakery-Style Cranberry Orange Scones are simple to make and bursting with
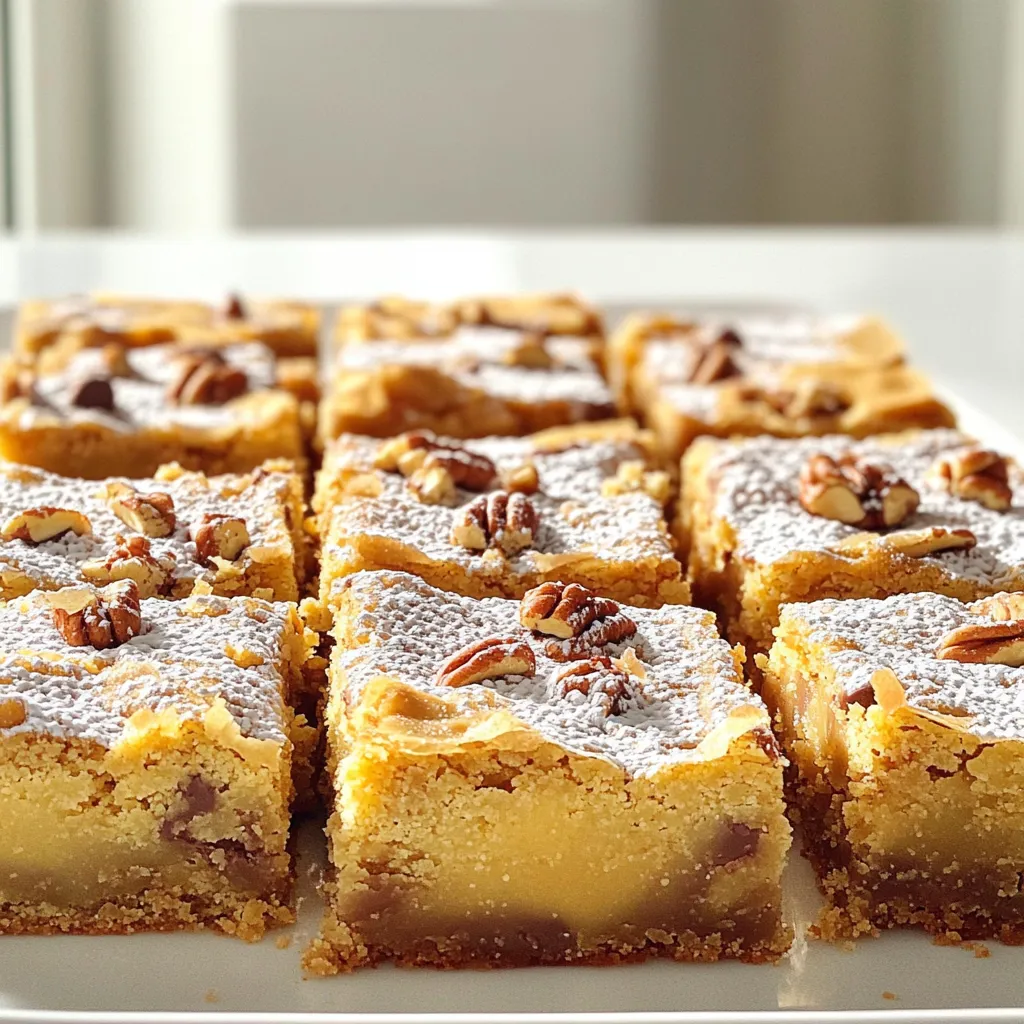
If you love sweet treats, my Brown Butter Pecan Blondies will delight your taste buds. This simple recipe blends nutty

Welcome to your new favorite weeknight dish: Easy One-Pan Creamy Garlic Spinach Gnocchi Delight! In just a few simple steps,
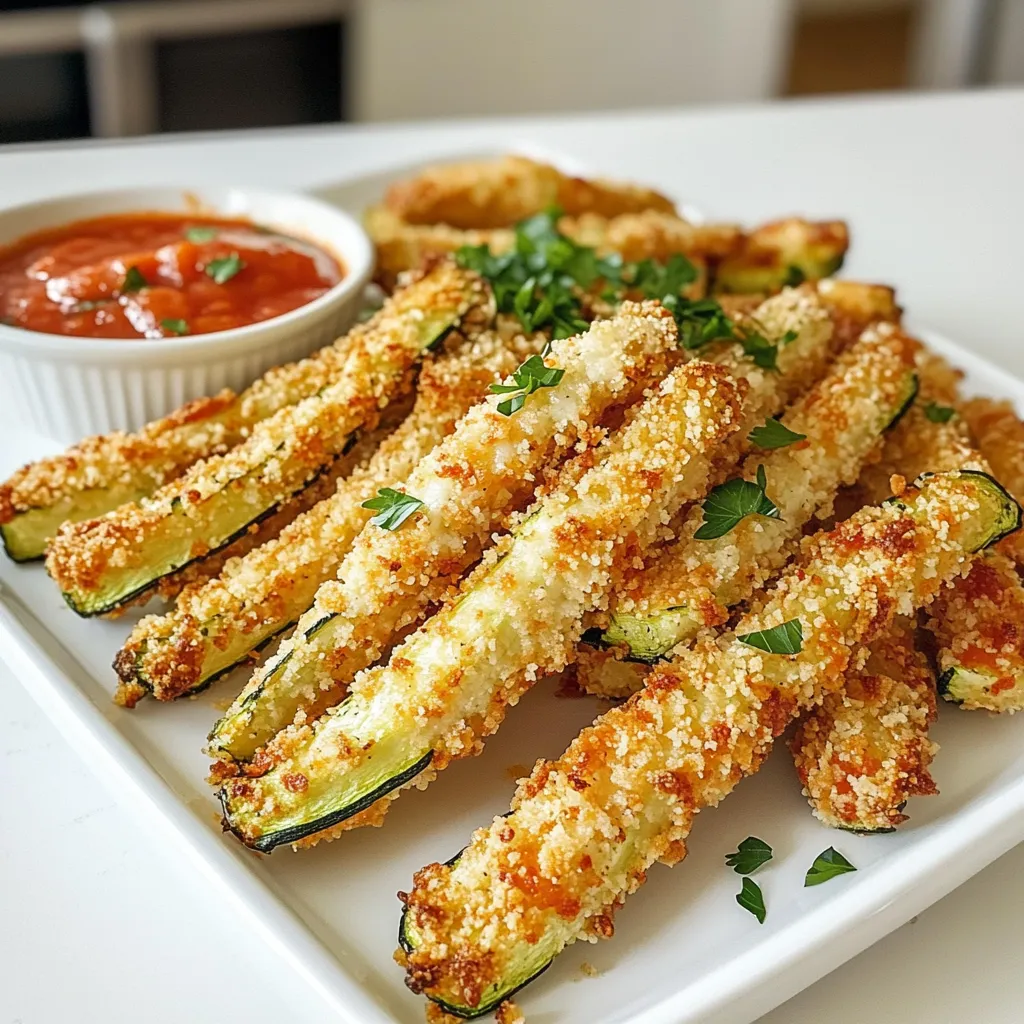
Looking for a simple and flavorful snack? Try these Crispy Air Fryer Parmesan Zucchini Fries! You’ll love how easy they

Warm up your fall with my Cozy Pumpkin White Hot Chocolate! This creamy delight combines sweet white chocolate, rich pumpkin,
