
Creamy Tuscan Chicken Skillet Delightful Weeknight Meal
Welcome to a culinary adventure with my Creamy Tuscan Chicken Skillet! This dish transforms a simple weeknight dinner into a
Welcome to a culinary adventure with my Creamy Tuscan Chicken Skillet! This dish transforms a simple weeknight dinner into a
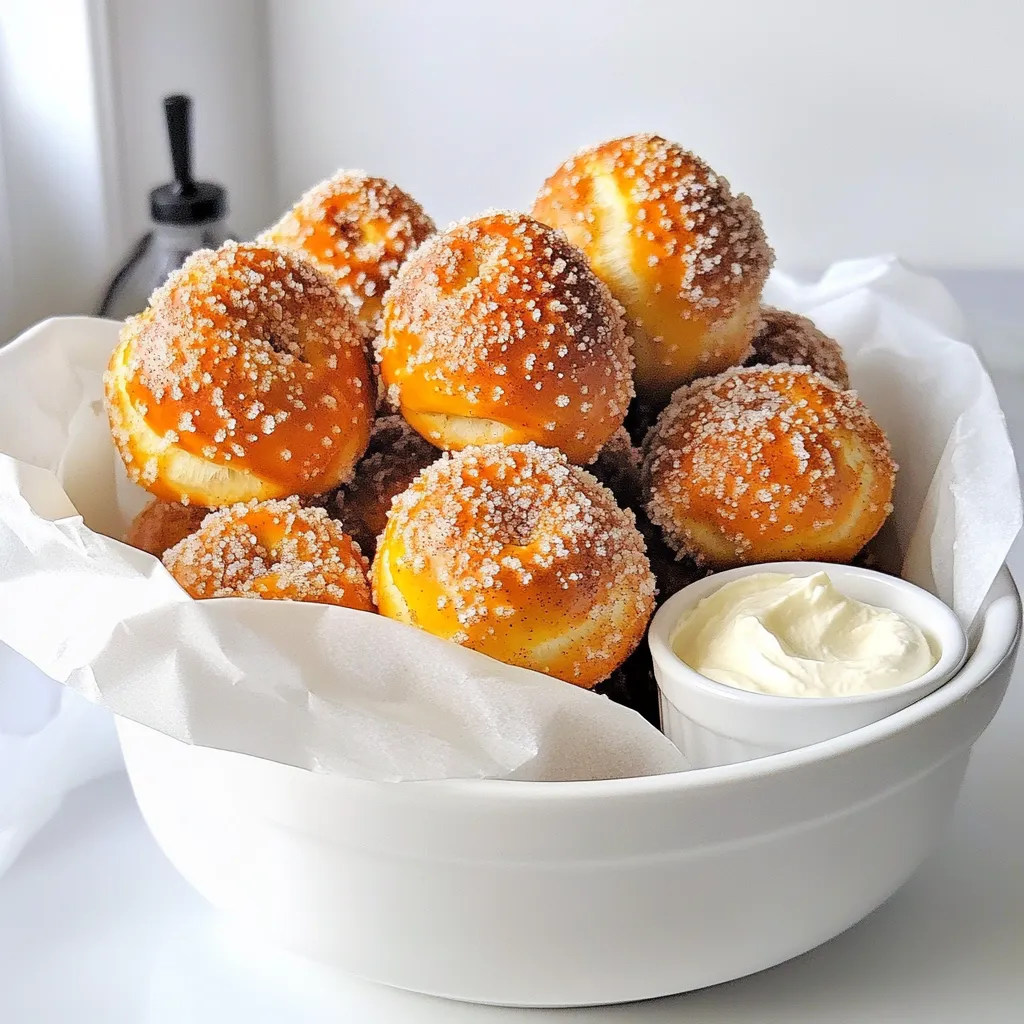
Get ready to treat yourself to warm, gooey Cinnamon Sugar Pretzel Bites with a creamy dip! These bite-sized delights are
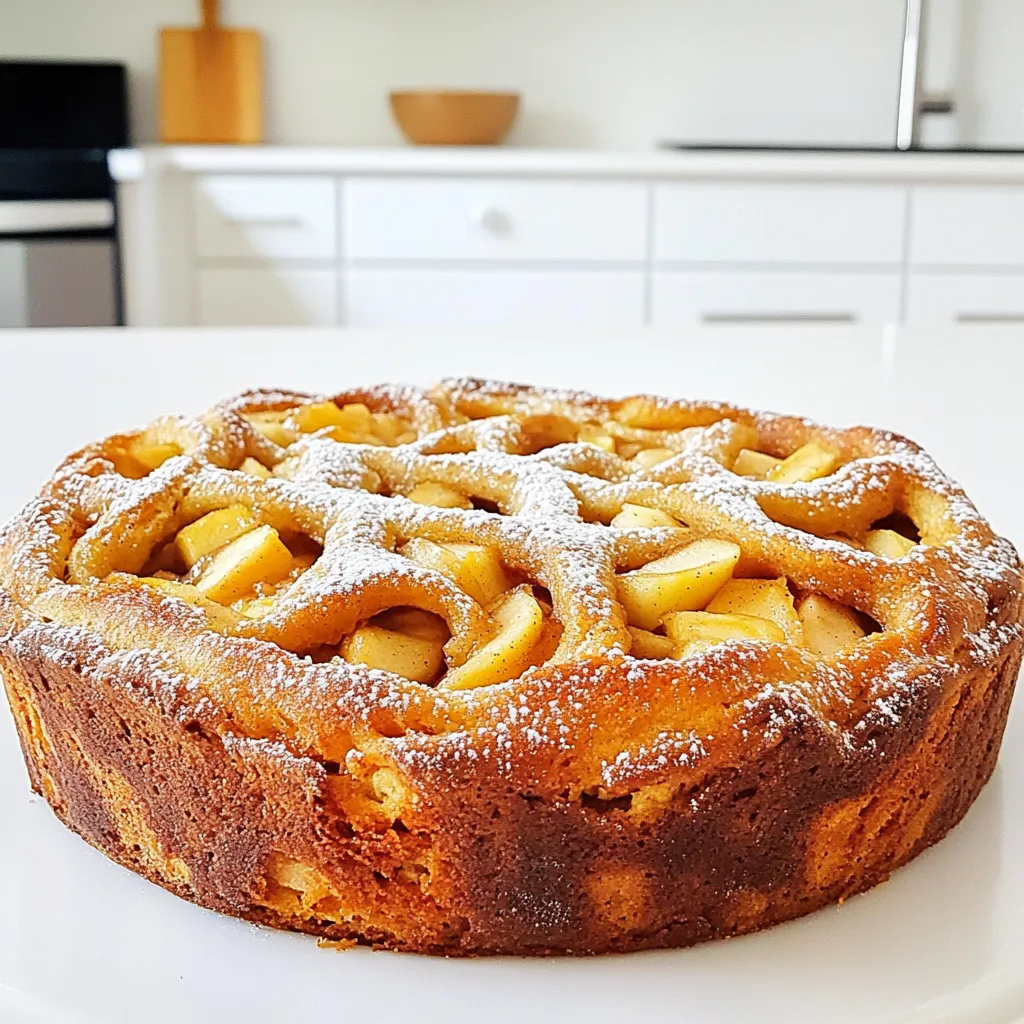
Get ready to indulge in a treat that combines the cozy charm of apple fritters with the classic goodness of
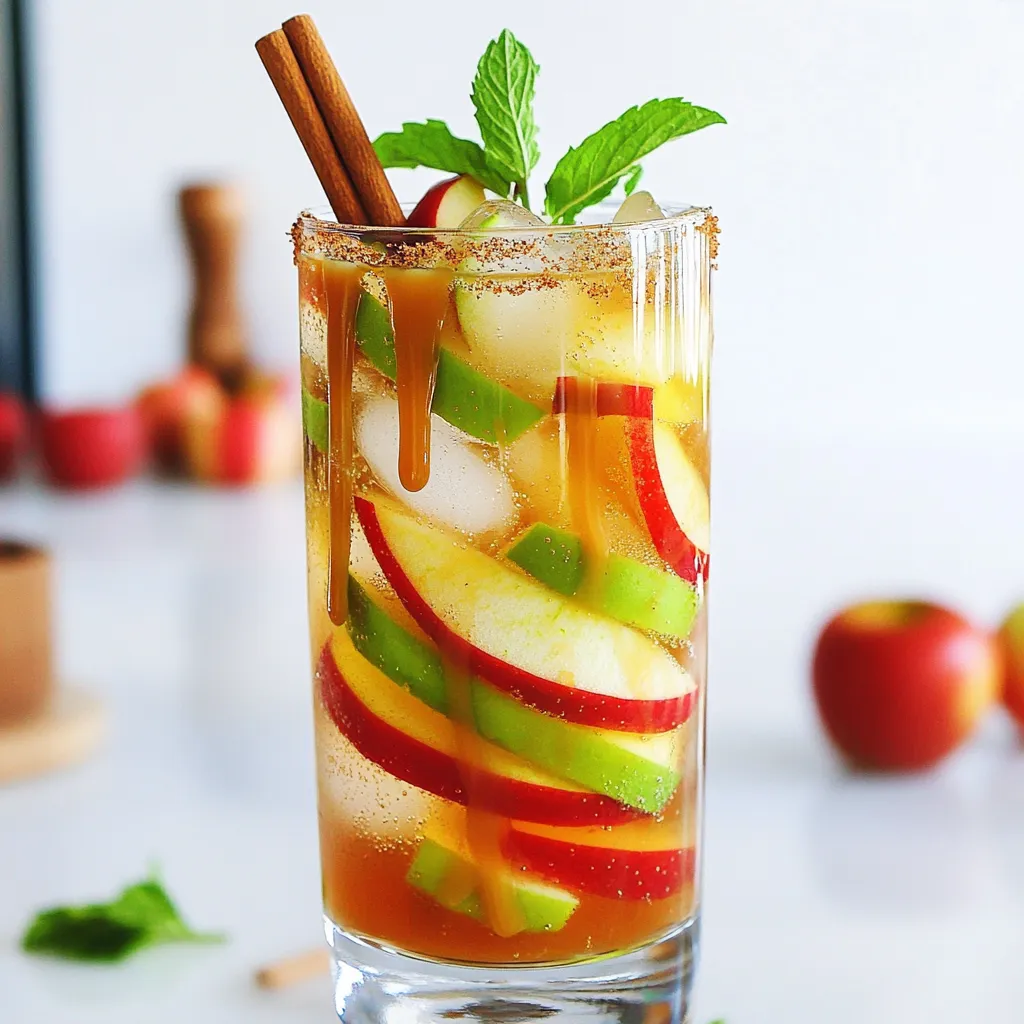
Fall is here, and it’s time to savor the season with a delightful drink. Caramel Apple Sangria combines the sweet

If you love warm, sweet treats, you’ll adore making maple pecan scones! This recipe is easy, fun, and perfect for
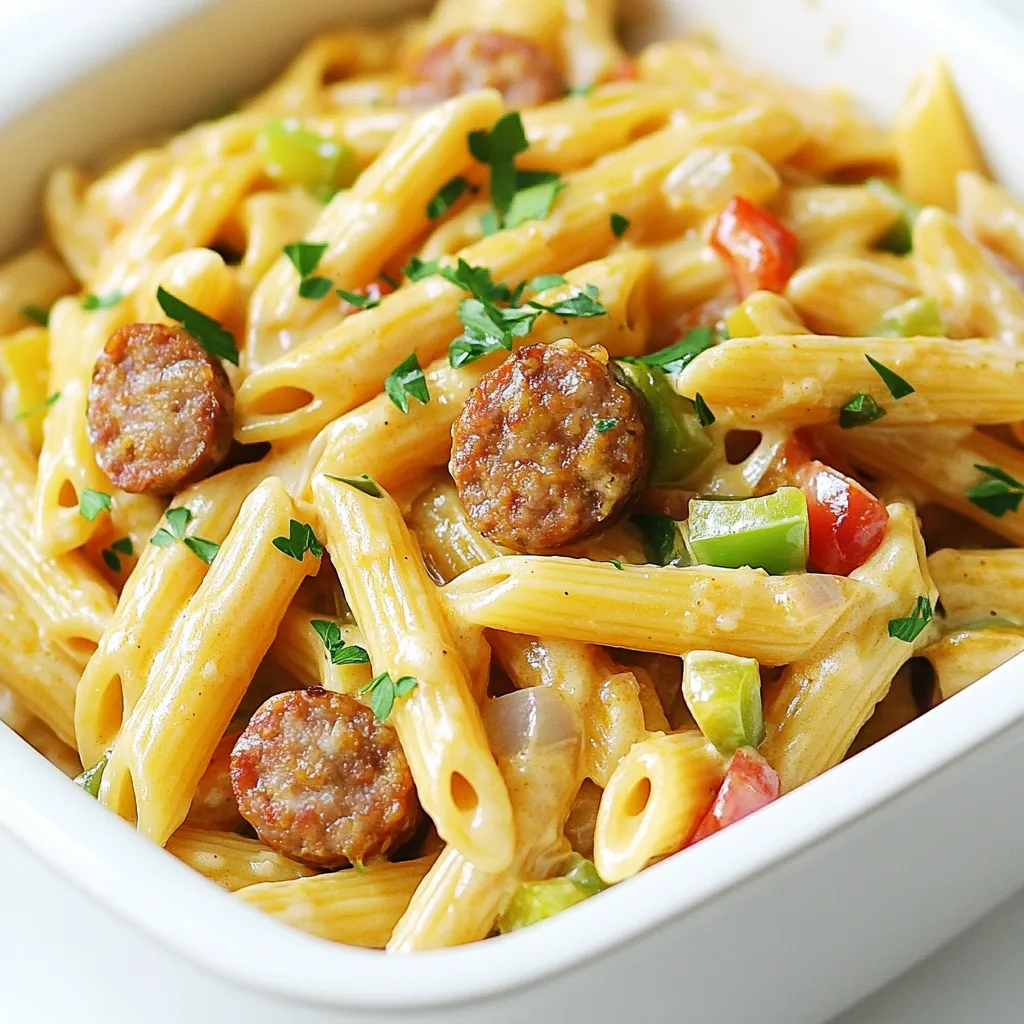
Looking for a quick and easy meal that packs a punch? You’re in the right place! This One-Pot Creamy Cajun
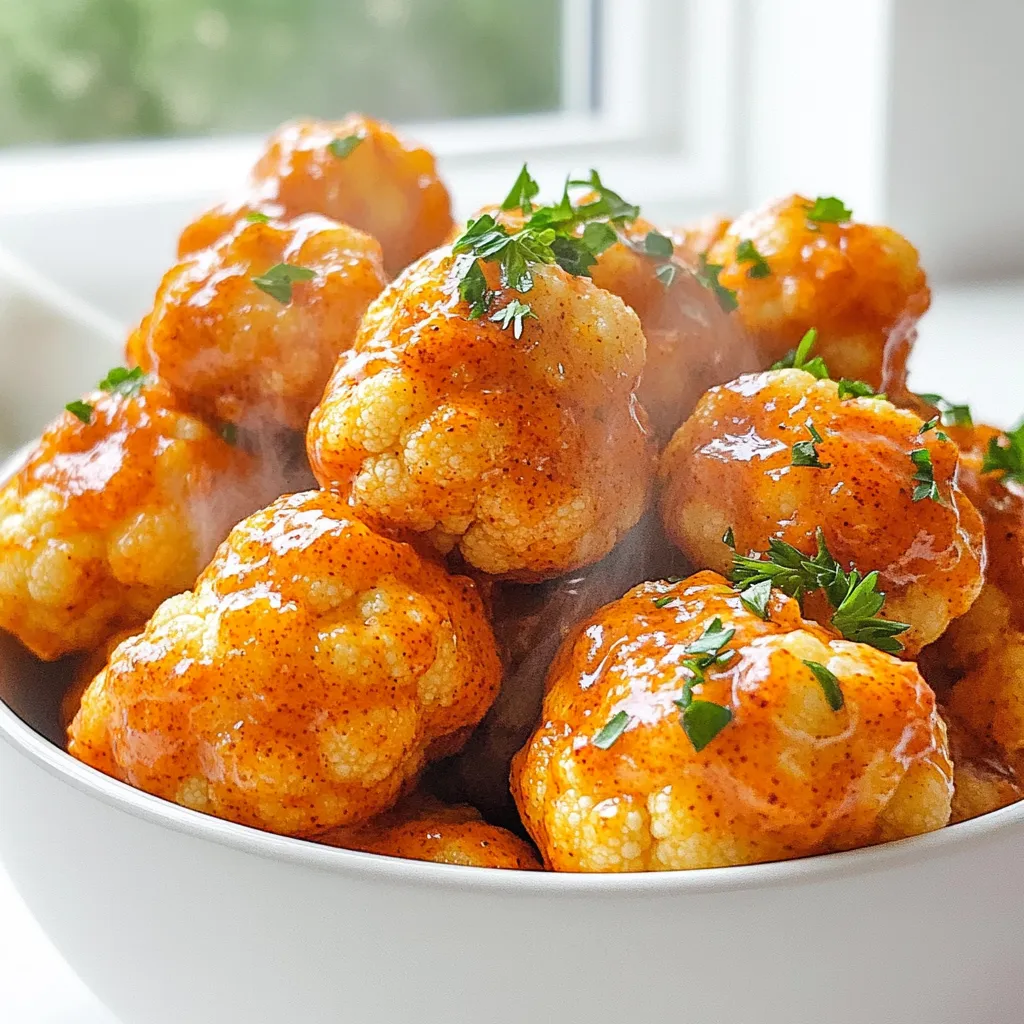
Looking for a tasty snack that packs a punch? Air Fryer Buffalo Cauliflower Bites are your answer! They’re easy to
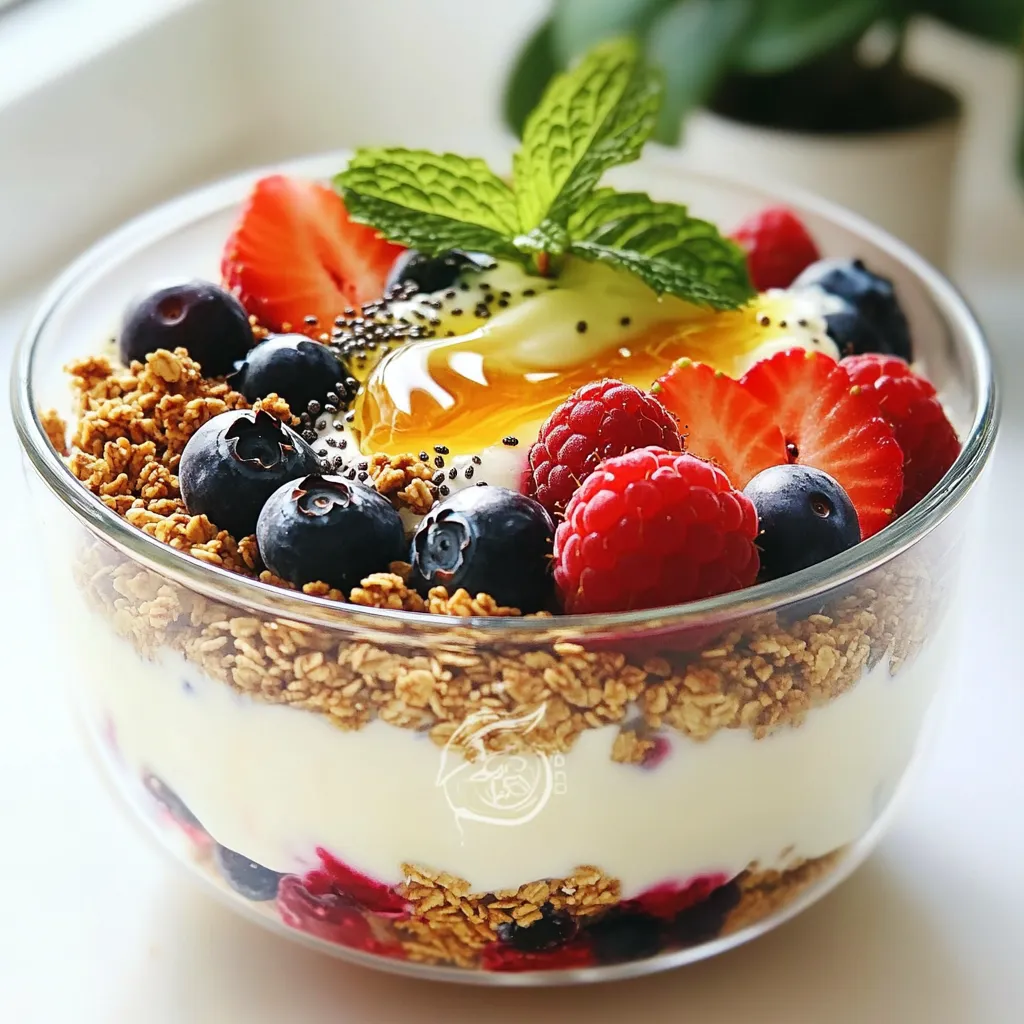
Looking for a tasty snack that packs a protein punch? You’re in the right place! My High-Protein Greek Yogurt Parfait
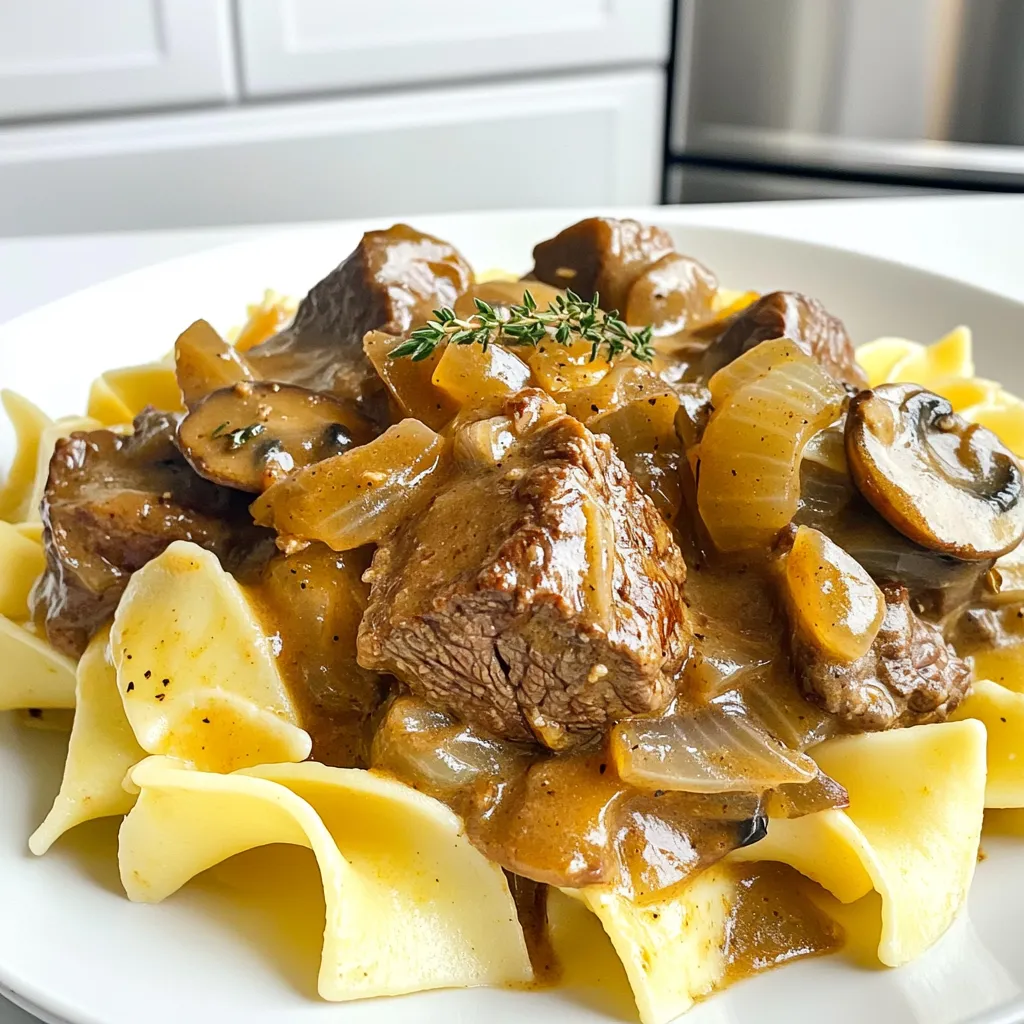
If you’re searching for a warm and filling meal that requires minimal effort, you’ve found it! Slow Cooker Beef Stroganoff
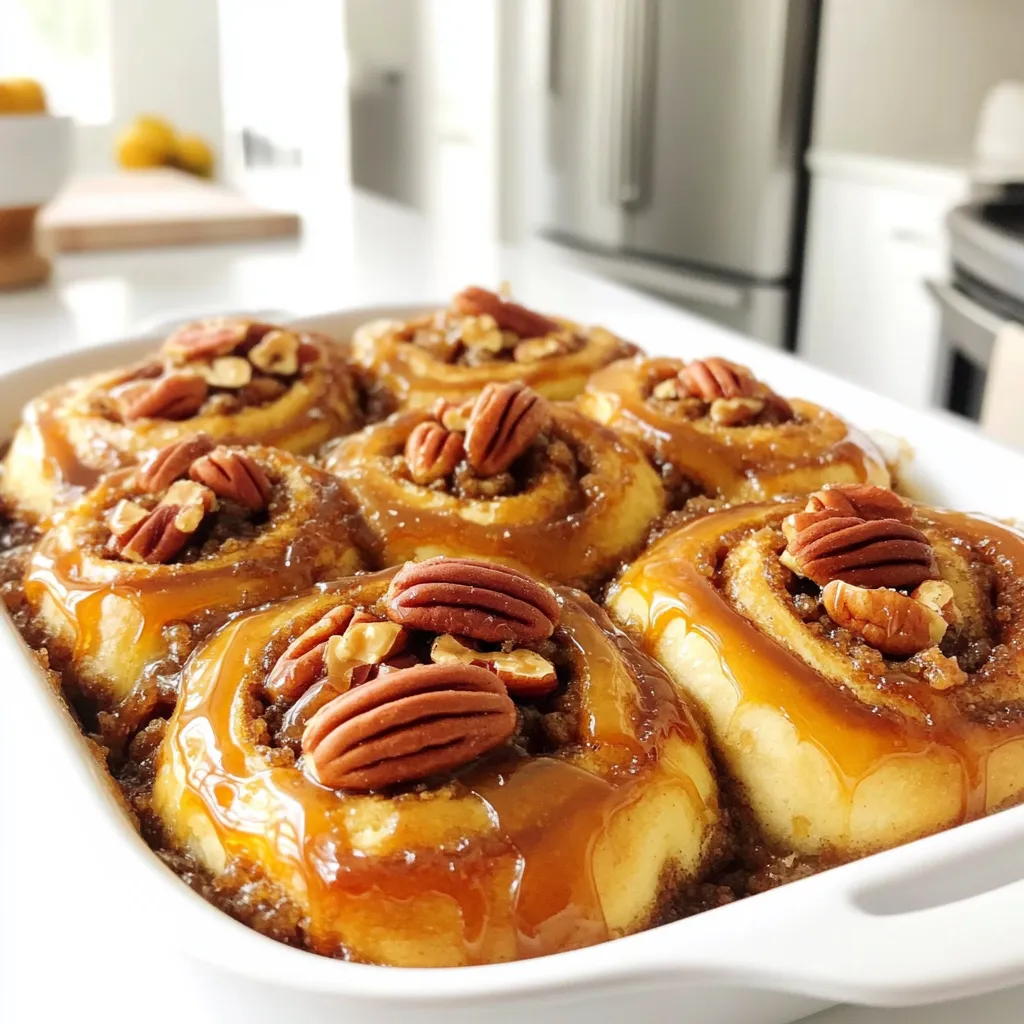
If you crave a sweet, nutty treat, then you’re in for a joy! These Brown Sugar Pecan Sticky Buns are
