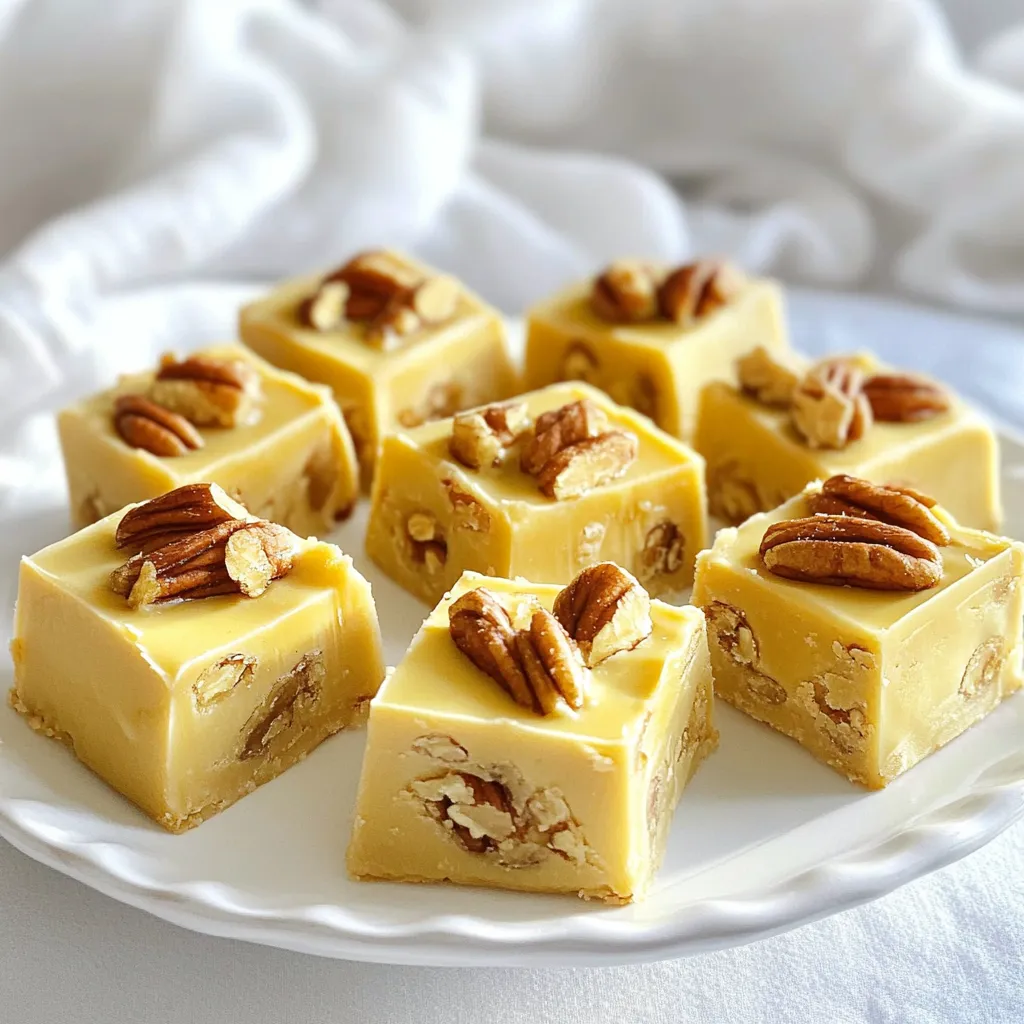
Three Ingredient Maple Pecan Fudge Simple Treat
Craving a sweet treat but short on time? You can whip up delicious Three Ingredient Maple Pecan Fudge with just
Craving a sweet treat but short on time? You can whip up delicious Three Ingredient Maple Pecan Fudge with just

Get ready to indulge in a flavorful journey with my Creamy Sun-Dried Tomato Gnocchi Bake! This dish combines tender gnocchi,
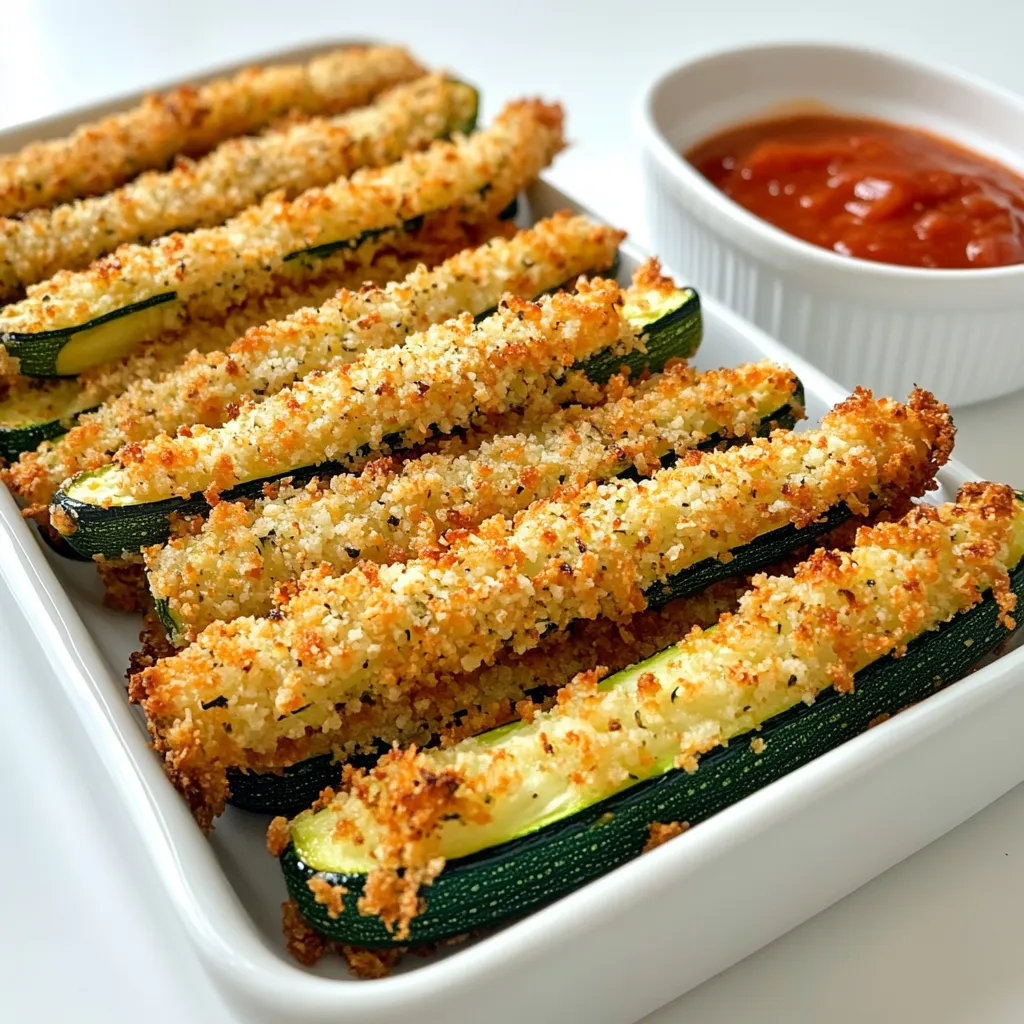
If you love crispy snacks, my Crispy Air Fryer Zucchini Parmesan Fries are a must-try! These delightful veggie fries pack
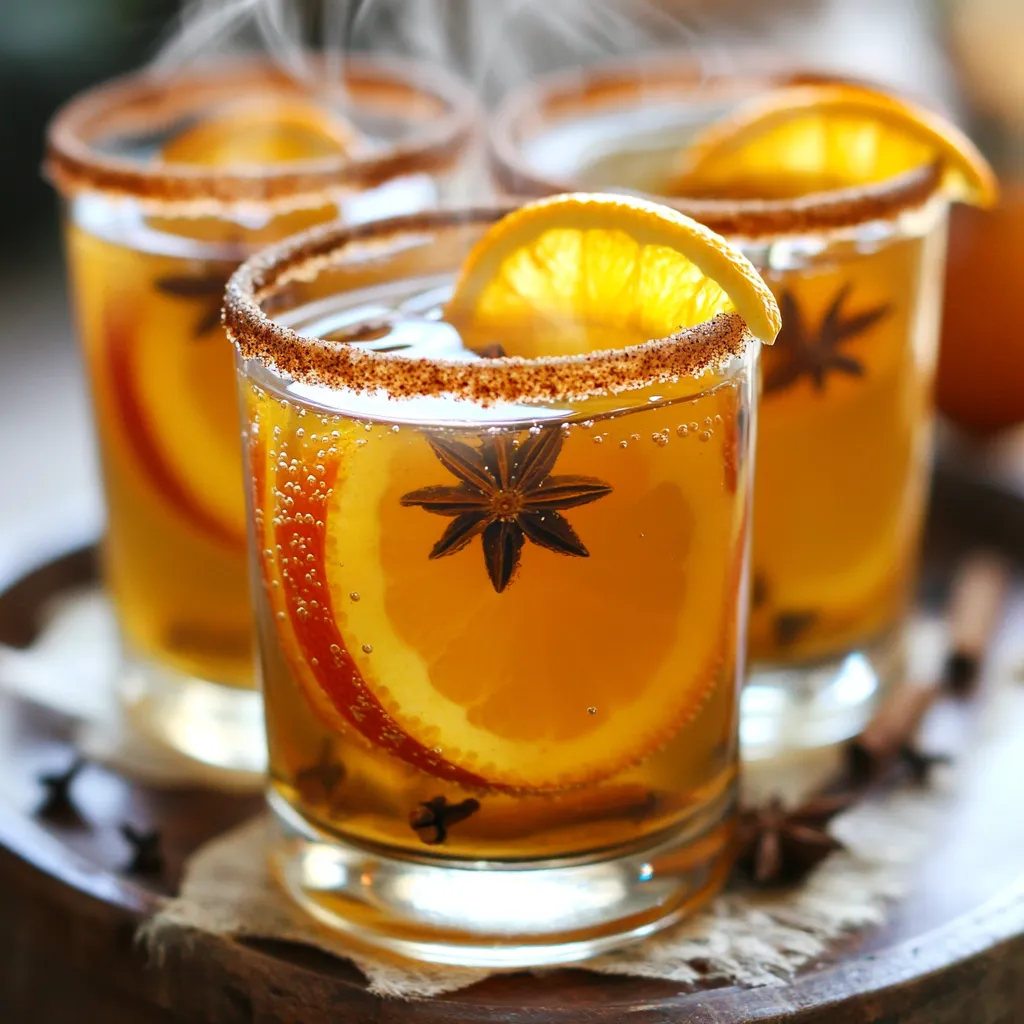
Looking for a fun drink that everyone can enjoy? Try my Spiced Apple Cider Mocktail! It’s the perfect mix of
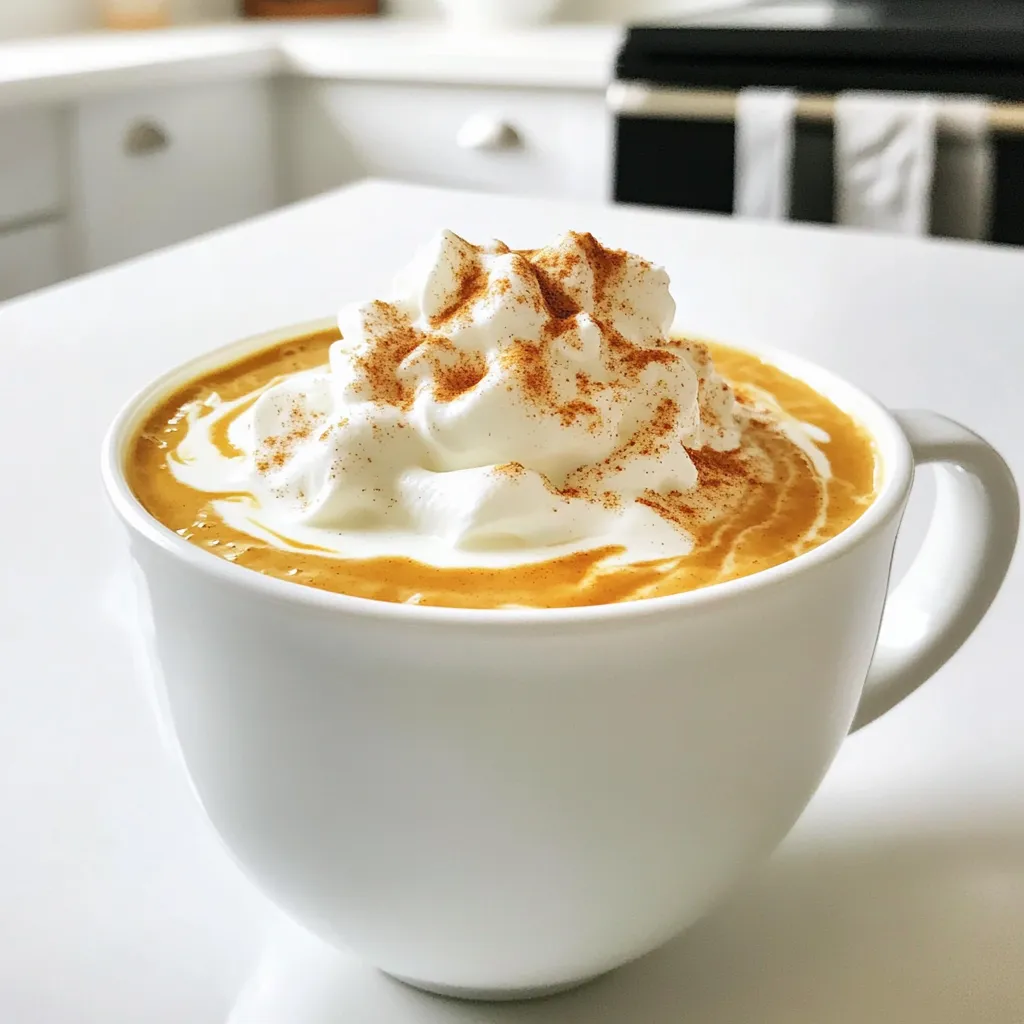
Are you ready to fall in love with a cozy drink that’s both delicious and simple? My Pumpkin Spice Chai
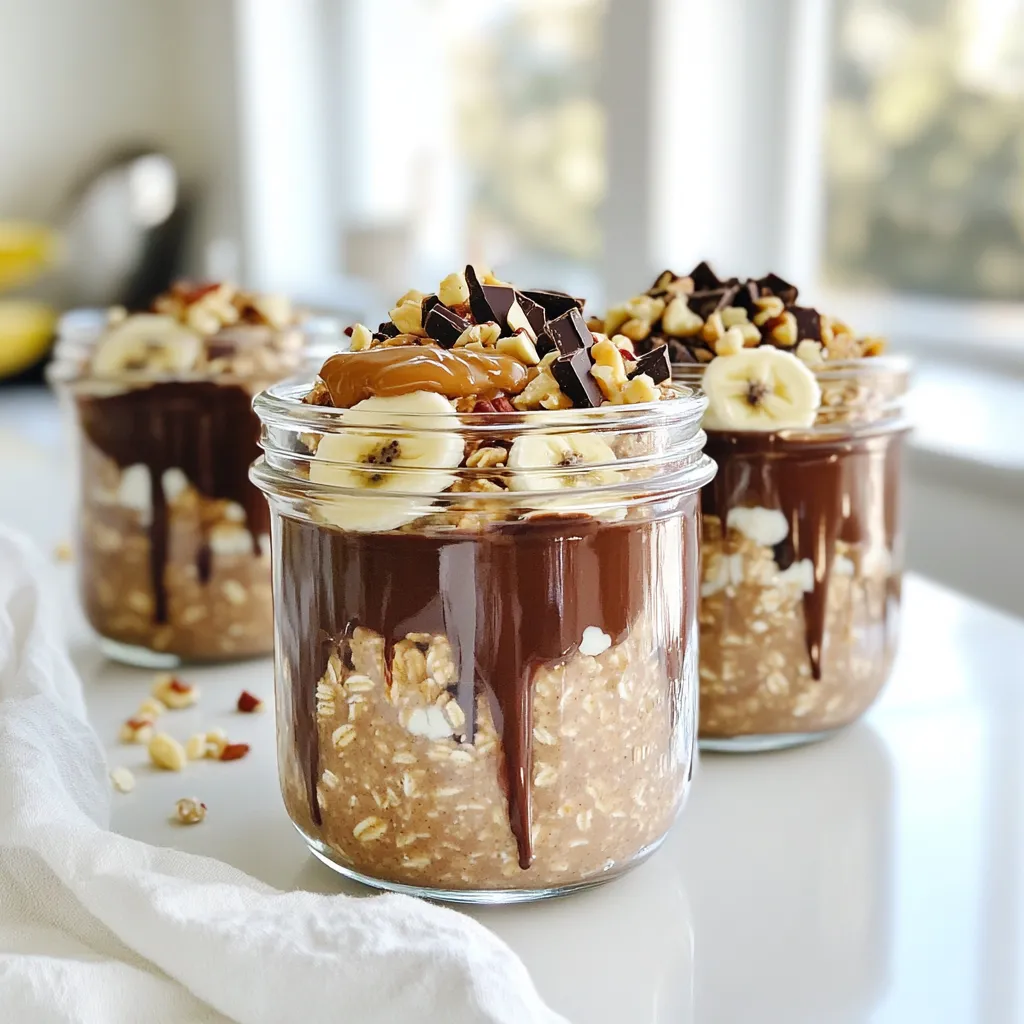
If you love chocolate and peanut butter, you’ll adore this easy recipe for Chocolate Peanut Butter Overnight Oats. This dish
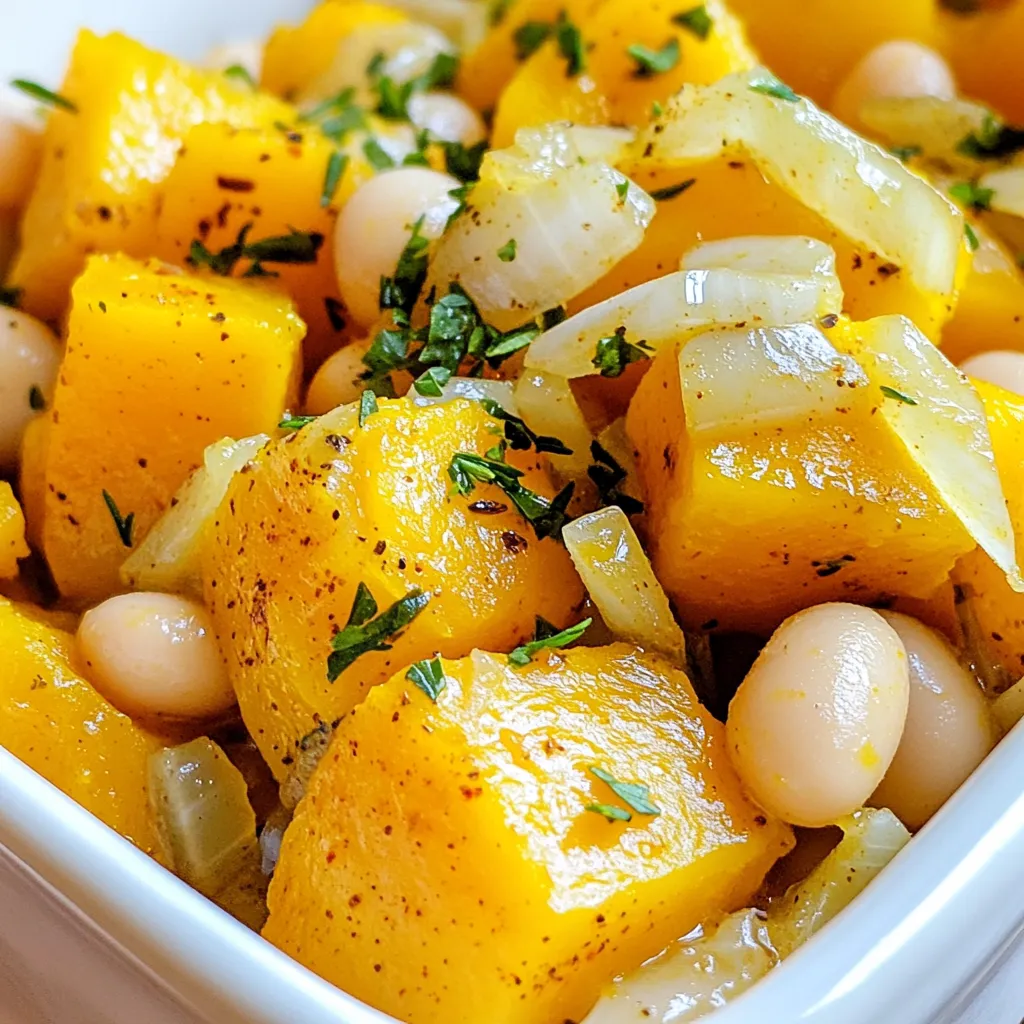
Looking for a tasty, easy meal? My Butternut Squash White Bean Skillet has you covered! This dish combines creamy white
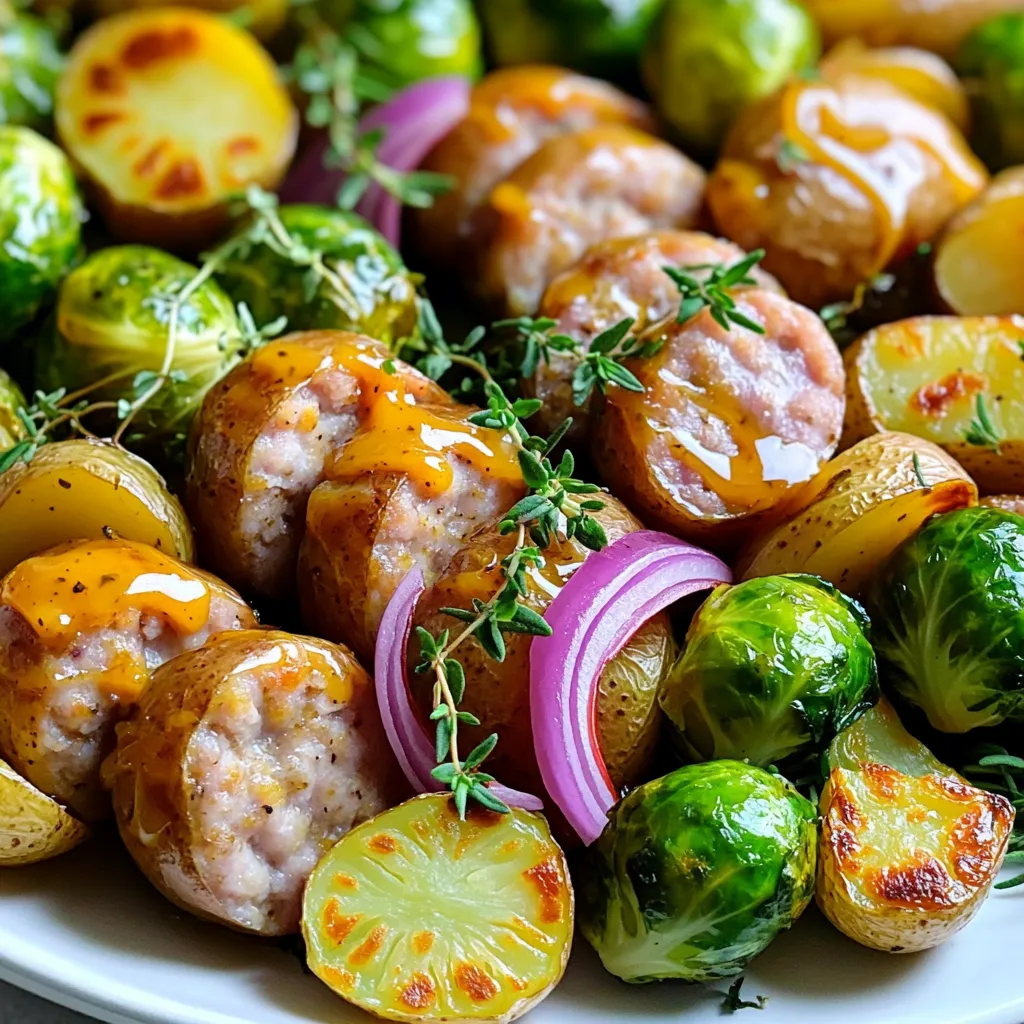
Looking for a quick and tasty dinner idea? Try my Honey Mustard Sausage Sheet Pan Supper. This one-pan meal brings
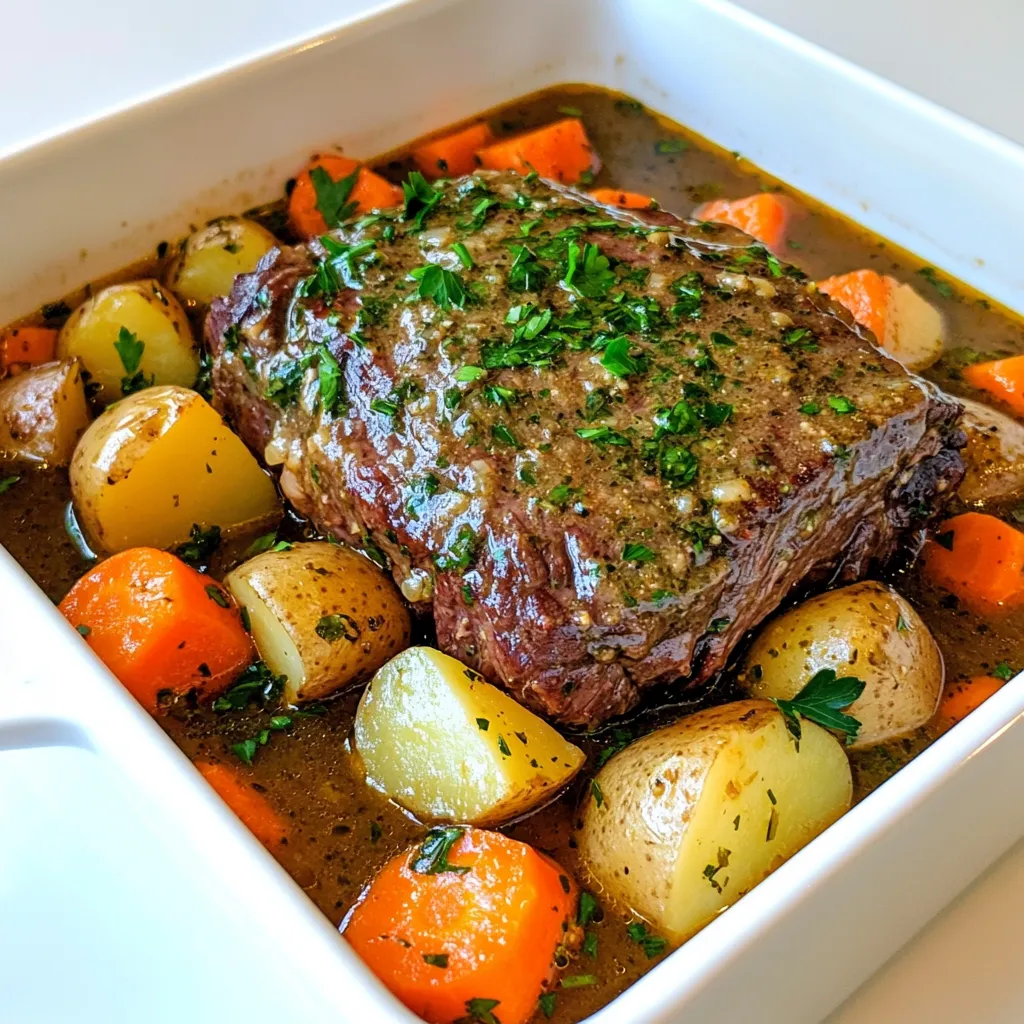
If you crave a meal that’s warm, filling, and easy to make, look no further! My Garlic Herb Pot Roast
 on making Pumpkin Chocolate Chip Energy Balls. Watching the process can help you get the steps just right! In this post, we explored the ingredients, steps, and tips for making energy balls. You learned about alternatives for dietary needs and common mistakes to avoid. Understanding storage and serving ideas will help you enjoy them longer. I shared tasty variations to keep things fun. Use the FAQs for quick answers. Now, you are ready to make your own healthy snacks. Enjoy the process and get creative!](https://flavorsprint.com/wp-content/uploads/2025/09/967956dc-c723-4a5b-96c9-067a1c398347_U1.webp)
Looking for a delicious and healthy snack? You’ve come to the right place! These Pumpkin Chocolate Chip Energy Balls are
