
Slow Cooker Beef Stroganoff Savory Comfort Meal
Craving a warm and hearty meal? Let me introduce you to Slow Cooker Beef Stroganoff, a dish that wraps you
Craving a warm and hearty meal? Let me introduce you to Slow Cooker Beef Stroganoff, a dish that wraps you
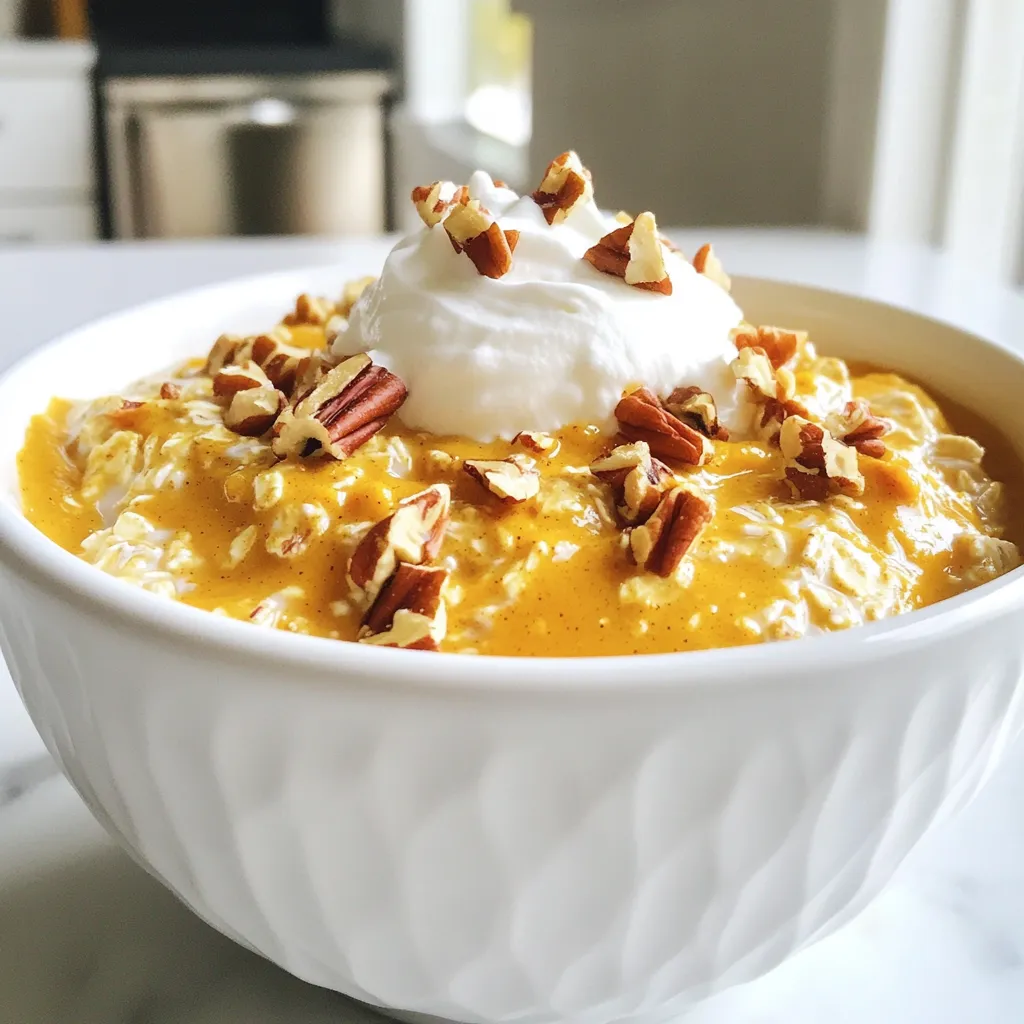
Are you ready to wake up to a creamy breakfast that tastes like fall? My Pumpkin Pie Overnight Oats combine
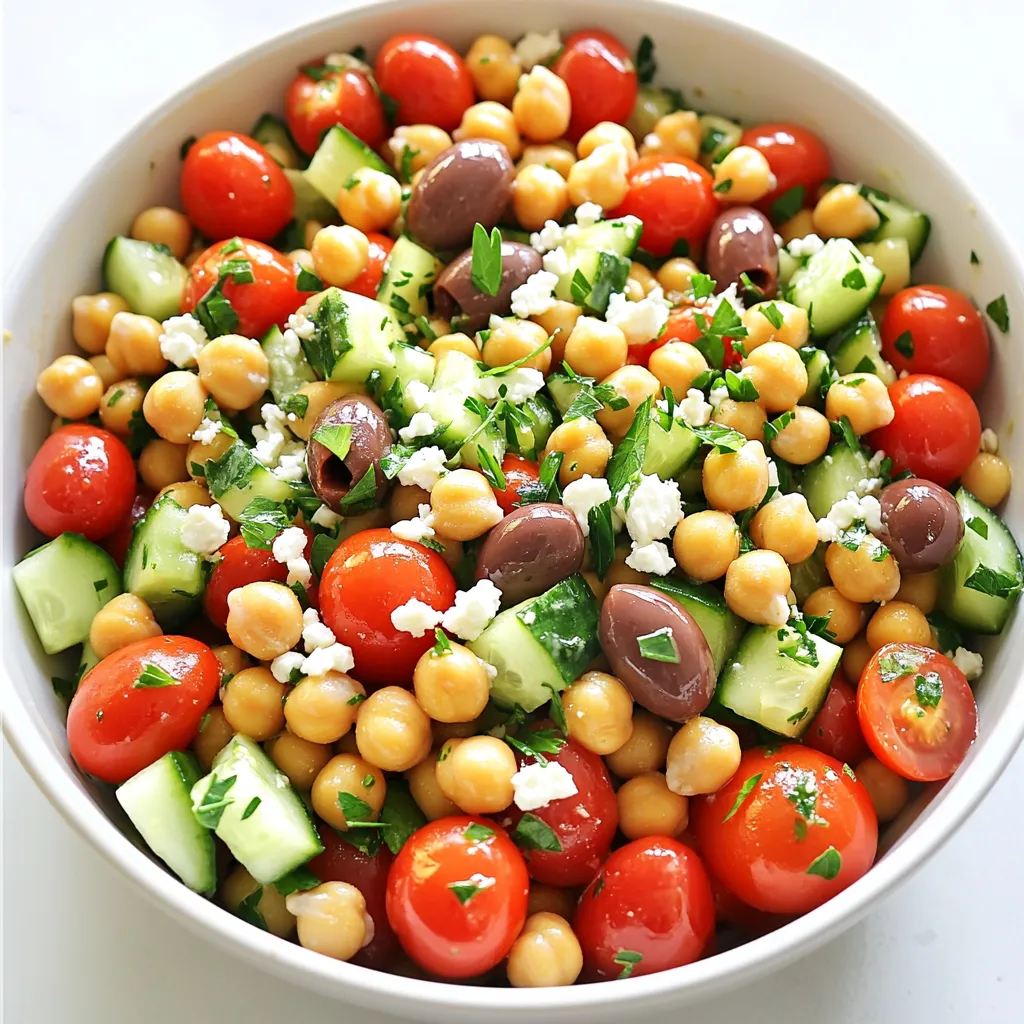
Looking for a quick, fresh dish that’s packed with flavor? My Minute Mediterranean Chickpea Salad is just what you need.

Looking for a simple and festive treat this holiday season? These No Bake Peppermint Oreo Bars are perfect for you!
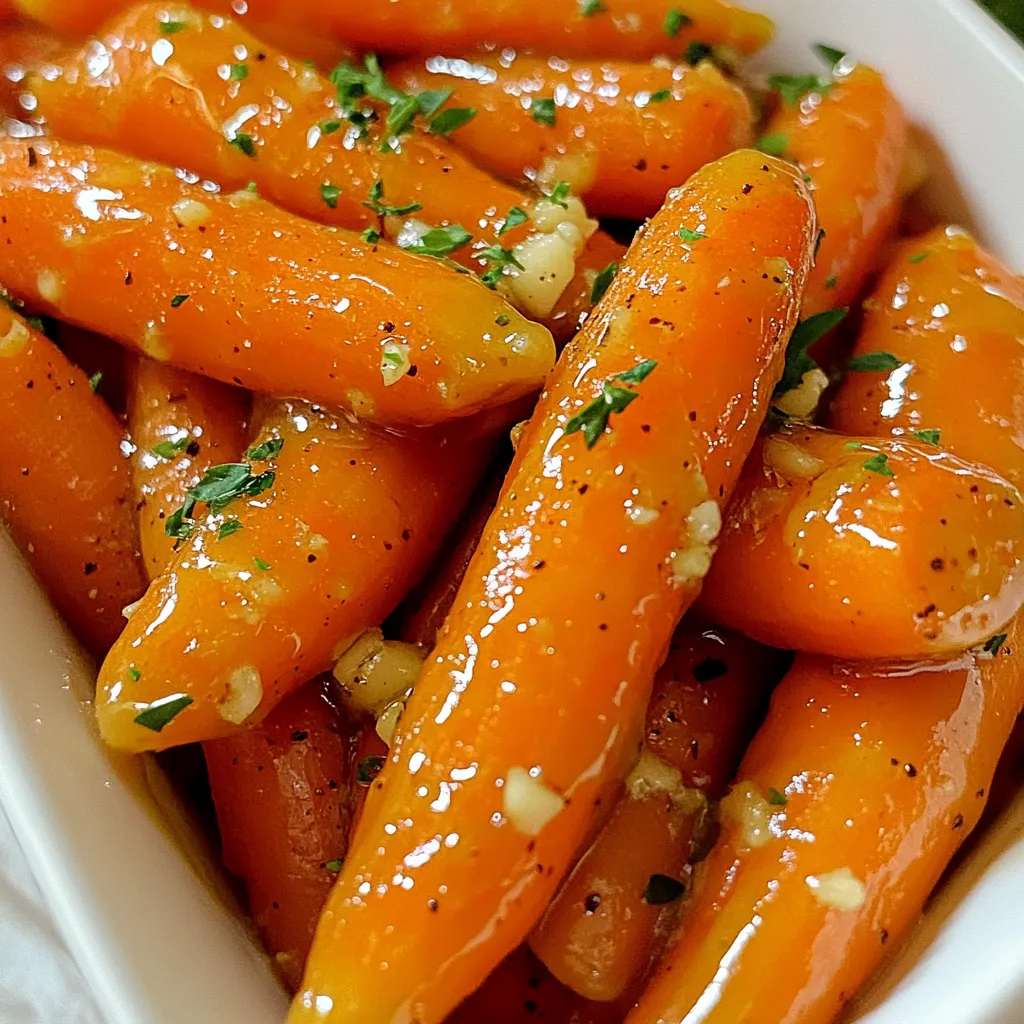
Welcome to your new favorite side dish: Honey Garlic Glazed Carrots! This recipe transforms simple carrots into a sweet and

Looking for a tasty and healthy breakfast? You’re in the right spot! These Cottage Cheese Pumpkin Protein Pancakes are easy

Are you craving warm, comforting food that’s easy to make? This Slow Cooker Chicken Enchilada Soup is your answer. Packed

If you’re searching for a delicious and easy snack, you’ve found it! Spinach Feta Puff Pastry Pinwheels are a tasty

Get ready to indulge in a dessert that combines two favorites: rich brownies and creamy pumpkin cheesecake. These Pumpkin Cheesecake

Craving a meal that’s quick, tasty, and full of flavor? You’ve come to the right place! In this blog post,
