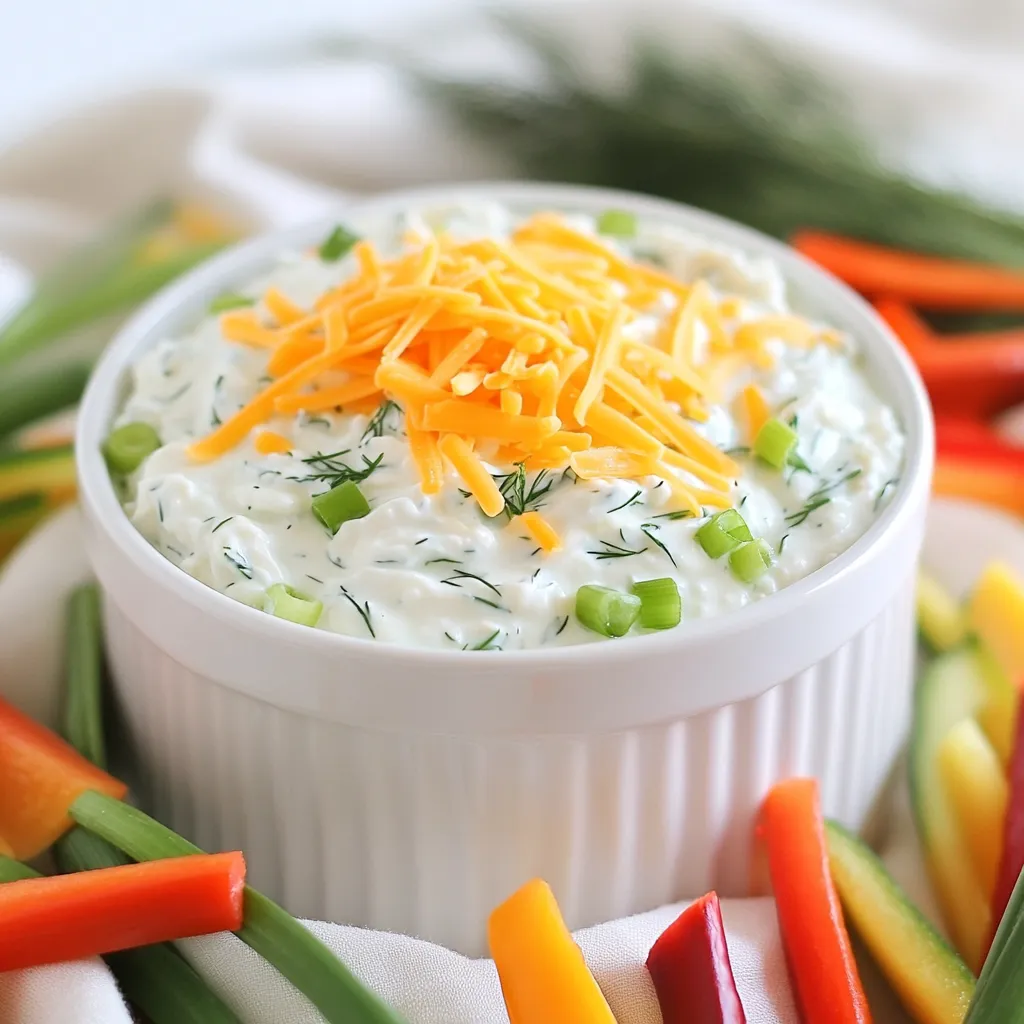
Protein Packed Cottage Cheese Ranch Dip Delightful Treat
Are you ready to elevate your snack game with a Protein Packed Cottage Cheese Ranch Dip? This creamy and zesty
Are you ready to elevate your snack game with a Protein Packed Cottage Cheese Ranch Dip? This creamy and zesty
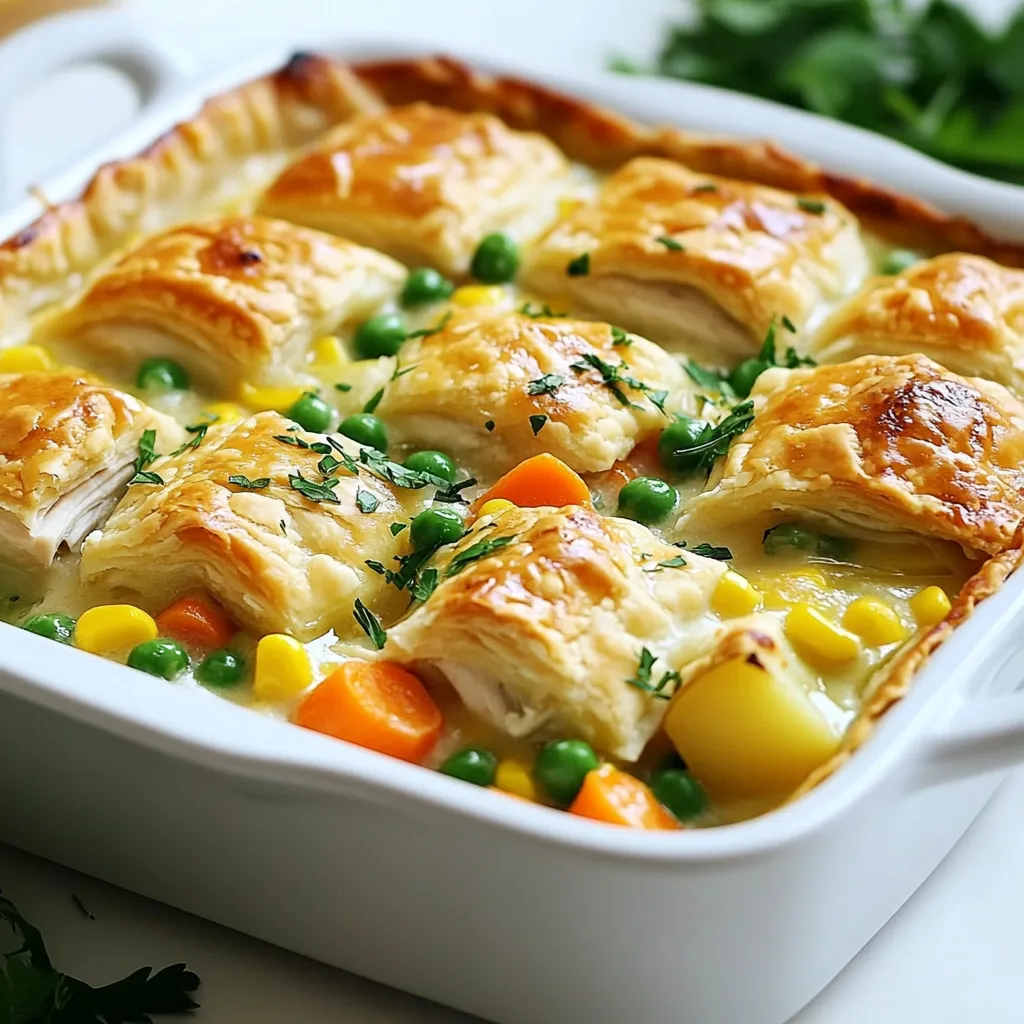
If you’re looking for a warm, hearty dish that’s easy to make, I’ve got the perfect recipe for you: Chicken
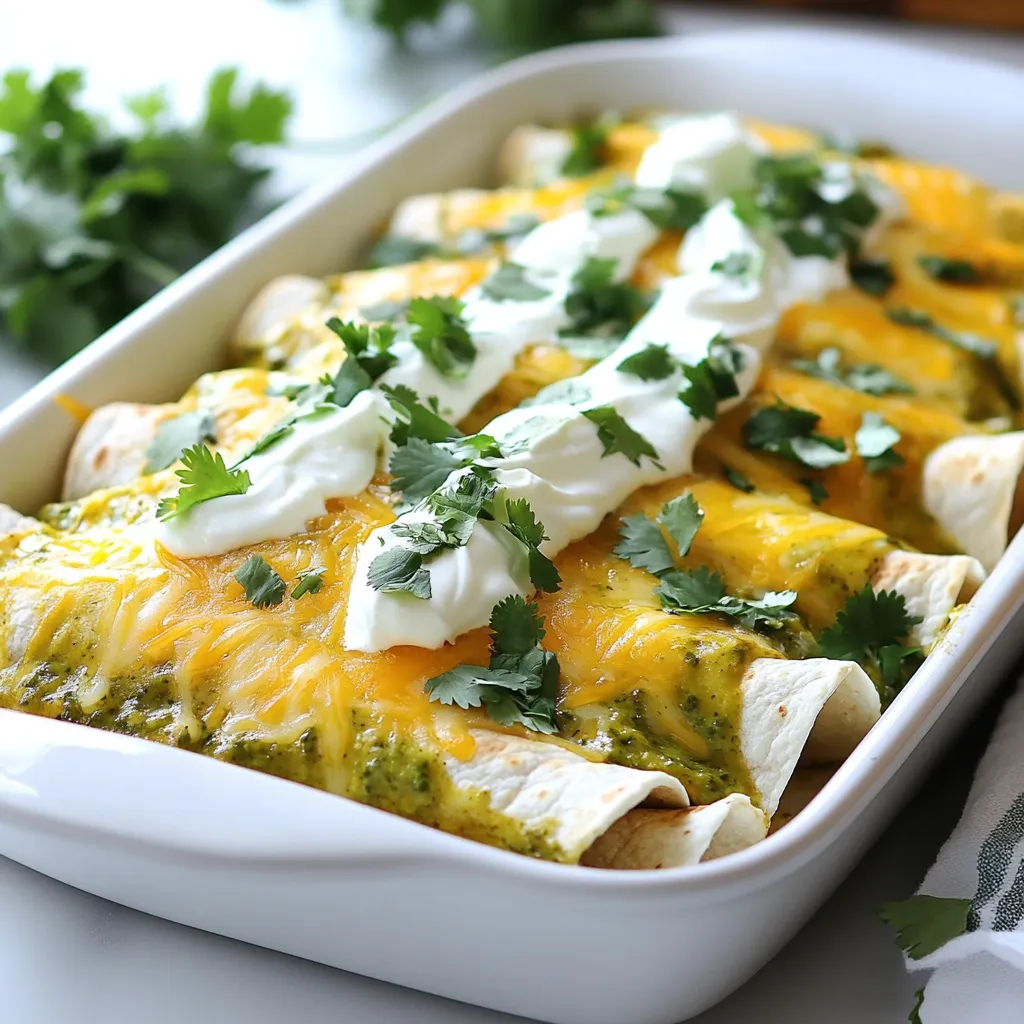
Are you ready to spice up your dinner routine? Green Chicken Enchiladas are a delightful way to enjoy bold flavors
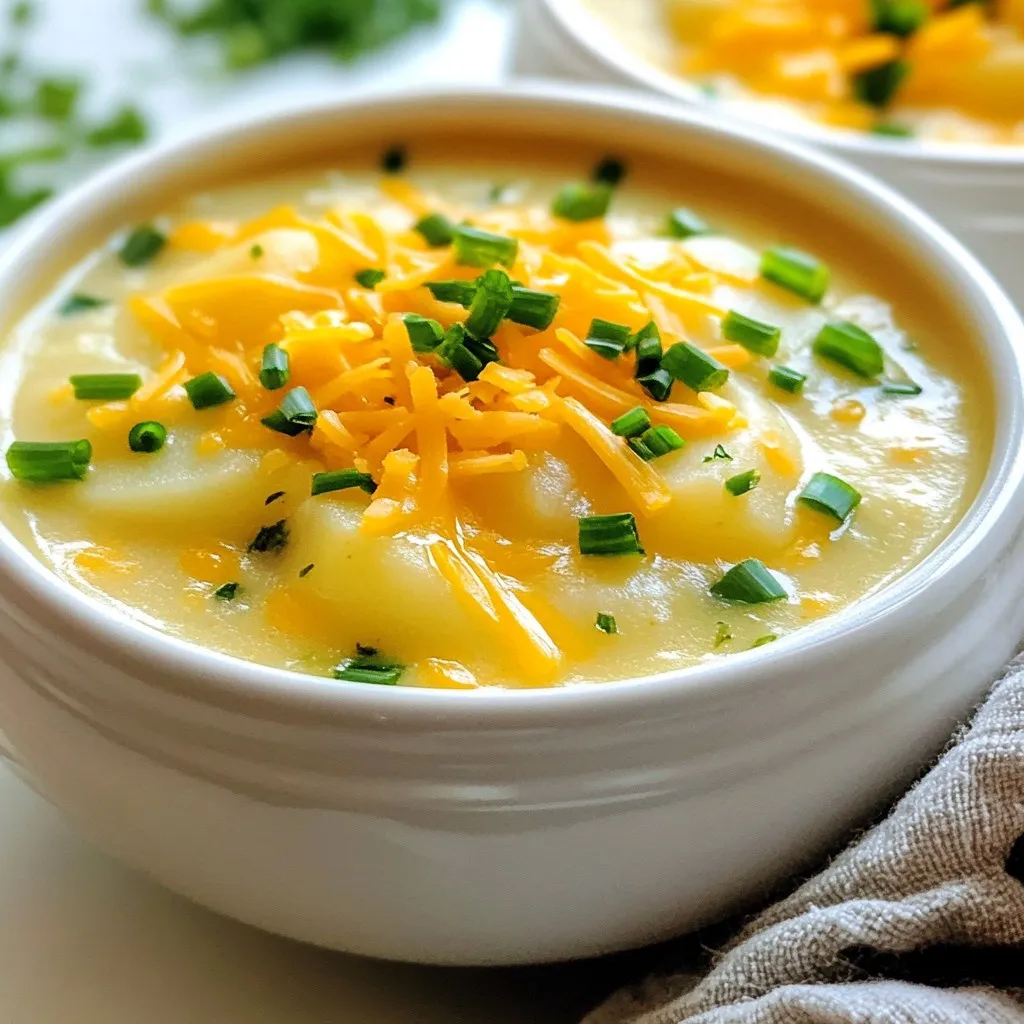
Imagine warming up with a bowl of Cheddar Garlic Herb Potato Soup that feels like a hug. This creamy delight

Are you ready to bake the softest, chewiest ginger molasses cookies? These bakery-style treats pack the perfect balance of spice
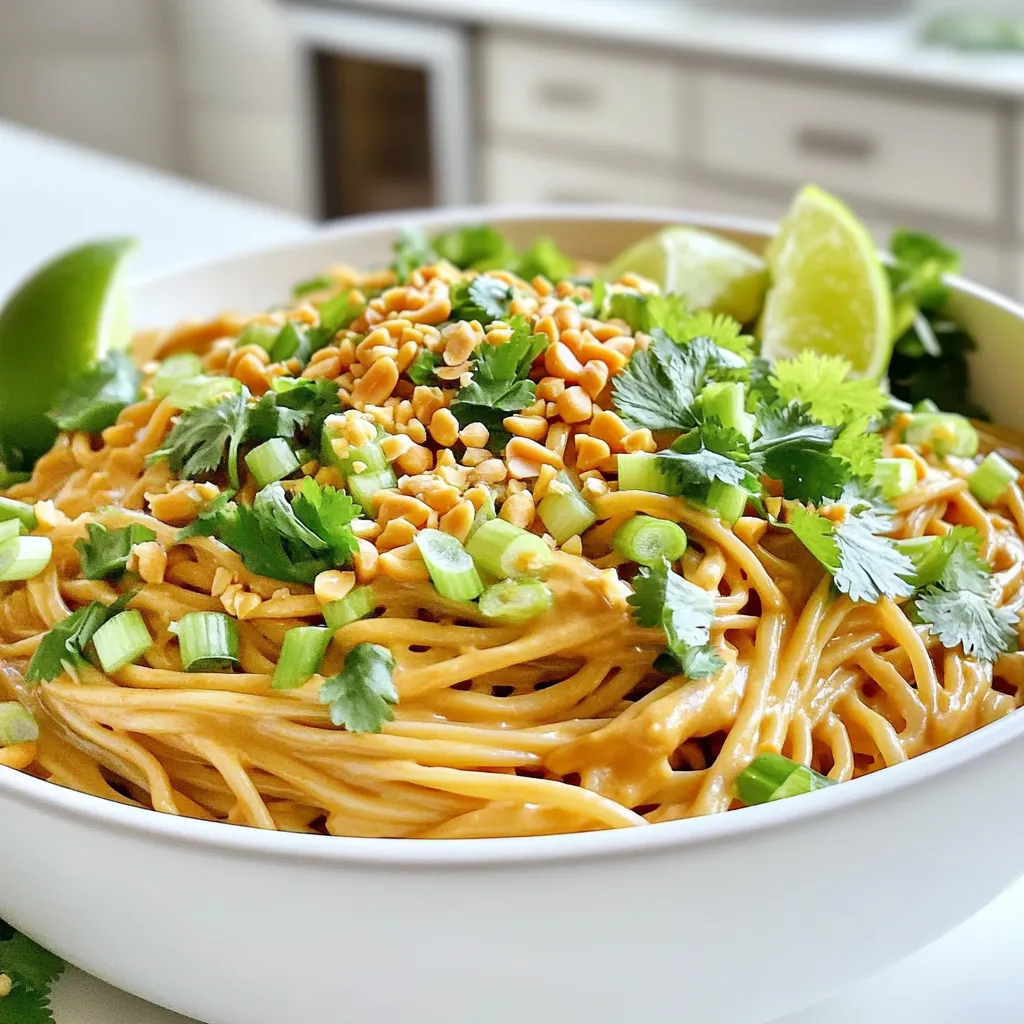
Craving a quick meal that packs a punch? Look no further! My Minute Spicy Peanut Noodles are easy, tasty, and

Are you ready to impress your guests with a simple yet delicious treat? These Cranberry Brie Puff Pastry Bites are
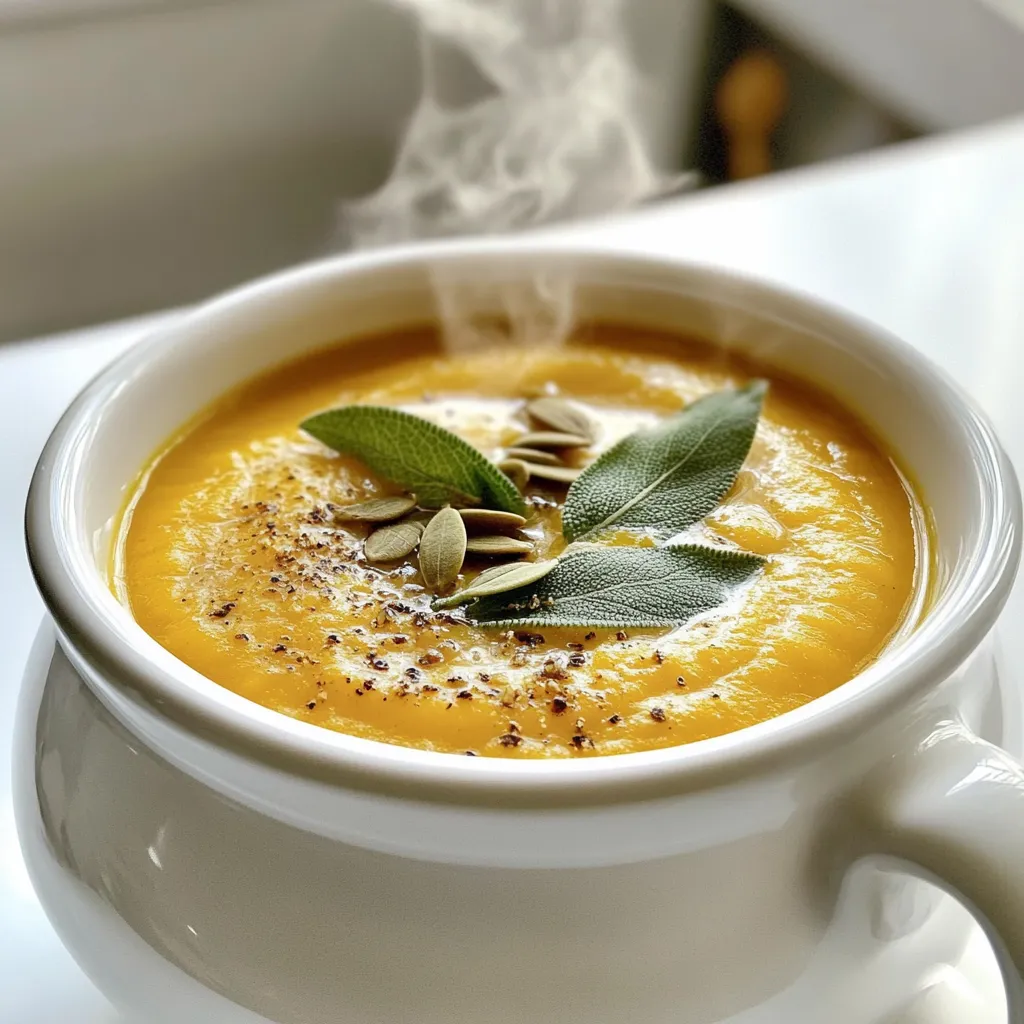
Craving a warm, comforting soup that’s both easy to make and packed with flavor? Look no further! This Roasted Butternut

If you crave a snack that’s both cheesy and garlicky, you’re in the right spot! My Air Fryer Cheesy Garlic

Looking for a drink that captures the essence of fall? The Apple Cider Sangria Sparkler is your answer! This refreshing
