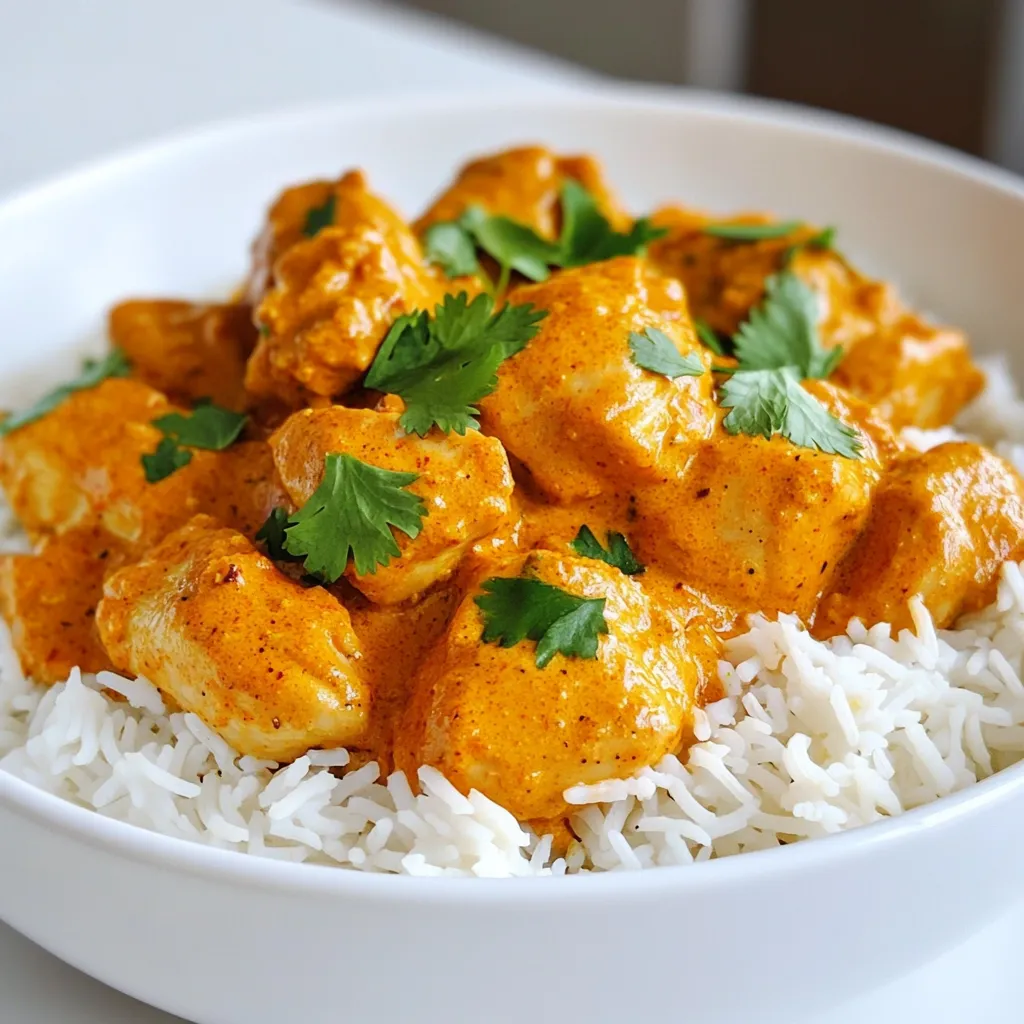
Instant Butter Chicken Flavorful and Simple Recipe
Craving a warm, tasty meal that’s quick and easy? My Instant Butter Chicken recipe is here to save the day!
Craving a warm, tasty meal that’s quick and easy? My Instant Butter Chicken recipe is here to save the day!
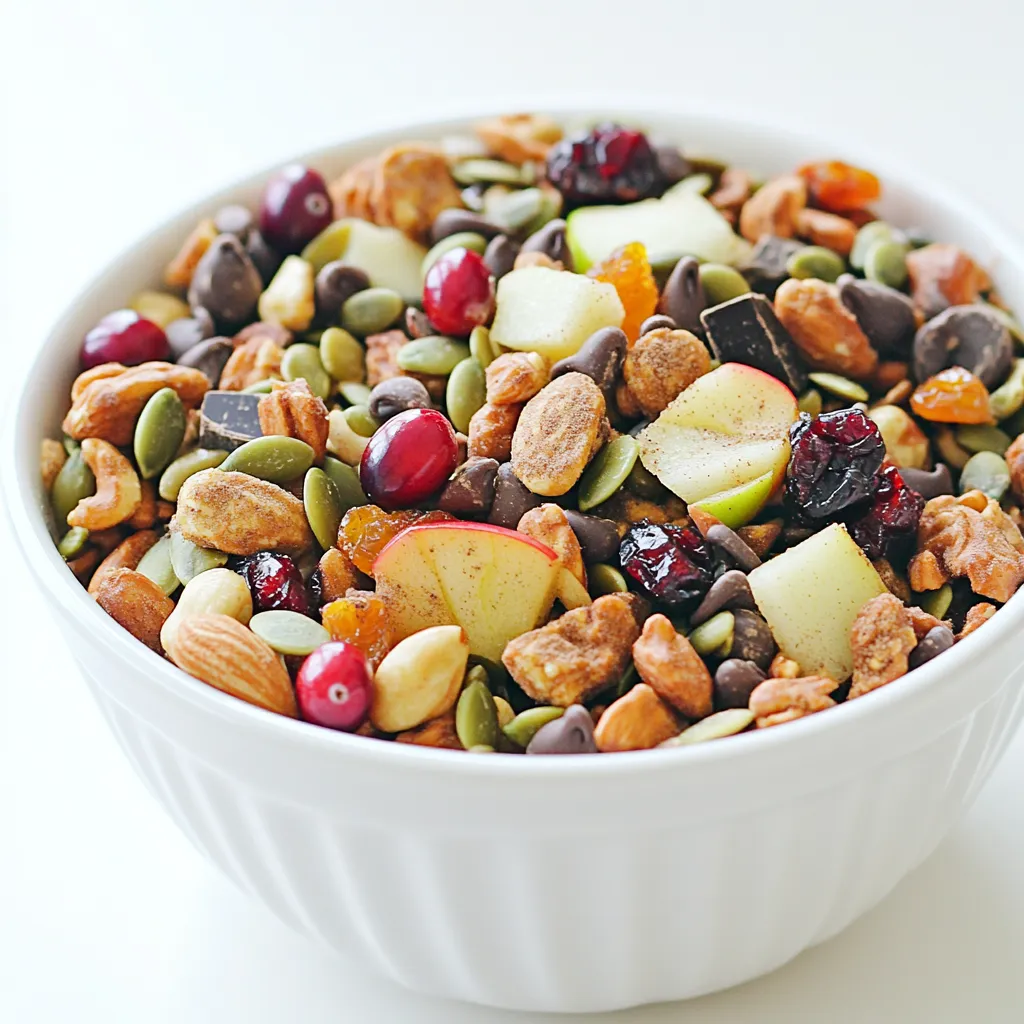
Fall is the perfect time for a cozy snack mix that warms the heart and lifts the spirit. In my
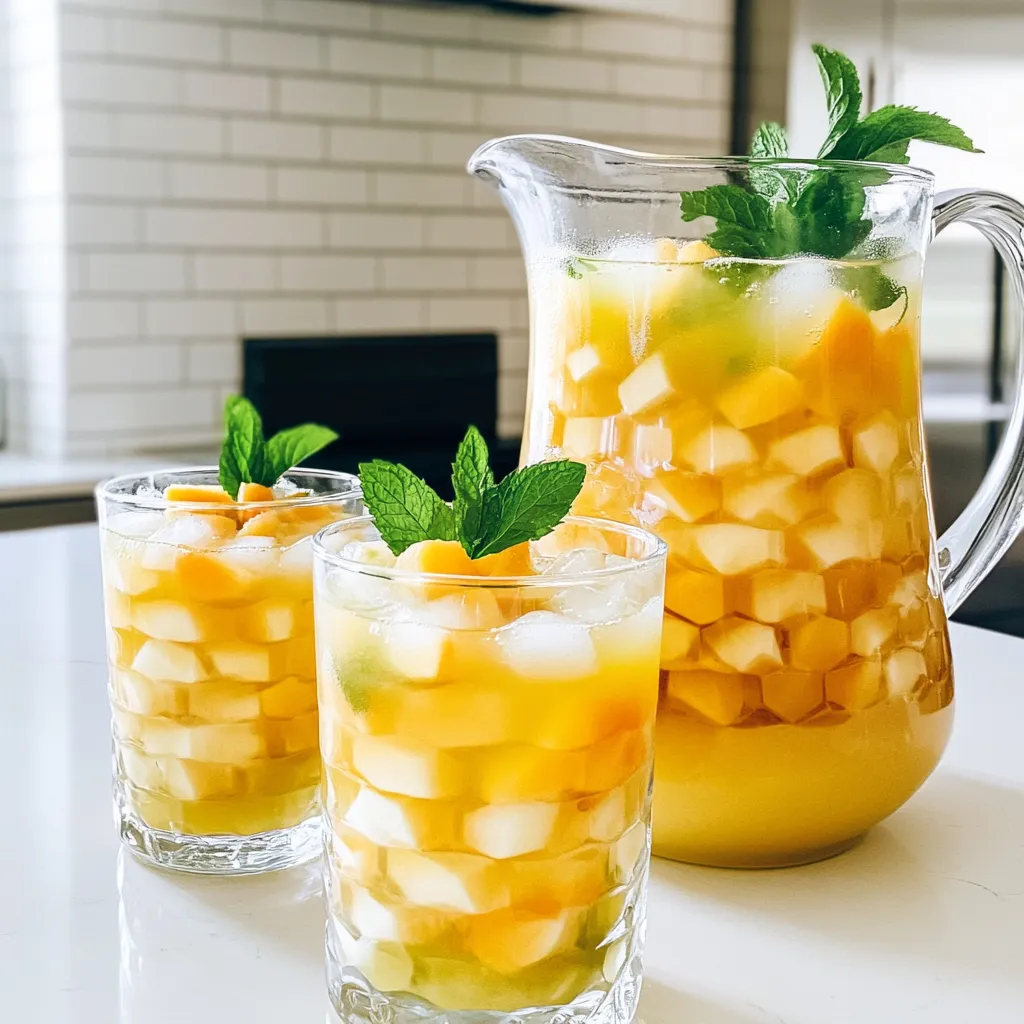
Looking for a drink that screams summer? Try my Apple Peach Green Tea Lemonade! This refreshing blend combines the crispness
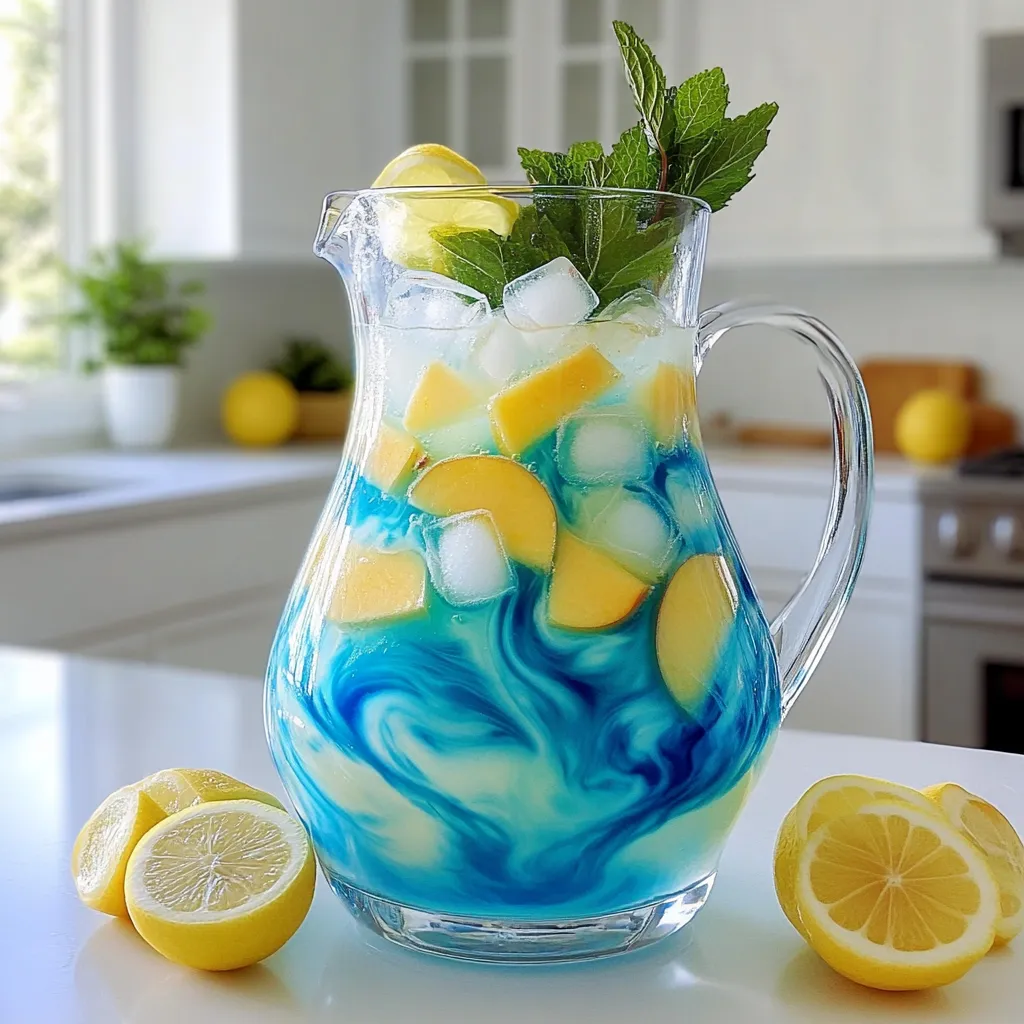
Looking for a drink that screams summer? Let me introduce you to Butterfly Peach Lemonade! This vibrant and refreshing drink
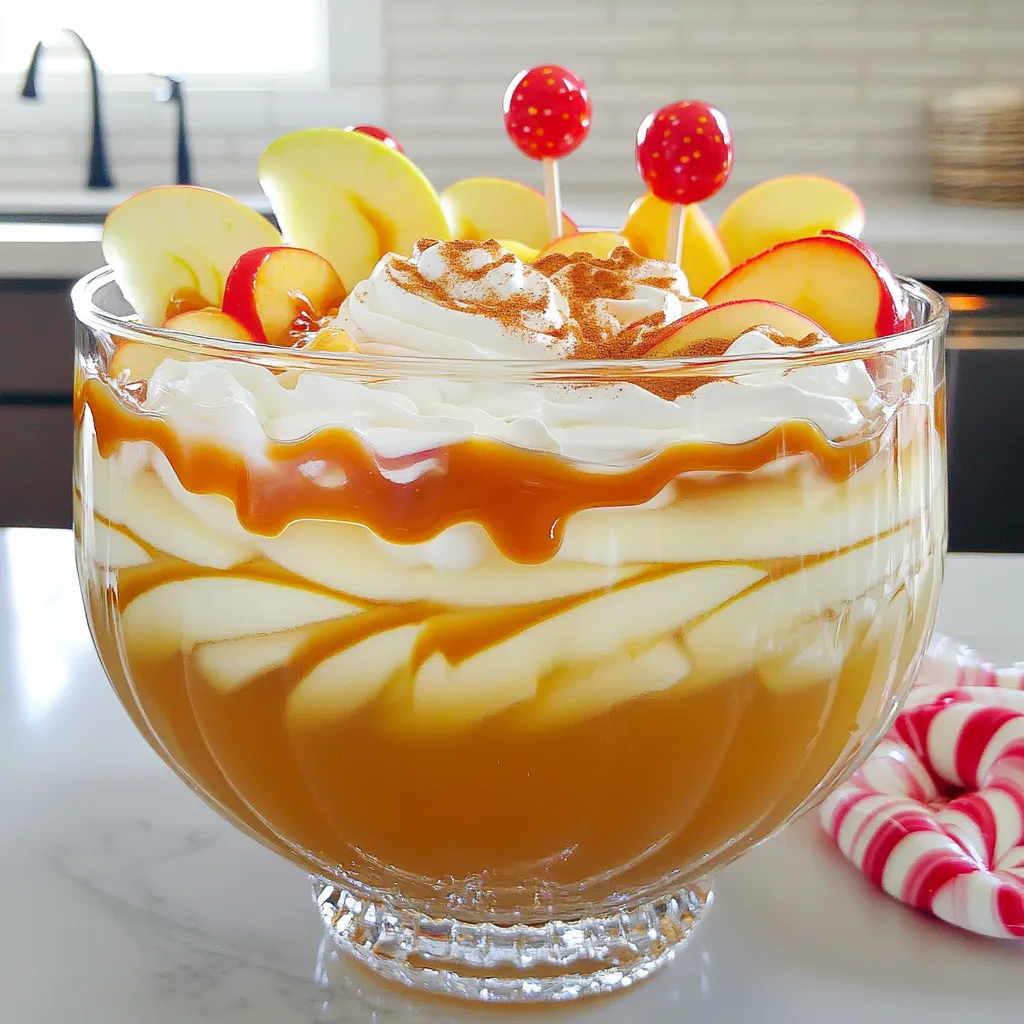
Get ready to sip the essence of fall with my Caramel Apple Party Punch! This delightful drink combines crisp apple
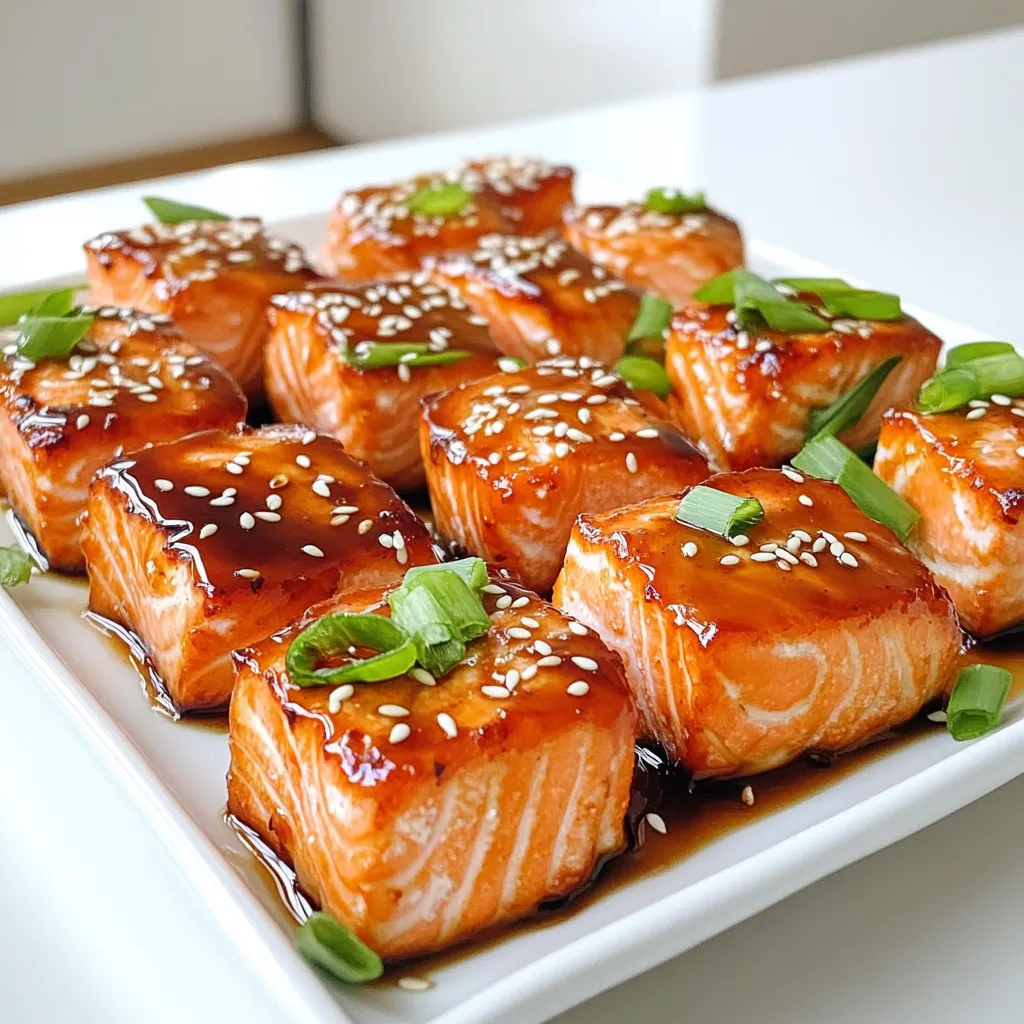
Looking for a quick and delicious meal? Try these Air Fryer Teriyaki Salmon Bites! They pack bold flavor while being
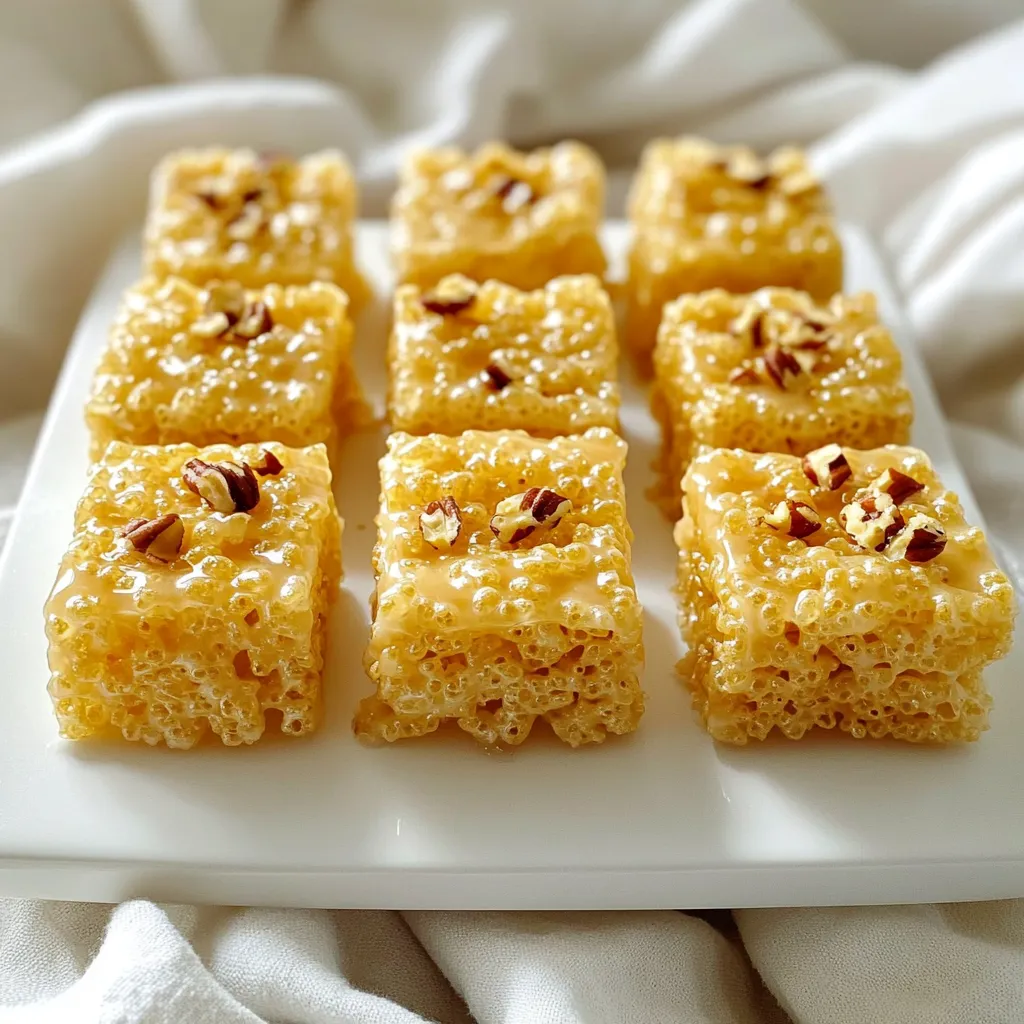
If you love sweet, gooey snacks, you’re in for a treat! Maple Brown Butter Rice Krispie Treats are not just
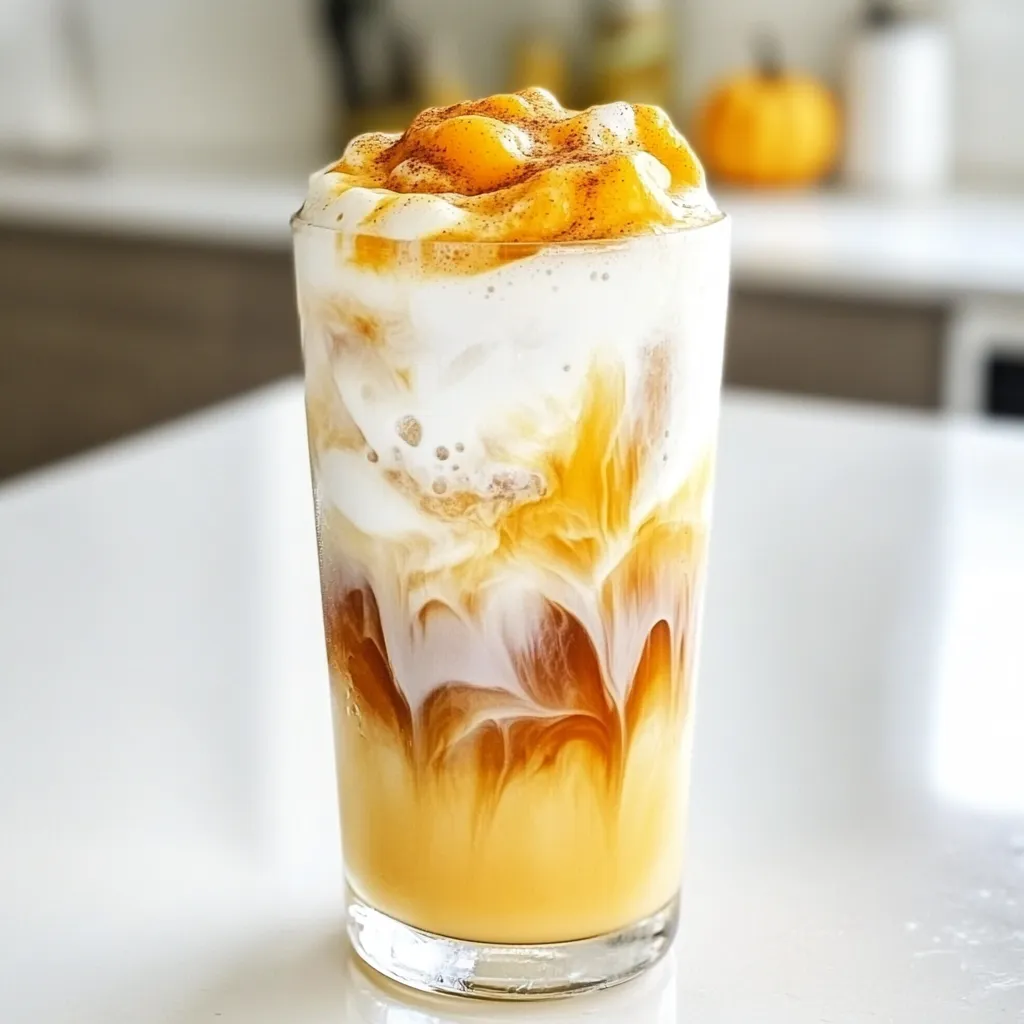
Fall is here, and so is the delightful Pumpkin Cold Foam Iced Coffee! This drink combines rich coffee, creamy pumpkin
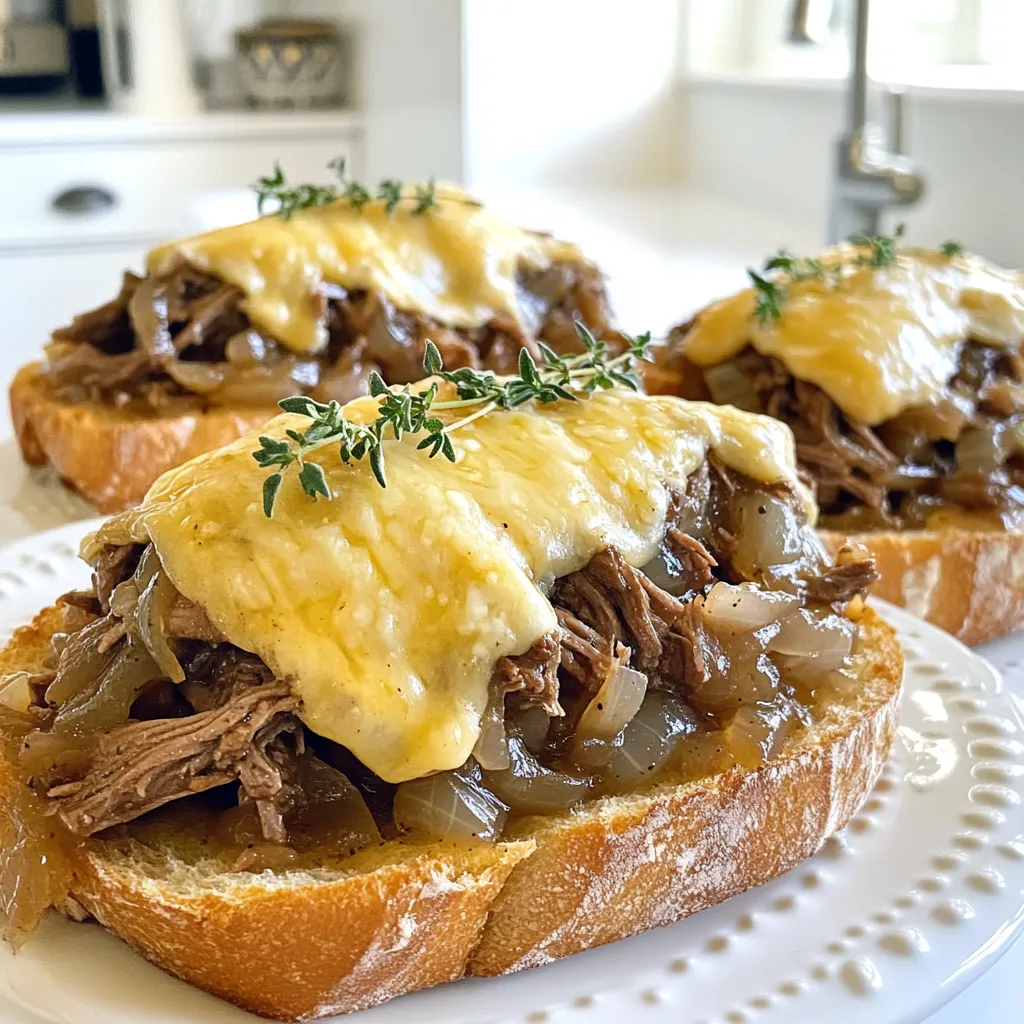
Looking for a dish that warms your heart and fills your home with amazing smells? My Slow Cooker French Onion
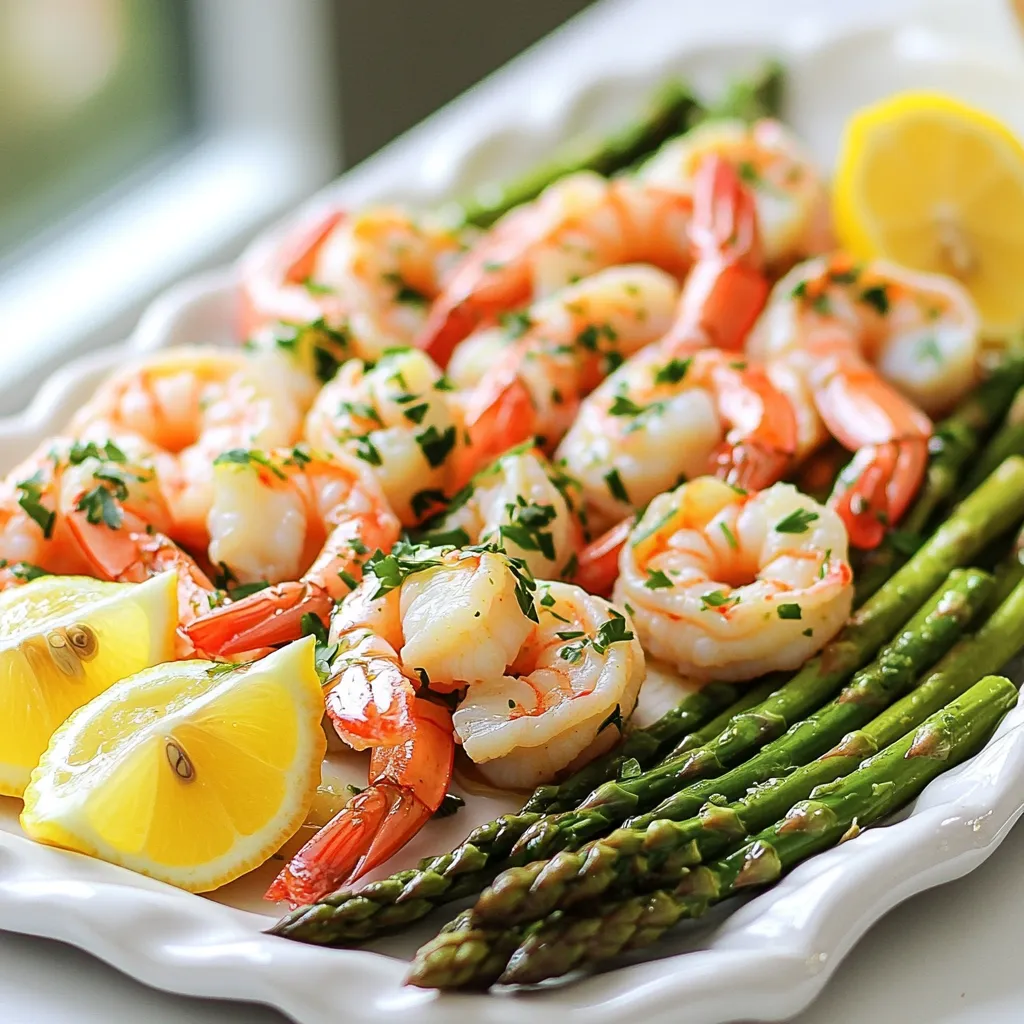
Looking for a quick, tasty meal? Try my Sheet Pan Lemon Garlic Shrimp & Asparagus Delight! In under 30 minutes,
