
Air Fryer Apple Cider Donuts Simple and Sweet Treat
If you crave a sweet treat that’s simple and quick, you’re in the right place! These Air Fryer Apple Cider
If you crave a sweet treat that’s simple and quick, you’re in the right place! These Air Fryer Apple Cider
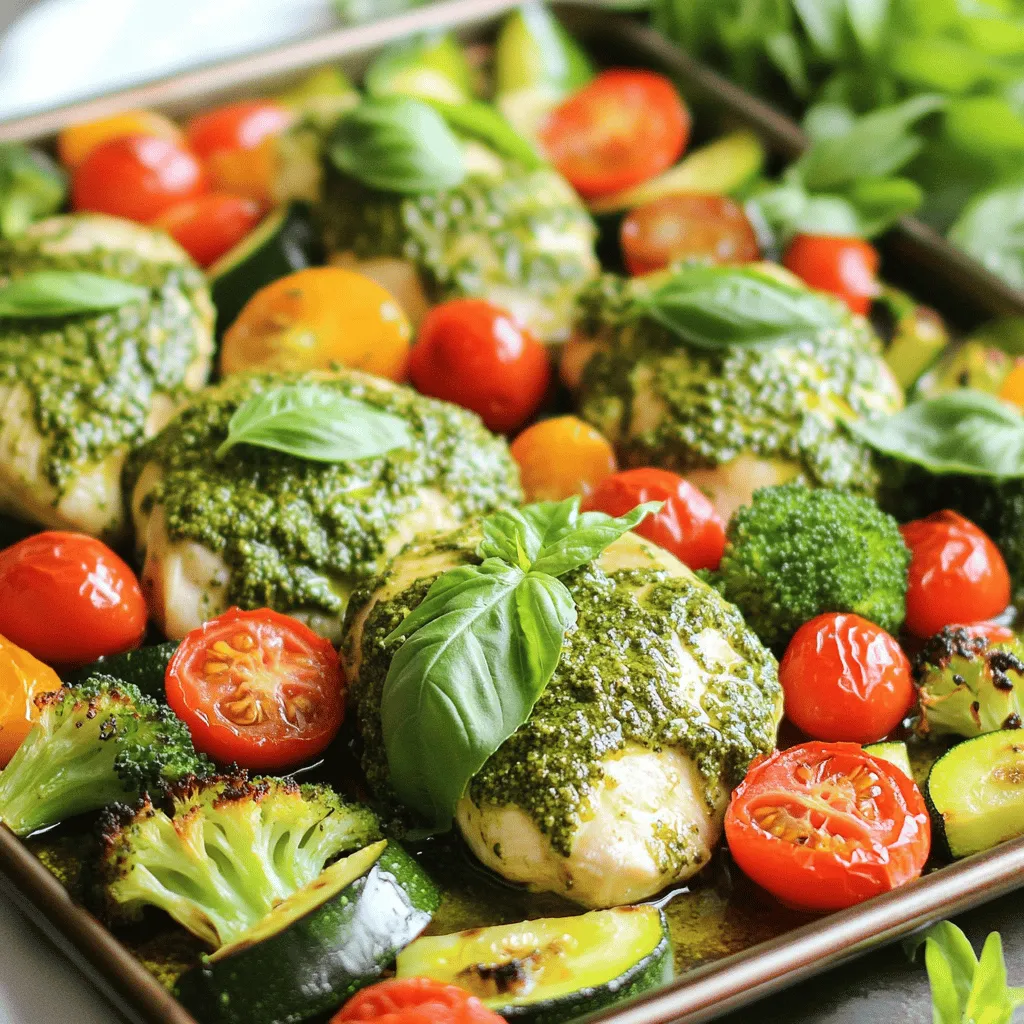
Looking for a fast, tasty meal? I’ve got you covered with my Sheet Pan Pesto Chicken Veggies recipe! This dish

Craving a warm and creamy drink that you can whip up in just five minutes? This Cozy 5-Min Chai Latte

Warm up your dinner routine with my Savory Slow Cooker Chicken Wild Rice Soup! This hearty recipe combines tender chicken

Craving a snack that’s both tasty and healthy? You’re in the right spot! Air Fryer Buffalo Cauliflower Bites offer the

Looking for a quick and healthy breakfast? Try my Caramel Apple Overnight Oats! With just four main ingredients—rolled oats, almond

Looking for a dessert that’s easy, tasty, and festive? Look no further than No Bake Pumpkin Cheesecake Cups! This delightful

Are you ready to make a dish that’s both tasty and easy? Teriyaki Chicken Fried Rice combines tender chicken, colorful

Ready to make a delicious treat? This simple recipe for Cranberry Orange Scones with Glaze will wow your taste buds!

Are you ready for a meal that’s quick, easy, and packed with flavor? One-Pot Cajun Chicken Pasta brings spicy Cajun
