Slow Cooker Creamy Tuscan Chicken Pasta Delight
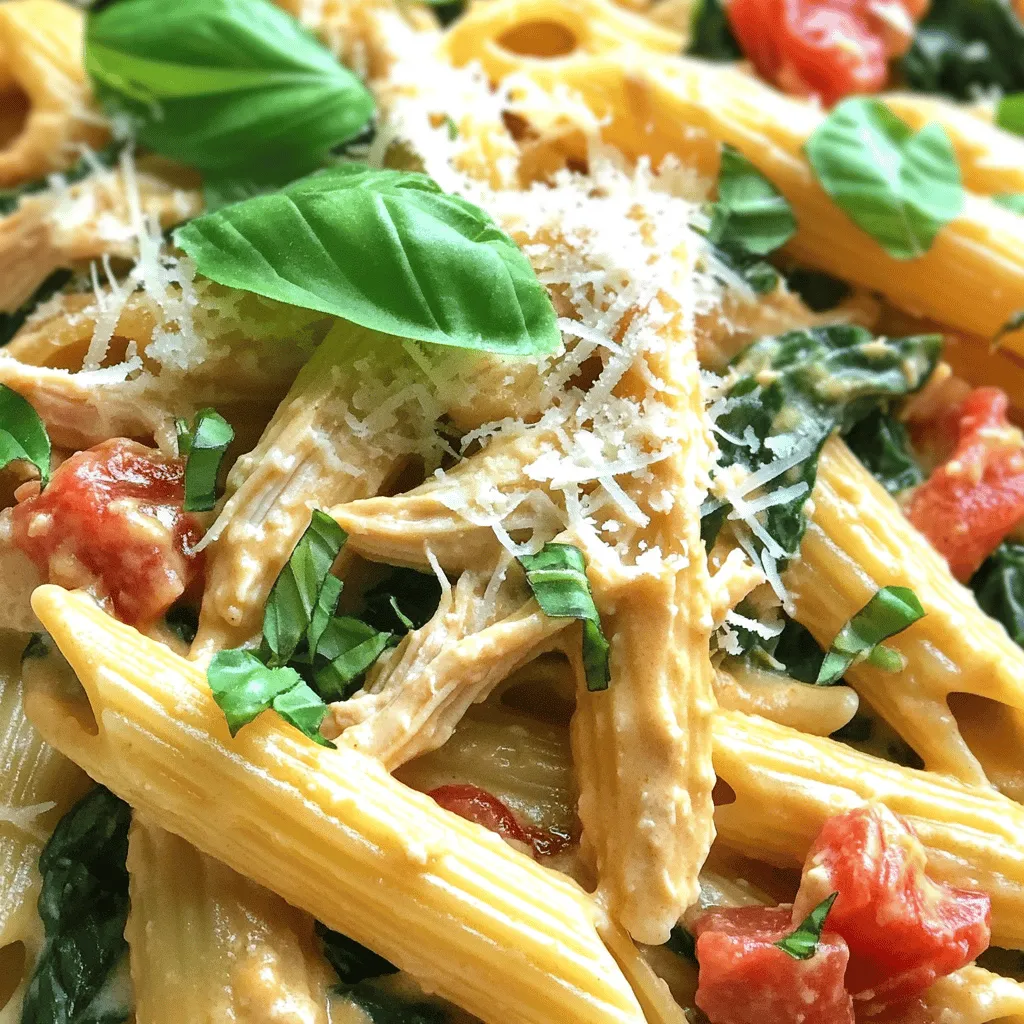
Are you ready to savor the rich flavors of the Slow Cooker Creamy Tuscan Chicken Pasta? This simple, hearty meal
Are you ready to savor the rich flavors of the Slow Cooker Creamy Tuscan Chicken Pasta? This simple, hearty meal

Looking for a quick and delicious treat? Your search ends here! These No Bake Peanut Butter Chocolate Bars are easy

Get ready to fall in love with mornings again! My Pumpkin Spice Latte Overnight Oats are the perfect blend of
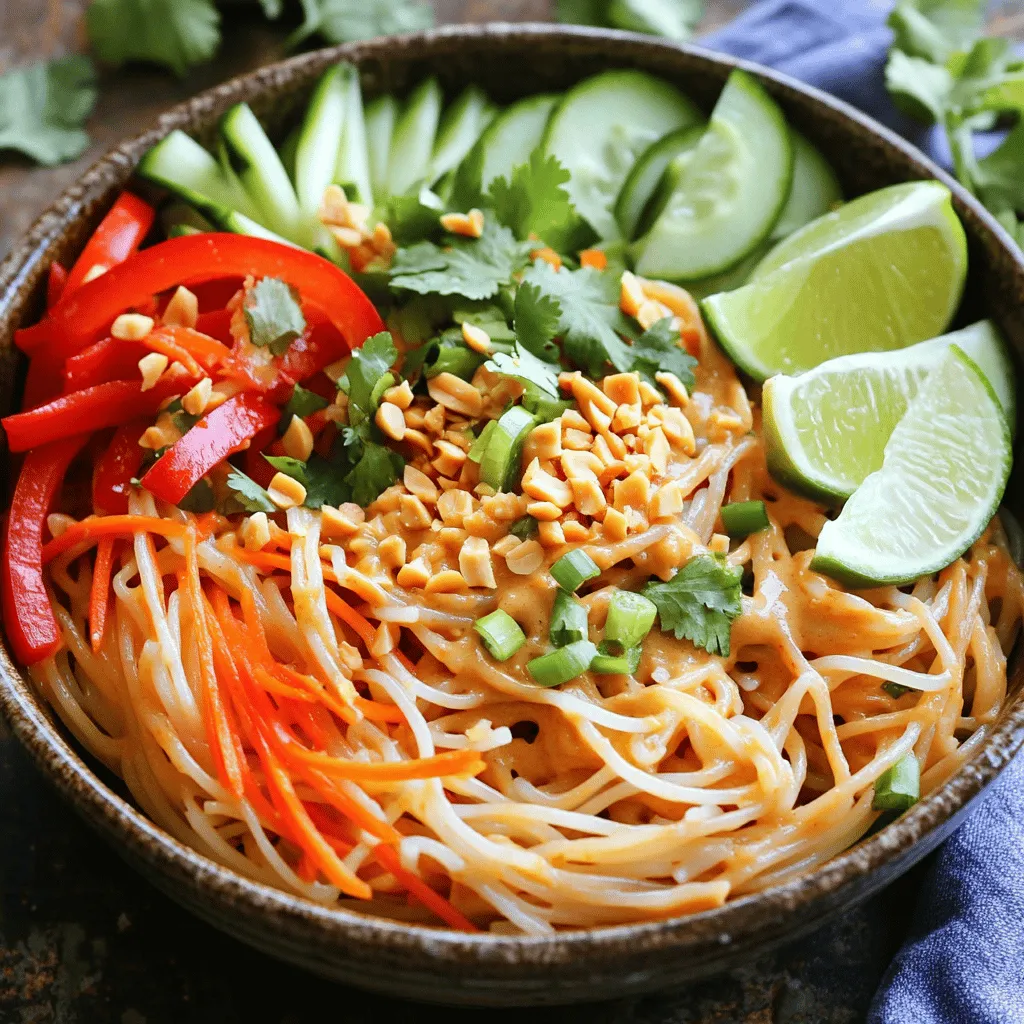
Tired of the same old salads? It’s time to spice things up! My Spicy Peanut Noodle Salad is a vibrant

Get ready to delight your taste buds with my Sheet Pan Garlic Butter Steak Fajitas! This easy recipe packs a

Looking for a quick and tasty treat? These Air Fryer Crispy Teriyaki Salmon Bites will delight your taste buds! You’ll

Craving something sweet? You’re in for a treat! This simple and tasty recipe for bakery double chocolate muffins will have

Craving a warm, hearty meal with minimal effort? My Savory Slow Cooker Chicken Tortilla Soup is your answer! With simple

Looking for a tasty treat that’s easy to make? These Cranberry Brie Puff Pastry Bites are the perfect choice! With
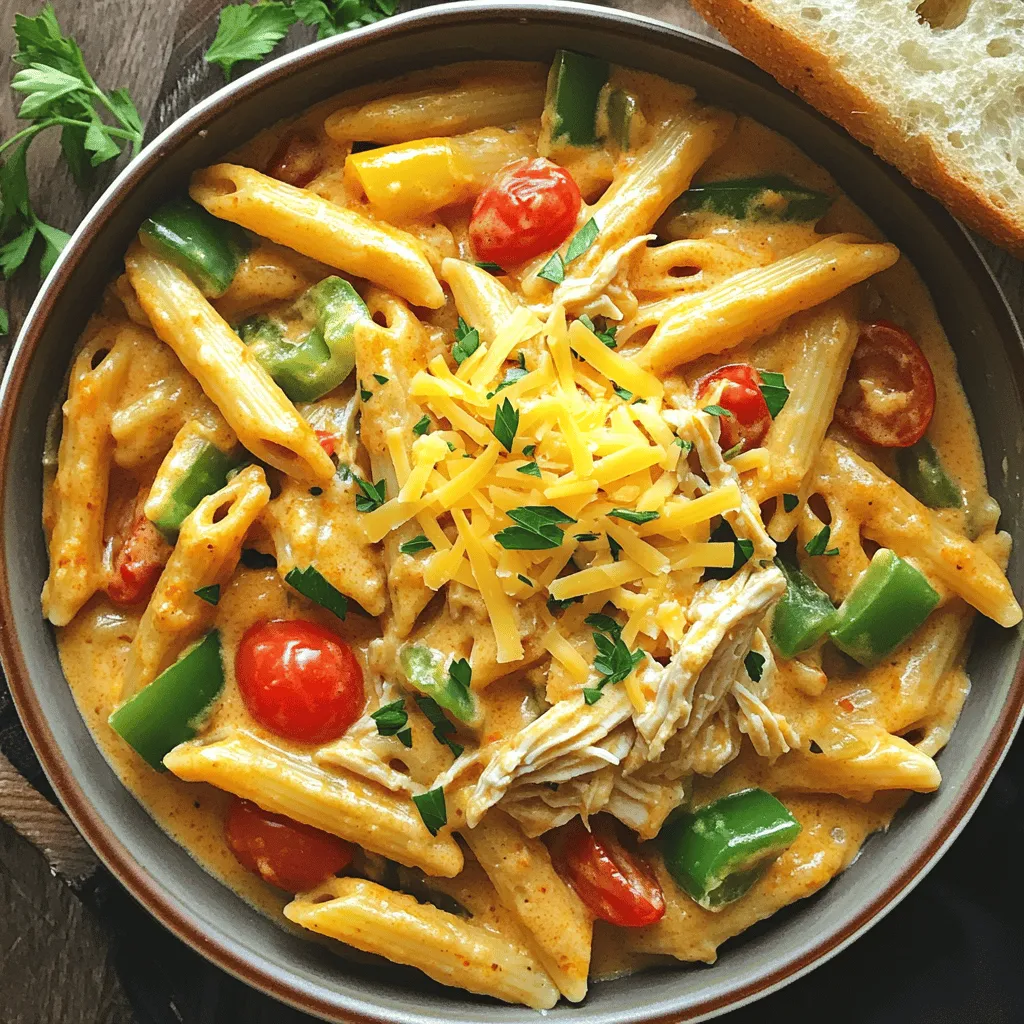
Welcome to my kitchen! Today, you’re in for a treat with my One-Pot Creamy Cajun Pasta. This dish is easy
