
No-Bake Caramel Pecan Cheesecake Bites Easy Treat
Craving a sweet treat that’s easy to make? You’re in the right place! These No-Bake Caramel Pecan Cheesecake Bites are
Craving a sweet treat that’s easy to make? You’re in the right place! These No-Bake Caramel Pecan Cheesecake Bites are

Looking for a quick, tasty meal? Let me introduce you to sheet-pan chili lime shrimp tacos! In just 30 minutes,

As the leaves change color, it’s time for a fall favorite: Bakery-Style Pumpkin Streusel Muffins! These warm, spiced treats bring
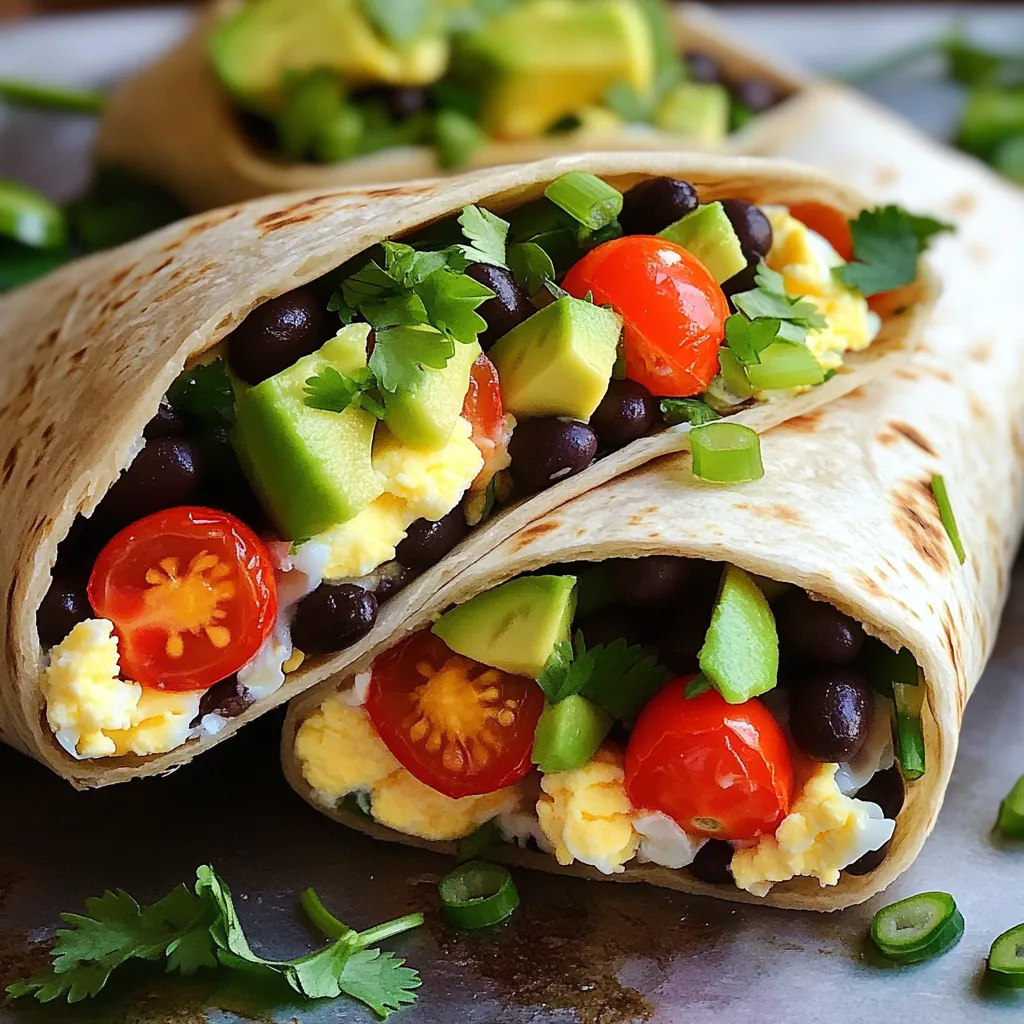
Start your day with a delicious twist! High-Protein Egg White Breakfast Burritos are quick, healthy, and packed with flavor. Imagine

If you crave a sweet, warm treat, you’ll love my Apple Cinnamon Roll Pull-Apart Loaf. This delightful recipe combines soft

Are you ready for a simple, tasty dinner that packs a punch? My Sheet-Pan Mediterranean Salmon with Veggies Delight brings

Are you ready to indulge in comfort food at its finest? My Slow Cooker Beef Stroganoff is a rich and

Are you ready to indulge in fall’s favorite flavors? These Pumpkin Cream Cheese Swirl Brownies combine rich chocolate and creamy

Get ready to indulge in a sweet and salty treat! My No-Bake Salted Caramel Pretzel Cheesecake Cups will amaze your

Are you ready to elevate your baking game with easy and delicious Bakery Style Cranberry Orange Muffins? These muffins burst
