
Cozy Slow Cooker Lasagna Soup Comforting and Hearty Dish
Are you ready for a warm hug in a bowl? Cozy Slow Cooker Lasagna Soup is the answer! This hearty
Are you ready for a warm hug in a bowl? Cozy Slow Cooker Lasagna Soup is the answer! This hearty

Are you ready for a quick and tasty meal? My Minute Garlic Butter Steak Bites with Rice is your new

Are you craving a sweet treat that’s easy to make and healthy? Look no further than these no-bake chocolate peanut

If you crave a snack that’s both tasty and healthy, you’re in for a treat! My Savory Air Fryer Buffalo

Craving a sweet fall treat that’s easy to make? Look no further! These No-Bake Pumpkin Cheesecake Cups are a perfect

Have you ever craved Kung Pao Chicken but worried about takeout calories? This Better-Than-Takeout Kung Pao Chicken Easy Dinner Recipe
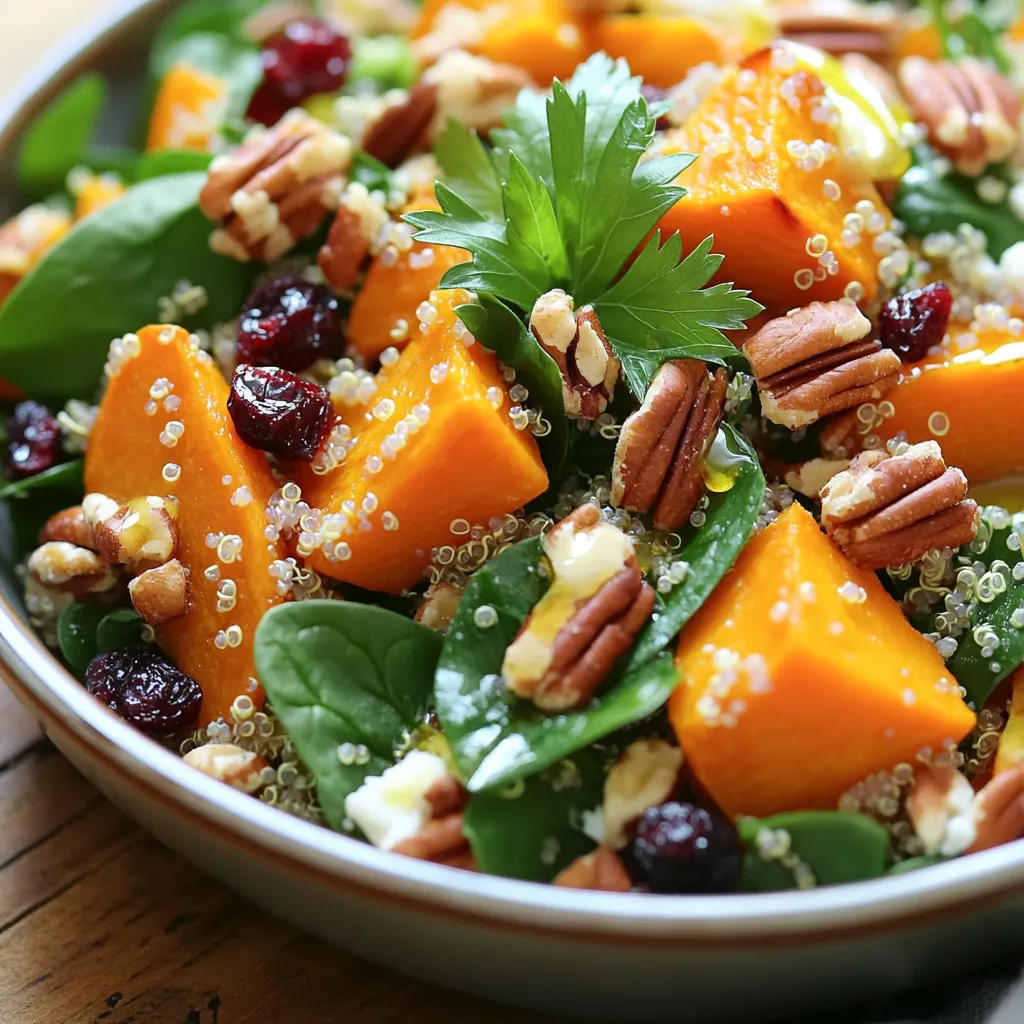
Looking for a delicious and healthy dish that stands out? Meet your new favorite recipe: Maple Roasted Sweet Potato Quinoa

Get ready to whip up a treat everyone will love: Cinnamon Sugar Donut Muffins! These muffins bring together the soft,

Are you ready to warm up your dinner routine? My Slow Cooker White Chicken Chili with Corn is not just

Looking for a sweet treat that’s easy to make? Dive into these No-Bake S’mores Cheesecake Bars! With layers of creamy
