
No Bake Oreo Cheesecake Cups Dreamy Sweet Treat
Are you ready to indulge in a sweet dream? These No Bake Oreo Cheesecake Cups are the ultimate treat for
Are you ready to indulge in a sweet dream? These No Bake Oreo Cheesecake Cups are the ultimate treat for
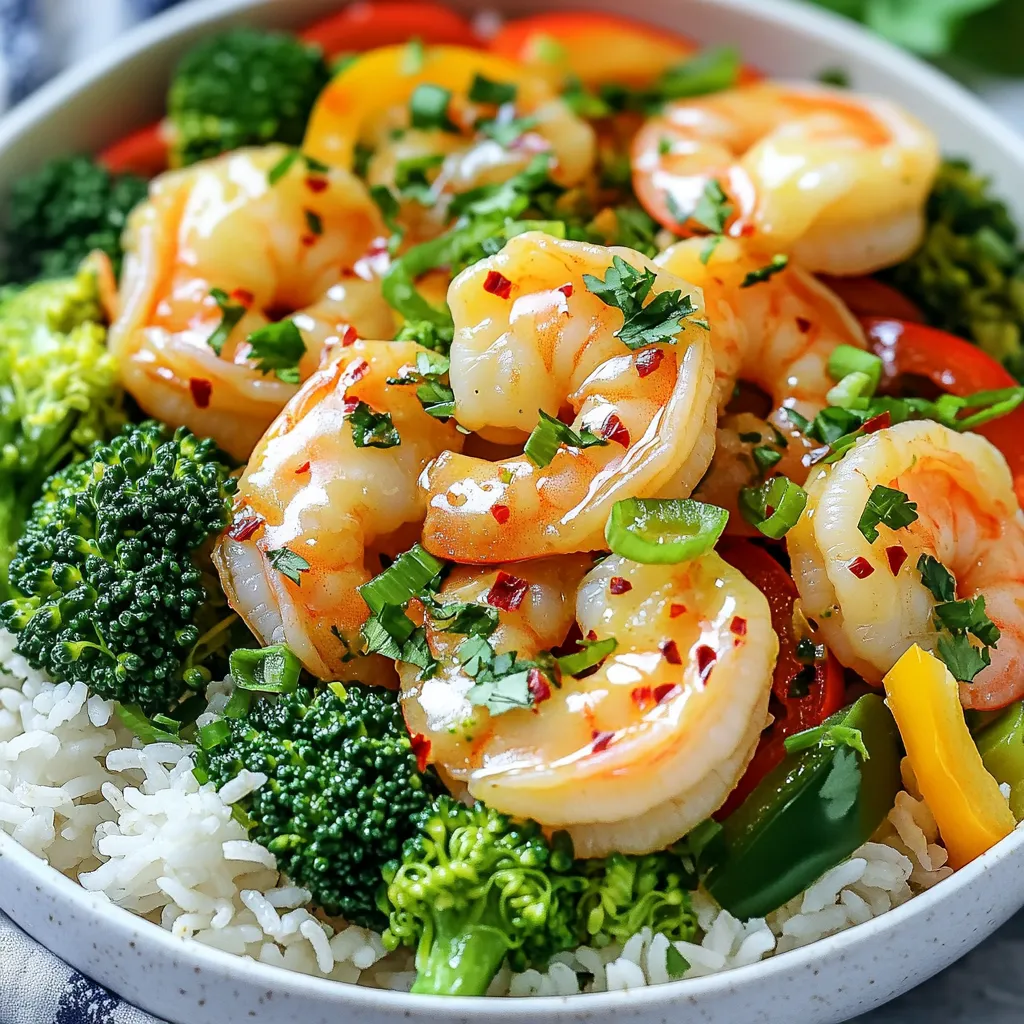
Craving a delicious meal that’s ready in no time? Look no further! Garlic Butter Shrimp Rice Bowls are a quick

Craving a cozy treat that’s easy to make? You’re in the right place! My Chai Spice Coffee Cake is a
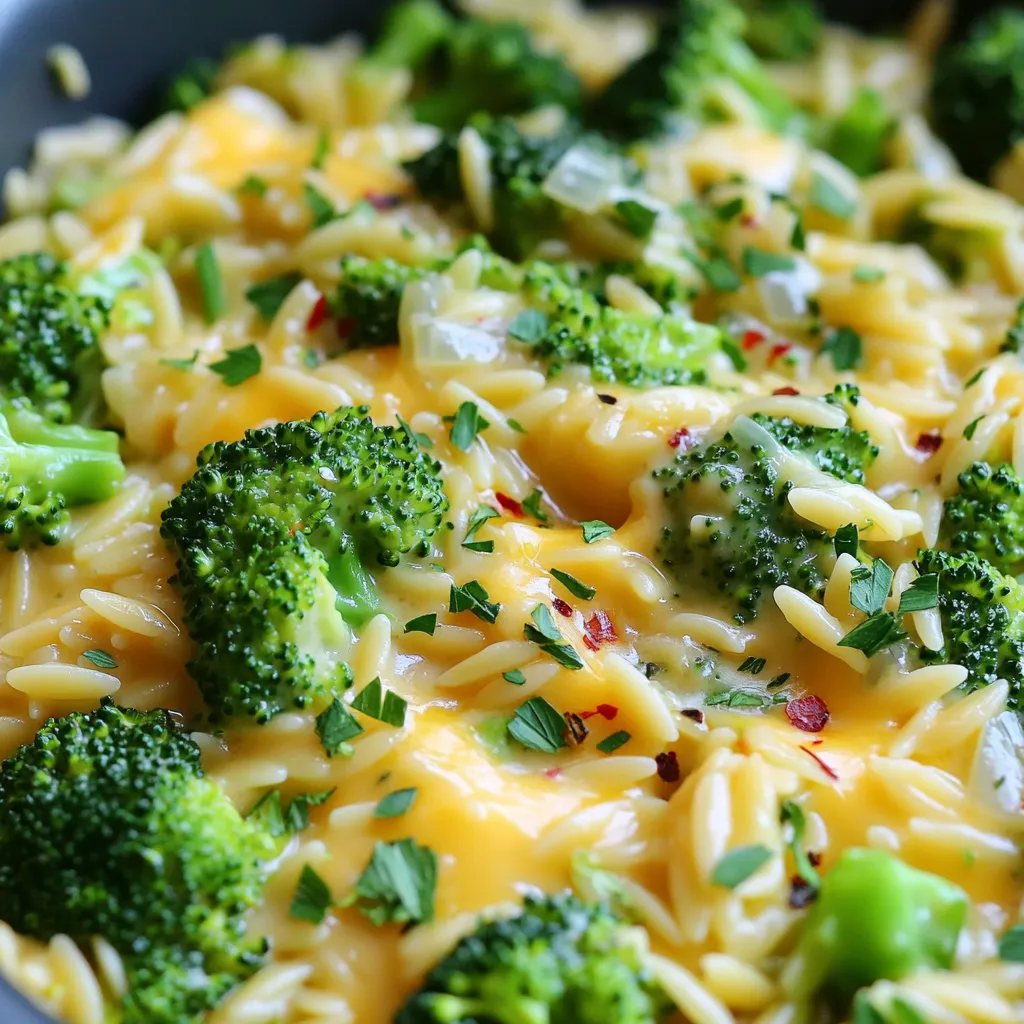
Craving comfort food that’s both easy to make and delicious? You’ll love this One Pot Broccoli Cheddar Orzo recipe! This

Looking for a treat that’s rich, creamy, and easy to whip up? No-Bake Mocha Cheesecake Jars are your new go-to

If you love a sweet and salty treat, then you are in for a thrill! My Salted Caramel Pretzel Bark

Get ready for a delicious start to your day with my High-Protein Pumpkin Spice Overnight Oats! This quick and easy
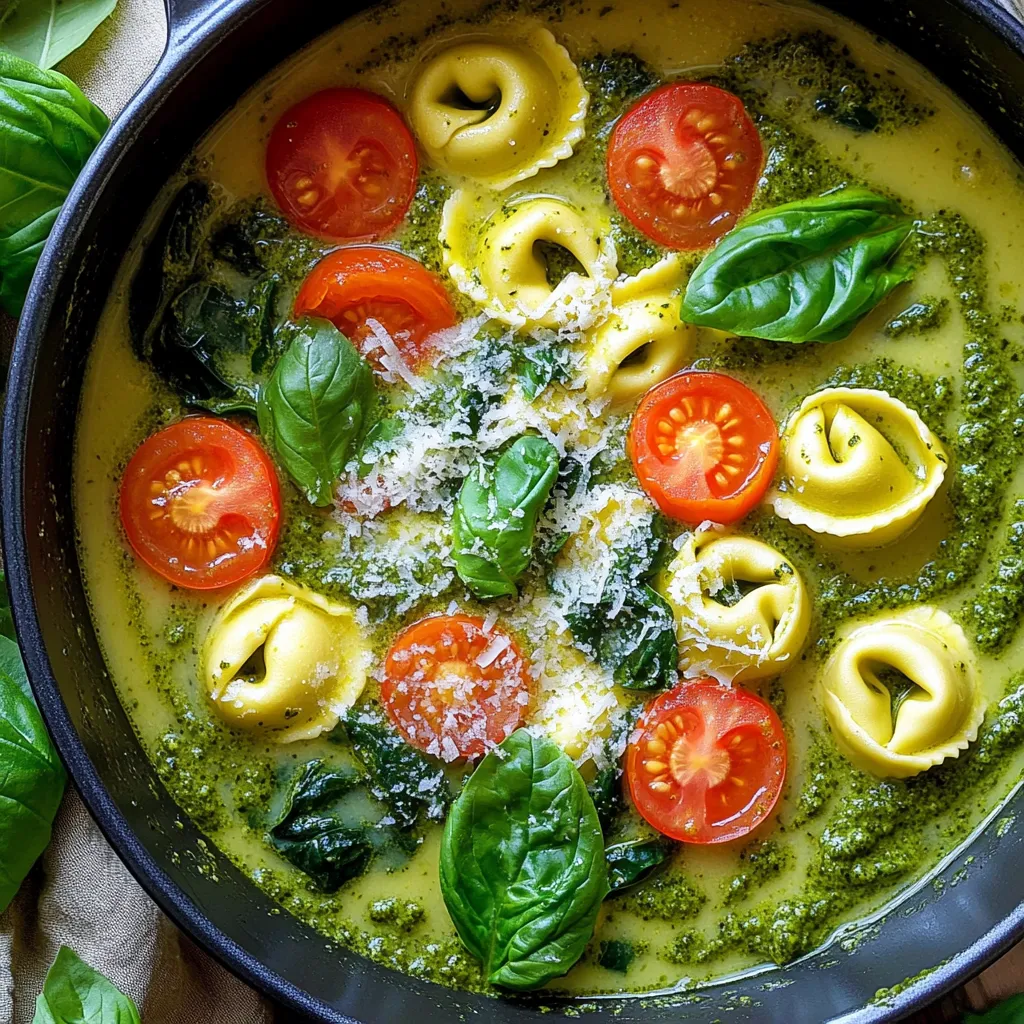
Looking for a cozy meal that’s both easy and satisfying? This Creamy One-Pot Pesto Tortellini Soup is your answer! With
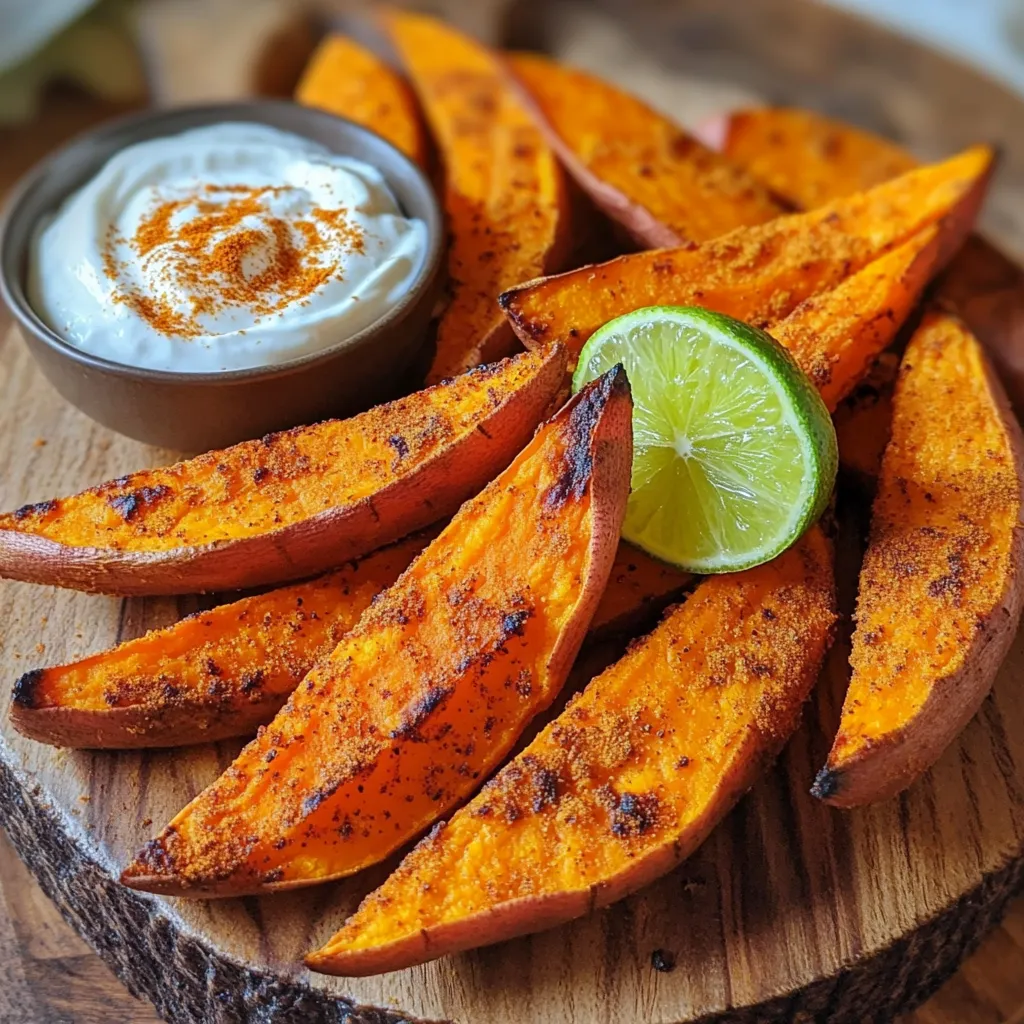
Are you ready to discover a delicious snack that’s crispy, flavorful, and easy to make? In this blog post, I’ll

Get ready to delight your taste buds with my Bakery-Style Cranberry Orange Bread! This recipe combines zesty orange juice and
