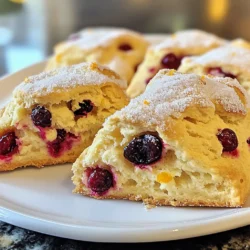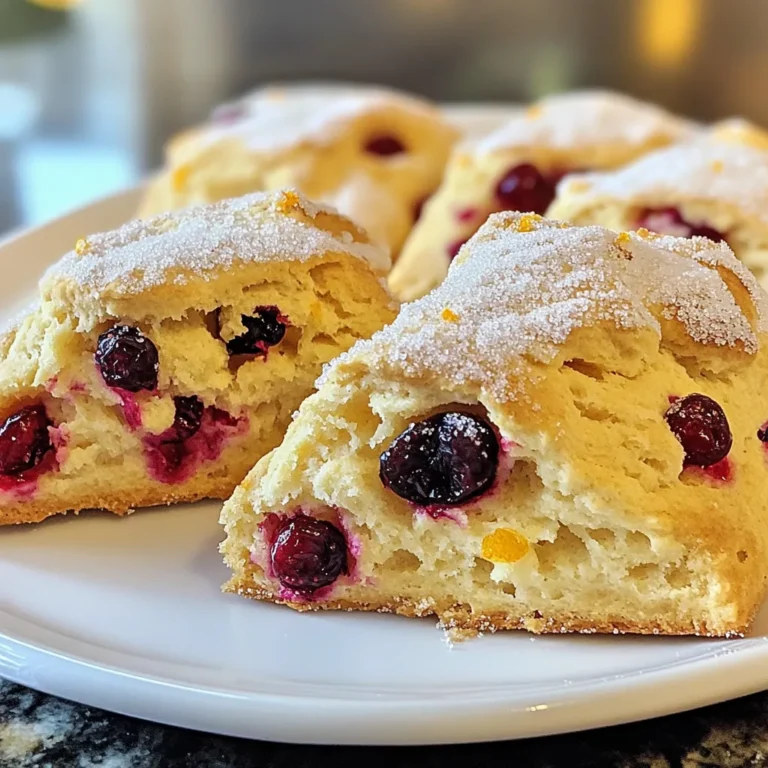

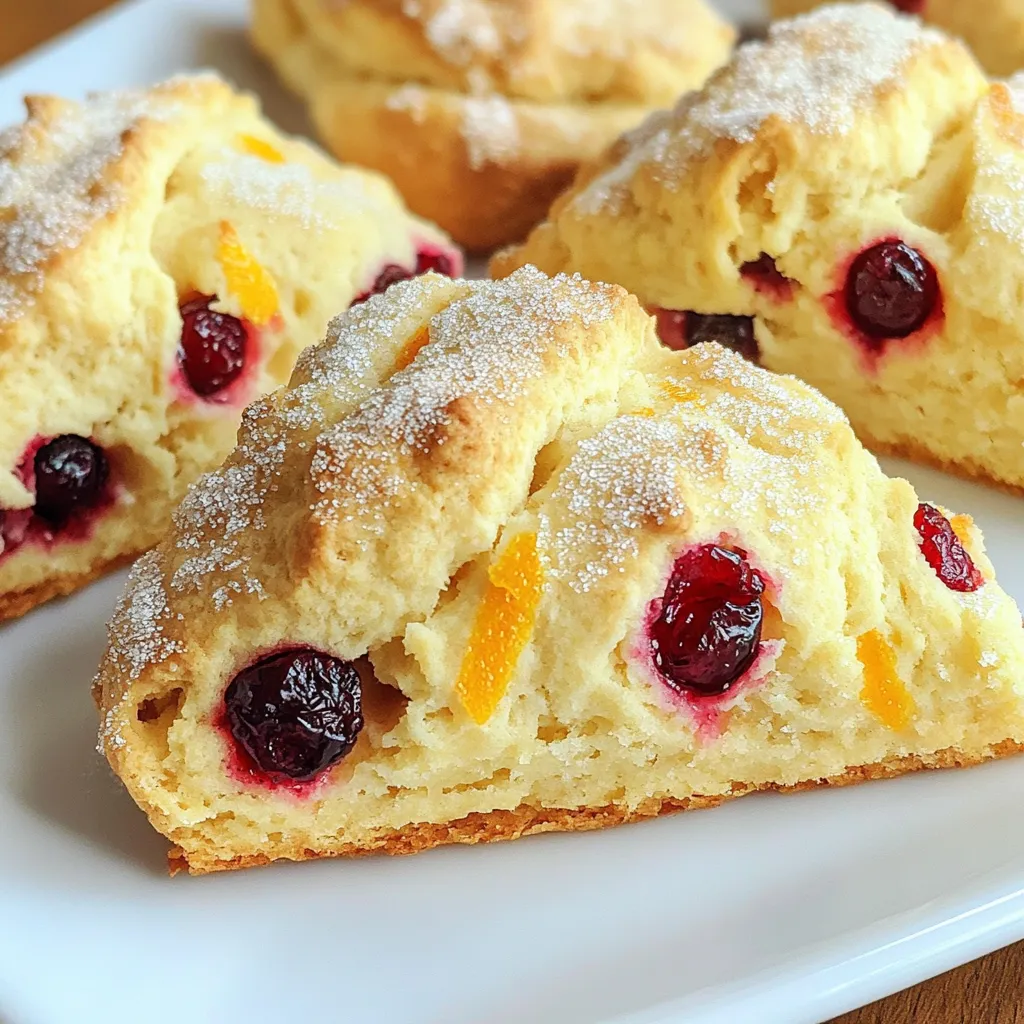
Are you ready to bring the bakery home? These Bakery-Style Cranberry Orange Scones are simple to make and bursting with flavor. Perfect for breakfast or a snack, this easy recipe will delight your taste buds. I’ll guide you through every step, from choosing the right ingredients to baking and storing them. Let’s dive in and elevate your baking game with these delicious scones!
Ingredients
List of Ingredients
– 2 cups all-purpose flour
– 1/4 cup granulated sugar
– 1 tablespoon baking powder
– 1/2 teaspoon salt
– 1/2 cup unsalted butter, cold and cubed
– 3/4 cup dried cranberries
– Zest of 1 large orange
– 1/2 cup heavy cream
– 1 large egg
– 1 teaspoon vanilla extract
– 1/4 cup coarse sugar for topping
Measuring Tips
When you measure flour, spoon it into your cup and level it off. This way, you avoid packing it down. For sugar, use the same method. Baking powder and salt should be measured using a measuring spoon, ensuring you level off the top. These steps help you get the right amounts for your scones.
Substitutions for Dietary Needs
If you need a gluten-free option, swap the all-purpose flour for a gluten-free blend. For dairy-free scones, use coconut cream instead of heavy cream and vegan butter instead of unsalted butter. You can also replace the egg with a flax egg (1 tablespoon ground flaxseed mixed with 2.5 tablespoons water). Adjust these ingredients to fit your needs while keeping the flavors bright.
Step-by-Step Instructions
Preheating and Preparation
First, preheat your oven to 400°F (200°C). This step is key for baking. While the oven heats, line a baking sheet with parchment paper. This prevents the scones from sticking.
Mixing Dry Ingredients
In a large bowl, add 2 cups of all-purpose flour. Then, pour in 1/4 cup of granulated sugar, 1 tablespoon of baking powder, and 1/2 teaspoon of salt. Use a whisk to mix these dry ingredients well. This ensures the baking powder works evenly.
Incorporating Wet Ingredients
In another bowl, whisk together 1/2 cup of heavy cream, 1 large egg, and 1 teaspoon of vanilla extract. Mix until you see no egg streaks. This liquid mix adds moisture and flavor to your scones.
Shaping and Cutting the Dough
Next, combine the dry and wet mixtures. Pour the liquid into the dry mix. Stir gently until it just comes together. The dough should be sticky but not too wet. Turn the dough onto a floured surface. Knead it gently a few times. Form it into a circle about 1-inch thick. Use a sharp knife to cut this circle into 8 equal wedges.
Baking Instructions
Place the cut scones on your prepared baking sheet. Sprinkle 1/4 cup of coarse sugar on top for a nice crunch. Bake for 18 to 20 minutes. They should be golden brown and firm. A toothpick should come out clean when inserted into the center. Let them cool for a few minutes before moving them to a wire rack.
Tips & Tricks
Achieving a Perfect Texture
To get the best texture, keep your butter cold. Cold butter creates flaky layers in your scones. When you mix the butter into the flour, it should look like coarse crumbs. Avoid overmixing the dough. Mix until just combined; a sticky dough is good.
Flavor Enhancements
You can boost the flavor in many ways. Adding a bit of cinnamon or nutmeg gives warmth. For extra tang, try adding a splash of fresh orange juice to the cream mixture. A little almond extract can also add a nice twist. Experiment to find what you love!
Common Mistakes to Avoid
Watch out for these common mistakes. First, don’t skip the zest. It adds bright flavor. Second, be careful with the mixing. Overmixing will make the scones tough. Lastly, ensure your oven is preheated. This helps the scones rise properly and bake evenly.
Variations
Alternative Add-Ins
You can add different flavors to your scones. Try using chopped nuts like walnuts or pecans. They give a nice crunch. You can also use chocolate chips for a sweeter treat. Mix in some dried apricots or cherries for a fruity twist. Each add-in changes the taste and feel of the scone.
Flavor Variations
If you want to switch things up, try lemon instead of orange. Just use lemon zest in place of the orange zest. Lemon adds a bright and zesty flavor. You can also mix in some poppy seeds for a nice texture. For a richer flavor, consider adding mini chocolate chips. They melt slightly and make each bite special.
Gluten-Free Modifications
You can make these scones gluten-free easily. Use a good gluten-free flour blend. Look for one that has xantham gum in it. This helps the scones hold together. You may also need to adjust the liquid a bit. Add a little more cream if the dough feels too dry. Enjoy the same great taste without the gluten!
Storage Info
Best Storage Practices
To keep your scones fresh, store them in an airtight container. Use parchment paper to separate layers. This helps to keep them from sticking together. Place the container in a cool, dry place. They will stay fresh for up to three days. If you want to enjoy them longer, consider freezing them.
Reheating Instructions
When you’re ready to eat your scones, preheat your oven to 350°F (175°C). Place the scones on a baking sheet. Heat them for about 10 minutes. This will bring back their warm, soft texture. You can also use a microwave. Heat them for about 20 to 30 seconds. Just be careful not to make them too hot.
Freezing Scones for Later Use
To freeze your scones, wrap each one in plastic wrap. Then, place them in a freezer bag. They can stay in the freezer for up to three months. When you’re ready to bake them, you can bake from frozen. Just add a few extra minutes to the baking time. Enjoy your fresh scones anytime!
FAQs
How do I know when the scones are done?
The scones are done when they turn golden brown. You can check by inserting a toothpick into the center. If it comes out clean, they are ready. Baking time is about 18 to 20 minutes.
Can I use fresh cranberries instead of dried?
Yes, you can use fresh cranberries. They will add a tart flavor. However, fresh cranberries can make the scones wetter. If you use fresh, consider reducing the cream a bit.
What can I serve with cranberry orange scones?
Cranberry orange scones pair well with many items. Serve them warm with butter or jam. You can also add a simple orange glaze made of powdered sugar and orange juice. Tea or coffee makes a nice drink choice too.
This blog post covered key ingredients, step-by-step instructions, and useful tips for baking scones. We discussed how to measure accurately and substitute ingredients for dietary needs. You also learned important baking techniques and how to avoid common errors. Finally, we explored variations and storage methods to keep your scones fresh.
With this knowledge, you can create tasty scones that suit your taste and needs. Happy baking!