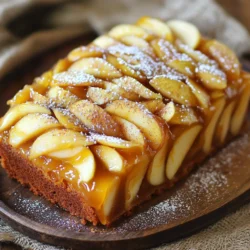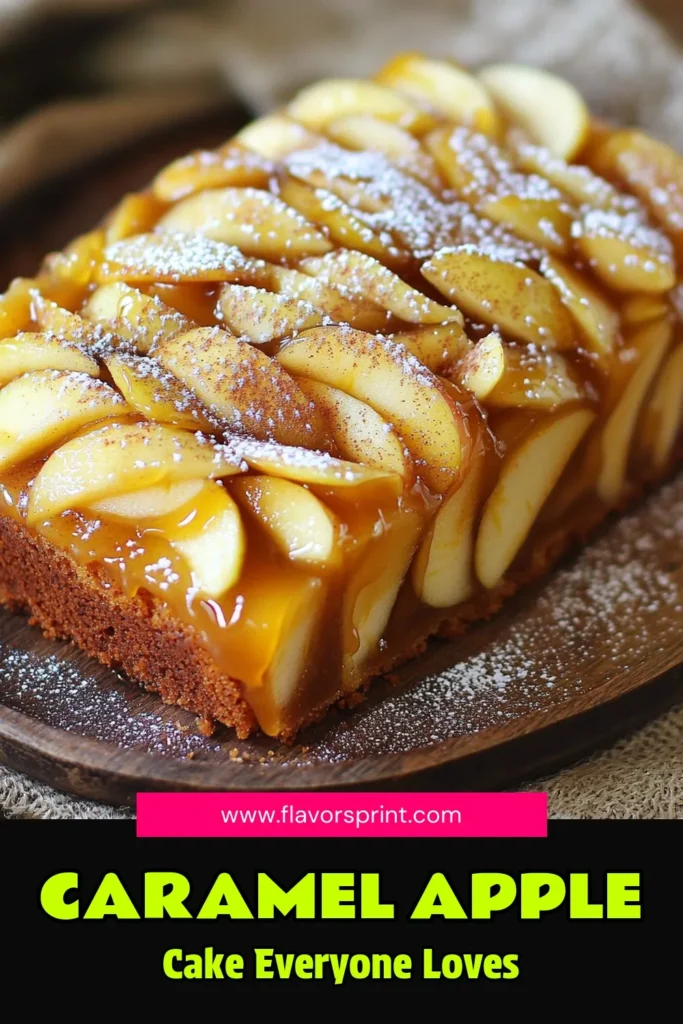
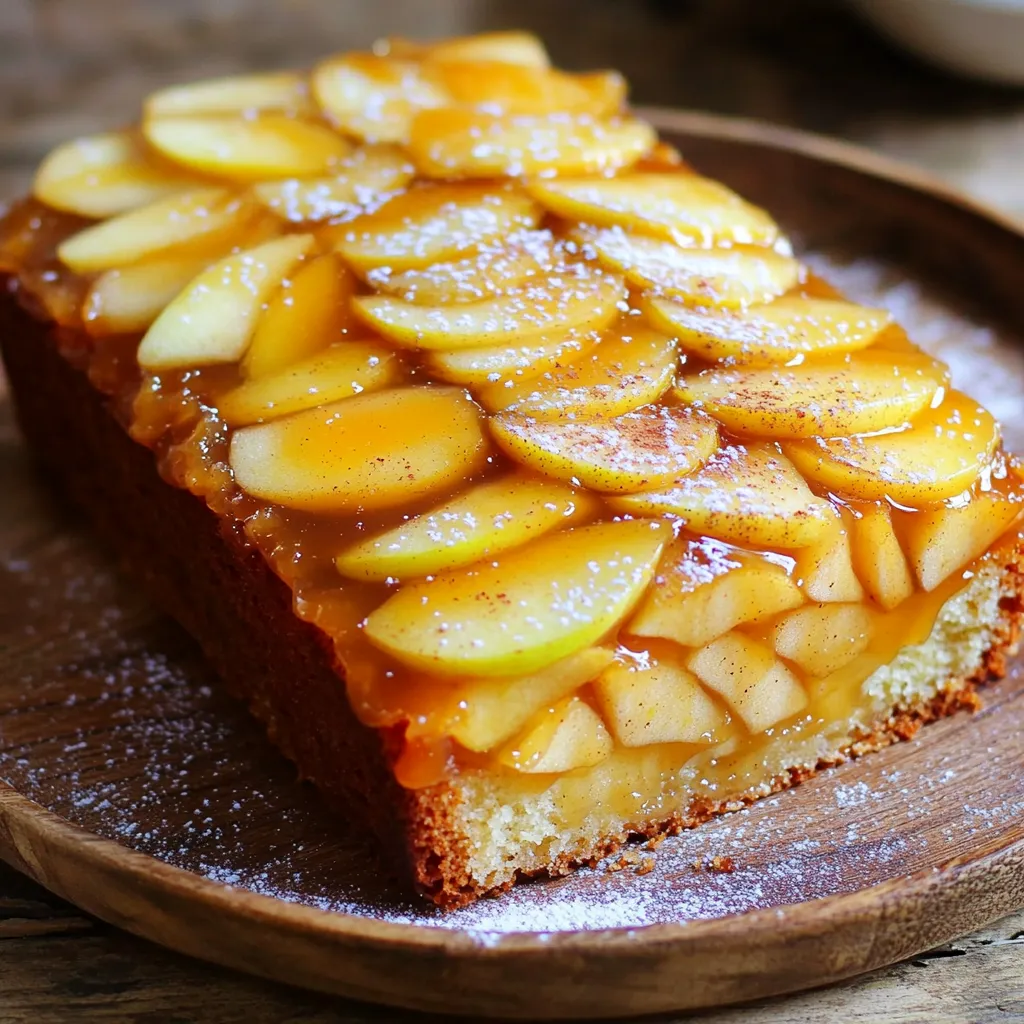
Ready to bake something truly special? This Caramel Apple Upside-Down Loaf Cake is a fun twist on the classic dessert. With a warm, gooey caramel layer and sweet apples, every bite is pure joy. I’ll walk you through easy steps, from prepping your ingredients to drizzling extra caramel on top. Let’s create a delicious treat that will impress everyone at your table!
Ingredients
List of Main Ingredients
– 4 medium apples (Granny Smith or Honeycrisp)
– 1 cup brown sugar
– 1/2 cup unsalted butter
Dry Ingredients
– 1 1/2 cups all-purpose flour
– 1 teaspoon baking powder
– 1/2 teaspoon baking soda
– 1/4 teaspoon salt
Wet Ingredients
– 1 cup granulated sugar
– 2 large eggs
– 1 teaspoon vanilla extract
– 1/2 cup buttermilk
For this caramel apple upside-down loaf cake, the right ingredients make magic. I love using Granny Smith or Honeycrisp apples. They add a nice tartness that balances the sweet caramel.
You will need brown sugar and unsalted butter for the rich caramel base. This mix creates a gooey layer that pairs perfectly with the apples.
For the dry part, all-purpose flour ensures a soft texture. The baking powder and baking soda help the cake rise. A pinch of salt rounds out the flavors.
The wet ingredients include granulated sugar, eggs, and vanilla for sweetness and depth. Buttermilk adds moisture and a slight tang. This combo creates a cake that is moist and fluffy.
Gather these ingredients before you start. Having everything ready makes the process smooth and fun!
Step-by-Step Instructions
Preparation Steps
1. Start by preheating your oven to 350°F (175°C). Grease a 9-inch loaf pan with some butter. This step helps the cake come out easily.
2. Next, in a medium saucepan over medium heat, melt 1/2 cup of unsalted butter and 1 cup of brown sugar together. Stir until the mixture is smooth and well combined. Add 1/2 teaspoon of ground cinnamon and mix it in evenly. This blend creates a rich caramel flavor.
Arranging Apples and Cake Batter
3. Pour the caramel mixture into the bottom of your prepared loaf pan. Spread it out evenly.
4. Take 4 medium apples, like Granny Smith or Honeycrisp, peel, core, and thinly slice them. Layer these apple slices over the caramel. Overlap them slightly for a beautiful look. Set this aside while you make the cake batter.
5. In a large bowl, whisk together 1 1/2 cups of all-purpose flour, 1 teaspoon of baking powder, 1/2 teaspoon of baking soda, and 1/4 teaspoon of salt. This dry mix gives the cake its structure.
6. In another bowl, beat 1 cup of granulated sugar with the remaining 1/2 cup of butter until it gets light and fluffy. Add 2 large eggs, one at a time, mixing well after each. Stir in 1 teaspoon of vanilla extract for flavor.
7. Gradually add the dry flour mixture to the wet mix. Alternate this with 1/2 cup of buttermilk. Mix until just combined. Be careful not to overmix.
Baking and Cooling Process
8. Pour the batter over the apples and caramel in the loaf pan. Smooth the top with a spatula.
9. Bake the loaf in the preheated oven for 55 to 65 minutes. Check for doneness by inserting a toothpick in the center. It should come out clean when the cake is ready.
10. Let the cake cool in the pan for about 10 minutes. After that, carefully invert it onto a serving plate. Allow it to cool completely before slicing. Enjoy the delicious layers of caramel and apple!
Tips & Tricks
Baking Tips
To ensure your cake rises well, do not skip the baking powder and baking soda. They help create bubbles in the batter. Make sure your baking powder is fresh. If it’s old, it won’t work as well. Mix the dry ingredients well before adding them to the wet ones. This helps spread the leavening agents evenly.
To achieve the perfect caramel texture, melt the butter and brown sugar slowly over medium heat. Stir often to prevent burning. You want a smooth and shiny caramel. If it gets too thick, add a tiny bit of water to loosen it. Pour it into the pan right away before it cools.
Apple Selection
For the best flavor and texture, I recommend using Granny Smith or Honeycrisp apples. Granny Smith apples are tart and hold their shape well during baking. Honeycrisp apples are sweet and juicy, adding a lovely flavor. You can mix both varieties for a more complex taste. Just remember to peel and core them for even cooking.
Serving Suggestions
For a delightful treat, serve your loaf cake warm with a scoop of vanilla ice cream. The cold ice cream melts into the warm cake, creating a lovely contrast. You can also add whipped cream for extra creaminess. For a touch of elegance, dust the top with powdered sugar. This adds a nice visual and flavor boost.
Variations
Ingredient Substitutions
You can change the sugar in this recipe. Brown sugar gives a rich flavor. If you want, use white sugar instead. It will change the taste but still be good.
If you need gluten-free options, use almond flour or coconut flour. These work well in baking. They may change the texture, so keep an eye on it.
Flavor Enhancements
Adding nuts can give your cake a nice crunch. Try walnuts or pecans. You can also mix in spices like nutmeg or ginger for extra warmth.
Drizzling caramel sauce on top is a great touch. It makes the cake even sweeter and more fun to eat.
Serving Variations
You can make this recipe into cupcakes. Just pour the batter into cupcake liners. Bake them for about 20-25 minutes.
Another idea is to make mini loaves. Use small loaf pans and bake for around 30-40 minutes. These are perfect for gifts or sharing!
Storage Info
Proper Storage Techniques
To keep your caramel apple upside-down loaf cake fresh, use these simple steps:
– Refrigeration: Place the cake in an airtight container. This keeps moisture in and helps prevent drying.
– Wrapping: If you don’t have a container, wrap the cake tightly with plastic wrap. This also helps seal in freshness.
Freezing Instructions
Want to save some for later? Freezing is easy!
– Wrap the Cake: First, slice the cake if you want individual pieces. Then, wrap each slice in plastic wrap, or wrap the whole loaf.
– Place in a Bag: Put the wrapped cake in a freezer bag. This protects it from freezer burn.
– Label and Date: Write the date on the bag. This helps you keep track of how long it’s been in the freezer.
– Freezing Time: The cake can last up to three months in the freezer.
Reheating Tips
When you’re ready to enjoy your cake again, follow these tips:
– Oven Method: Preheat your oven to 350°F (175°C). Place the cake on a baking sheet and heat for about 10-15 minutes. This keeps the cake moist.
– Microwave Method: For a quick fix, use your microwave. Heat a slice for 15-20 seconds. Check if it’s warm enough, and add more time if needed.
– Texture Check: Make sure it’s soft and warm, just like when it was fresh!
FAQs
Common Baking Questions
Can I use a different pan size?
Yes, you can. If you use a smaller pan, check the baking time. A larger pan may need less time. Always keep an eye on your cake while it bakes.
What if I don’t have buttermilk?
No problem! You can make a quick substitute. Just mix 1 tablespoon of vinegar or lemon juice with 1 cup of milk. Let it sit for about 5 minutes. This will work well in the recipe.
Ingredient Queries
Can I substitute butter for oil?
You can use oil instead of butter. But, the cake may taste a bit different. Butter adds a rich flavor that oil does not. If you want to keep it buttery, stick with butter.
What’s the best apple for baking in this recipe?
Granny Smith and Honeycrisp apples are great choices. They hold their shape and add a nice tartness. This makes your cake taste fresh and balanced.
Troubleshooting Issues
Why did my cake sink in the middle?
A sinking cake often means it was underbaked. Make sure to check for doneness with a toothpick. If it comes out clean, your cake is done!
How can I avoid a dry texture?
To keep your cake moist, don’t overmix the batter. Also, be careful with baking time. If it’s too long, the cake can dry out.
This recipe brings together fresh apples, rich caramel, and soft cake. Each ingredient plays a key role in flavor and texture. By following the steps closely, you ensure a tasty result. Remember to choose apples wisely for the best taste. Variations add fun twists, so feel free to explore. Proper storage keeps your cake fresh for later treats. With these tips, you’ll be ready to impress anyone who tries your cake. Enjoy the process and savor the delicious results!