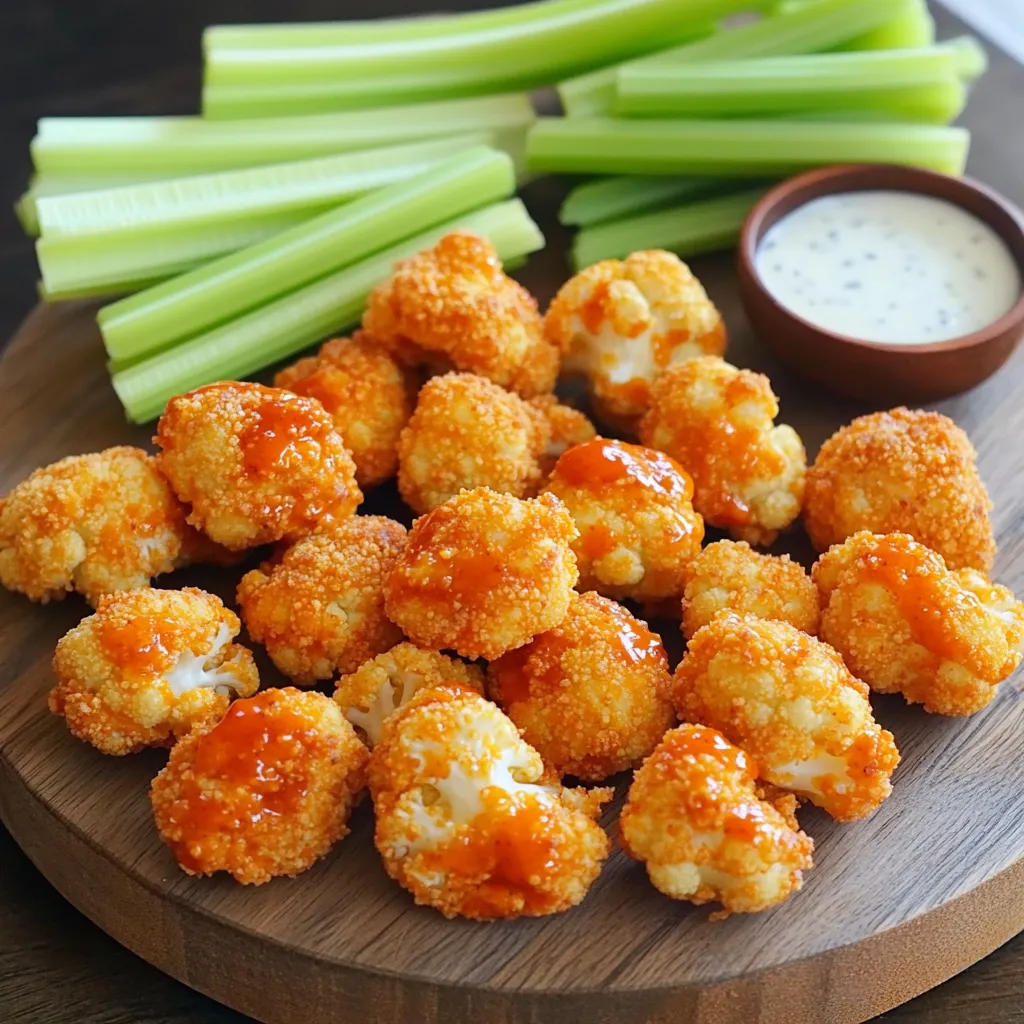
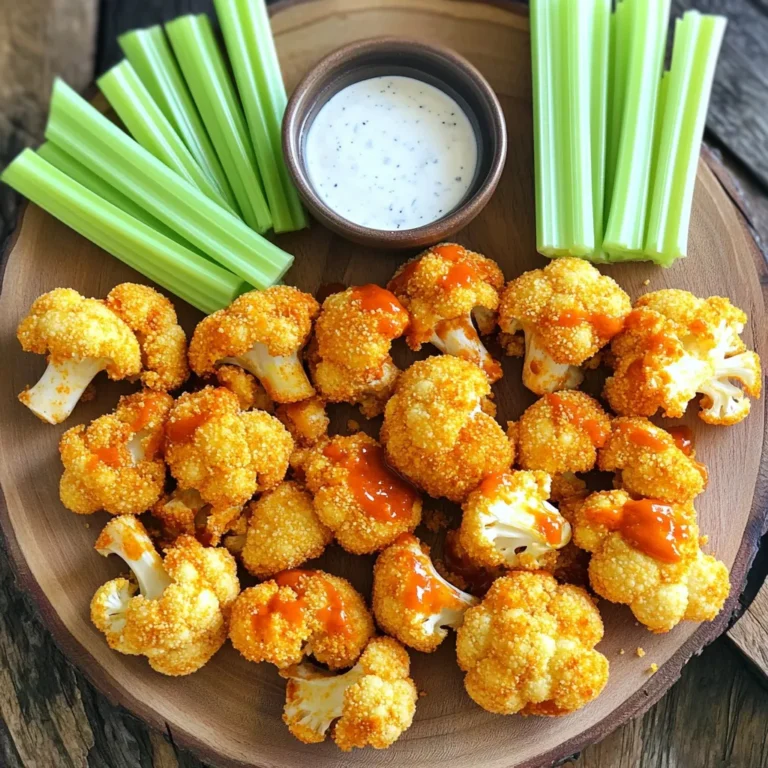
Are you ready to spice up your snack game? Air Fryer Crispy Buffalo Cauliflower Wings are the perfect blend of crunch and flavor. They’re easy to make, delicious, and healthier than traditional wings. In this recipe, I’ll share my favorite ingredients, easy step-by-step instructions, and tips to make them really crispy. Let’s dive in and get cooking your new go-to appetizer!
Ingredients
Main Ingredients for Air Fryer Cauliflower Wings
– 1 medium head of cauliflower, cut into florets
– 1 cup all-purpose flour (or gluten-free flour)
– 1 cup breadcrumbs (panko for extra crunch)
Spices and Seasonings
– 1 teaspoon garlic powder
– 1 teaspoon onion powder
– 1 teaspoon smoked paprika
– 1 teaspoon cayenne pepper (adjust for spice preference)
Liquid Components
– 1 cup buttermilk (or plant-based milk + 1 tablespoon lemon juice)
– 2 tablespoons olive oil
– 1/2 cup buffalo sauce (store-bought or homemade)
When I make Air Fryer Crispy Buffalo Cauliflower Wings, I gather fresh ingredients first. I love using a medium head of cauliflower. Cut the cauliflower into bite-sized florets. This size helps them cook evenly.
Next, I grab my flour. All-purpose flour works great, but you can use gluten-free flour too. I also prepare breadcrumbs. I prefer panko breadcrumbs for that extra crunch.
Now, let’s spice things up. Garlic powder and onion powder add fantastic flavor. Smoked paprika gives a nice depth, and cayenne pepper adds heat. You can adjust the cayenne to suit your taste.
For the liquid, I use buttermilk, but plant-based milk is a solid choice too. Just add a tablespoon of lemon juice to mimic buttermilk. I also use olive oil for coating and buffalo sauce for that spicy kick.
These ingredients create a tasty and crunchy dish. Enjoy crafting this delicious recipe!
Step-by-Step Instructions
Preparing the Cauliflower
Start by washing the cauliflower under cool water. This helps remove dirt. Cut it into bite-sized florets. Make sure the pieces are even in size. This ensures they cook at the same rate.
Making the Batter
In a large bowl, mix the dry ingredients. Combine 1 cup of flour, 1 teaspoon of garlic powder, 1 teaspoon of onion powder, 1 teaspoon of smoked paprika, 1 teaspoon of cayenne pepper, salt, and pepper. Whisk these well. Slowly add 1 cup of buttermilk. Stir until you get a smooth batter. The batter should stick to the cauliflower but not be too thick.
Coating and Air Frying
Dip each cauliflower floret into the batter. Make sure they are fully coated. Let the excess batter drip off. Next, roll each piece in breadcrumbs. Use panko for extra crunch.
Preheat your air fryer to 400°F (200°C) for about 5 minutes. Lightly spray the air fryer basket with olive oil. Place the breaded cauliflower in a single layer. Leave space between them for air to move. Spray the tops with olive oil too.
Air fry the cauliflower for 10 minutes. Then flip them over. Cook for another 5 to 6 minutes. They should turn golden brown and crispy.
Once done, transfer the wings to a bowl. Drizzle 1/2 cup of buffalo sauce over them. Toss gently so they are evenly coated. Enjoy your crispy buffalo cauliflower wings!
Tips & Tricks
Achieving Maximum Crispiness
To get the best crunch from your cauliflower wings, choose panko breadcrumbs. They create a lighter, crispier texture. If you can’t find panko, regular breadcrumbs work too.
Air circulation is key. Make sure to leave space between each floret in the fryer. This helps hot air flow and cook all sides evenly. A crowded basket leads to soggy wings, which we want to avoid.
Spice Adjustments and Alternatives
Want to change the heat level? You can adjust the cayenne pepper. Start with a little, then add more if you like it spicier. You can also try adding other spices like smoked paprika or chili powder for extra flavor.
For a flavor boost, mix in some garlic powder or onion powder. Nutritional yeast adds a cheesy taste without the cheese. Feel free to experiment with spices that you love!
Serving Suggestions
Pair your cauliflower wings with ranch or blue cheese dressing for dipping. The coolness of the dressing balances the spice.
For sides, fresh celery sticks add crunch and freshness. You can also serve these wings with a light salad or some crispy potato wedges for a full meal experience. Enjoy!

Variations
Flavor Variations
You can switch up the sauce for your buffalo cauliflower wings. Barbecue sauce adds a sweet and smoky twist. Teriyaki brings a nice glaze and flavor. You can also try different coatings. Use crushed nuts like almonds or seeds like sesame for a crunchy layer. This adds flavor and texture, making your wings unique.
Dietary Modifications
If you need gluten-free options, swap all-purpose flour for gluten-free flour. This keeps the dish safe for those with gluten issues. For a vegan-friendly version, replace buttermilk with plant-based milk mixed with lemon juice. This change works well and keeps the batter tasty and smooth.
Cooking Techniques
Baking is one option if you don’t have an air fryer. Spread the coated cauliflower on a lined baking sheet. Bake at 425°F (220°C) for about 25-30 minutes. Flip halfway through for even crispiness. Stovetop frying is another option. Heat oil in a pan and fry the wings until golden brown. This method gives a nice crunch but uses more oil.
Storage Info
Proper Storage Techniques
To keep your crispy buffalo cauliflower wings fresh, store leftovers properly. First, let the wings cool to room temperature. This helps prevent moisture buildup. Next, place them in an airtight container. I recommend using glass containers for best results. These help keep the wings from getting soggy. You can also use plastic containers, but ensure they seal well.
Reheating Methods
Reheating your wings can be tricky. You want them crispy, not soggy. For the best results, use the air fryer. Set it to 350°F (175°C) and heat the wings for about 5 to 7 minutes. This method keeps them crunchy. You can also use an oven. Preheat it to 350°F (175°C) and bake for 10 minutes. If you use a microwave, the wings may get soft. To avoid sogginess, skip the microwave if possible.
Shelf Life
Your buffalo cauliflower wings can last in the fridge for about 3 to 5 days. Always check for signs of spoilage. If they smell off or look slimy, it’s time to toss them. Fresh wings should still be crisp and smell great. Storing them right keeps them delicious for longer.
FAQs
Can I make Air Fryer Crispy Buffalo Cauliflower Wings ahead of time?
Yes, you can make these wings ahead of time. To prep in advance, follow these steps:
– Prepare the cauliflower: Cut the florets and wash them.
– Make the batter: Mix all dry ingredients, then add the buttermilk.
– Coat the cauliflower: Dip the florets in the batter and breadcrumbs.
After coating, store the cauliflower in the fridge for up to 24 hours. When ready, just air fry them. This saves time and makes for a quick meal.
Can I freeze leftover cauliflower wings?
Absolutely! Freezing is a great way to keep leftovers. Here are the best practices:
– Cool the wings: Let them cool completely first.
– Use airtight containers: Place the wings in a container or freezer bag.
– Label and date: Write the date on the bag or container.
To thaw, put them in the fridge overnight. Reheat in the air fryer for a crispy finish. This keeps the flavor fresh and tasty.
How do I make buffalo cauliflower wings spicier?
To kick up the heat, try these suggestions:
– Add more cayenne pepper: Increase the amount in the batter.
– Mix in hot sauce: Blend extra hot sauce into the buffalo sauce.
– Use spicy seasonings: Consider adding chipotle powder or crushed red pepper flakes.
These tips help you customize the spice level to your liking. Enjoy the fiery flavors!
In this blog post, we covered how to make delicious air fryer cauliflower wings. You learned about the main ingredients, spices, and liquid components needed. We shared step-by-step instructions to prepare, batter, and fry the cauliflower. Tips for achieving maximum crispiness and serving suggestions added more flavor options. Lastly, we explored variations, storage techniques, and answered common questions. Enjoy making your crispy, tasty wings and feel free to experiment with flavors for a truly unique snack!


