Are you ready to treat yourself? These Greek Yogurt Cheesecake Cups are a tasty twist on a classic dessert. With creamy yogurt and a crunchy crust, they make a perfect sweet bite. Follow me as I guide you through easy steps, useful tips, and fun variations. You’ll impress family and friends while keeping it healthy, delicious, and simple. Let’s get started on this delightful recipe!
Ingredients
Main Ingredients List
To make Greek yogurt cheesecake cups, gather these key ingredients:
– 2 cups Greek yogurt (choose non-fat or full-fat)
– 1/2 cup cream cheese, softened
– 1/2 cup honey or maple syrup (adjust sweetness as you like)
– 1 teaspoon vanilla extract
– 1 teaspoon lemon zest
– 1 tablespoon lemon juice
– 1 cup digestive biscuits or graham cracker crumbs
– 3 tablespoons unsalted butter, melted
These ingredients create a creamy, tangy filling and a tasty crust.
Optional Toppings
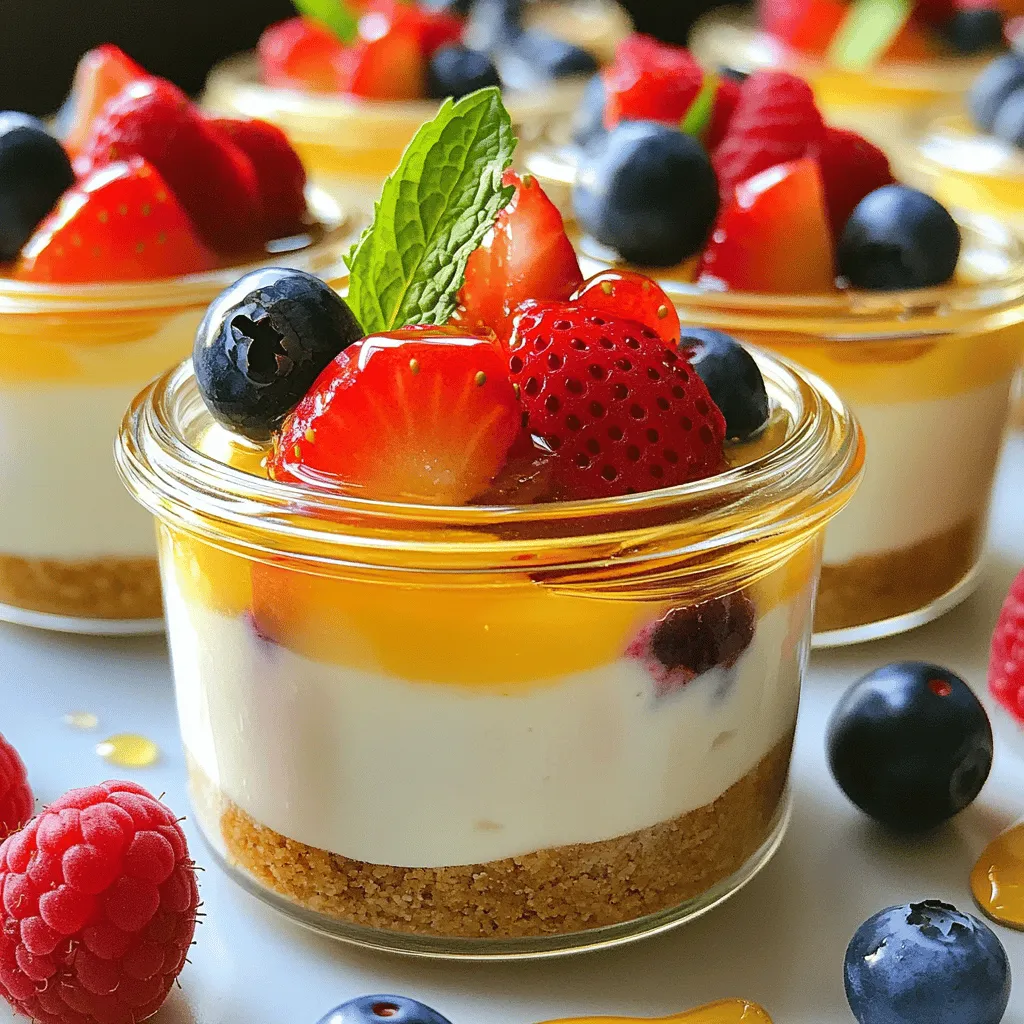
You can add fun toppings to make your cheesecake cups even better:
– Fresh berries (strawberries, blueberries, raspberries)
– Mint leaves for a fresh touch
– A drizzle of honey for extra sweetness
These toppings not only add flavor but also make your dessert look lovely.
Substitutions for Dietary Preferences
If you have dietary needs, here are some swaps:
– Use dairy-free cream cheese for a vegan option.
– Substitute honey with agave syrup for a vegan-friendly sweetener.
– Choose gluten-free biscuits for a gluten-free crust.
These substitutions help everyone enjoy this delicious dessert!
Step-by-Step Instructions
Preparation of Greek Yogurt Mixture
To start, gather your ingredients. In a mixing bowl, add 2 cups of Greek yogurt. You can choose non-fat or full-fat yogurt based on what you like. Next, add 1/2 cup of softened cream cheese. This gives the cups a nice creamy feel. Then, include 1/2 cup of honey or maple syrup. Adjust this amount based on how sweet you want it. Add 1 teaspoon of vanilla extract, 1 teaspoon of lemon zest, and 1 tablespoon of lemon juice. These flavors bring out the freshness. Mix all these ingredients with a hand mixer or whisk until everything is smooth and well blended.
Making the Crust
Now let’s make the crust. In another bowl, combine 1 cup of digestive biscuit crumbs or graham cracker crumbs with 3 tablespoons of melted unsalted butter. This will help the crumbs stick together. Mix well until the crumbs are coated and look like wet sand. This step is key for a tasty base.
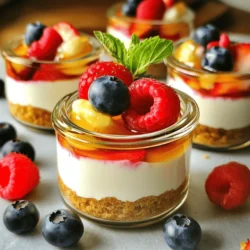
Layering the Cheesecake Cups
Take small cups or mason jars for serving. Start by adding about 2 tablespoons of the crumb mixture to each cup. Press it down gently to create a firm crust. Next, spoon the Greek yogurt mixture over the crust. Fill the cups until they are about three-quarters full. If needed, smooth the tops with a spatula. Finally, place the cups in the fridge for at least 2 hours. This helps the flavors blend and the texture firm up. Before serving, top each cup with fresh berries and a mint leaf for a pop of color. Enjoy your delightful dessert!
Tips & Tricks
Ensuring Perfect Texture
To get the best texture, use fresh Greek yogurt. This will make your cheesecake creamy. Softened cream cheese is key, too. Mix both until they are smooth. If you want a lighter feel, use non-fat yogurt. For a richer taste, full-fat yogurt works well. Be sure to chill the cups for at least two hours. This helps them set and firm up nicely.
Flavor Enhancements
For extra flavor, try adding more lemon zest or juice. A splash of almond extract can give a nice twist. You can also mix in some vanilla bean for a richer taste. If you want it sweeter, adjust the honey or maple syrup. Try adding some cocoa powder for a chocolate version. Fresh herbs like basil can add a fun twist, too.
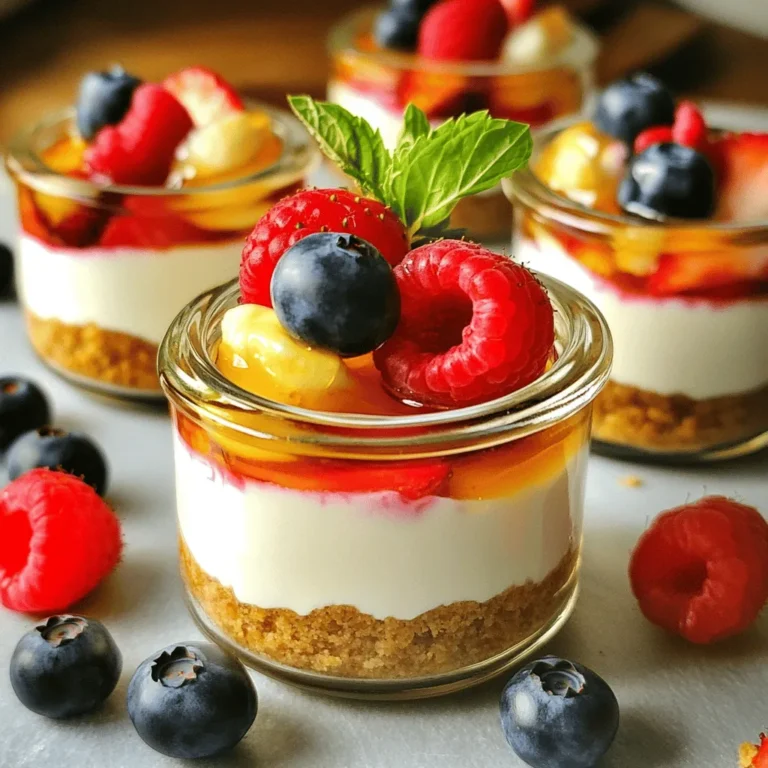
Presentation Suggestions
For the best look, use clear cups or mason jars. This way, the layers show off their colors. Top each cup with fresh berries for a pop of color. A drizzle of honey over the berries adds shine. You can also sprinkle some extra crumbs on top for texture. Adding a mint leaf gives a fresh touch and makes it look fancy. Serve these on a colorful platter to impress your guests.
Variations
Flavor Variations
You can easily change the flavor of your Greek yogurt cheesecake cups. Try adding melted chocolate to the yogurt mix for a rich chocolate cheesecake. Just melt about 1/2 cup of dark chocolate and mix it in. For berry-infused cups, blend fresh or frozen berries into the yogurt mix. Strawberries, blueberries, and raspberries work well. This gives a fruity twist that is both tasty and colorful.
Healthier Alternatives
If you want a healthier option, you can use sugar-free sweeteners like stevia or erythritol instead of honey. This keeps the dessert lower in sugar. You can also swap out cream cheese for a lighter option like ricotta cheese. This change gives a nice texture while cutting calories. Use low-fat Greek yogurt for a lighter version, too. It still tastes great without the extra fat.
Seasonal Twists
Seasonal flavors make these cheesecake cups even more fun! For fall, add pumpkin puree and spices like cinnamon and nutmeg. This makes a creamy pumpkin spice cheesecake. In winter, try crushed peppermint candies mixed into the yogurt for a minty treat. You can also top with crushed candy canes for a festive look. Each season brings new ideas for these cheesecake cups!
Storage Info
Best Practices for Storing
To keep your Greek yogurt cheesecake cups fresh, store them in the fridge. Use airtight containers or cover the cups tightly with plastic wrap. This helps to lock in moisture and flavor. Avoid stacking the cups to prevent them from getting squished.
How Long They Last
These cheesecake cups will stay fresh for about 3 to 5 days in the fridge. Make sure to check for any signs of spoilage, like off smells or changes in texture. If you see anything unusual, it’s best to toss them.
Freezing Cheesecake Cups
You can freeze these cheesecake cups if you want to save some for later. Just make sure they are in airtight containers. They will last up to 2 months in the freezer. When you’re ready to enjoy them, thaw them in the fridge overnight. This keeps the texture smooth and creamy. Just remember, toppings like berries should be added fresh after thawing.
FAQs
Can I use low-fat Greek yogurt?
Yes, you can use low-fat Greek yogurt. It will make the cheesecake lighter. The taste stays great, and it still holds its creamy texture. If you prefer a richer flavor, full-fat yogurt works too. Both options are tasty and healthy.
How long should I refrigerate before serving?
I recommend refrigerating the cups for at least 2 hours. This time helps the flavors blend well. It also helps the cheesecake set properly. If you can wait longer, even better! A chill of up to 4 hours gives a firmer texture.
What can I use instead of cream cheese?
You can use mascarpone cheese as a substitute. It offers a creamy texture and a rich taste. Another option is Greek yogurt mixed with a bit of cornstarch. This mix gives a similar creamy feel without the added fat. Choose what fits your taste best!
This blog post covered making delicious cheesecake cups. We discussed key ingredients, including main items and toppings. I provided step-by-step instructions for easy preparation. We explored tips for great texture and flavor. You learned about fun variations and storage methods to keep your treats fresh.
In closing, these cheesecake cups are simple treats to enjoy. Try them with your favorite flavors for a personal twist.