Get ready to impress your family and friends with my easy Homemade Cheese Danish recipe! With its flaky puff pastry and creamy filling, this treat is perfect for breakfast or dessert. In this post, I’ll guide you step-by-step through the process, sharing tips and tricks for perfecting your danish. Whether you like them plain or with fruity toppings, this recipe is sure to delight your taste buds. Let’s dive in!
Ingredients
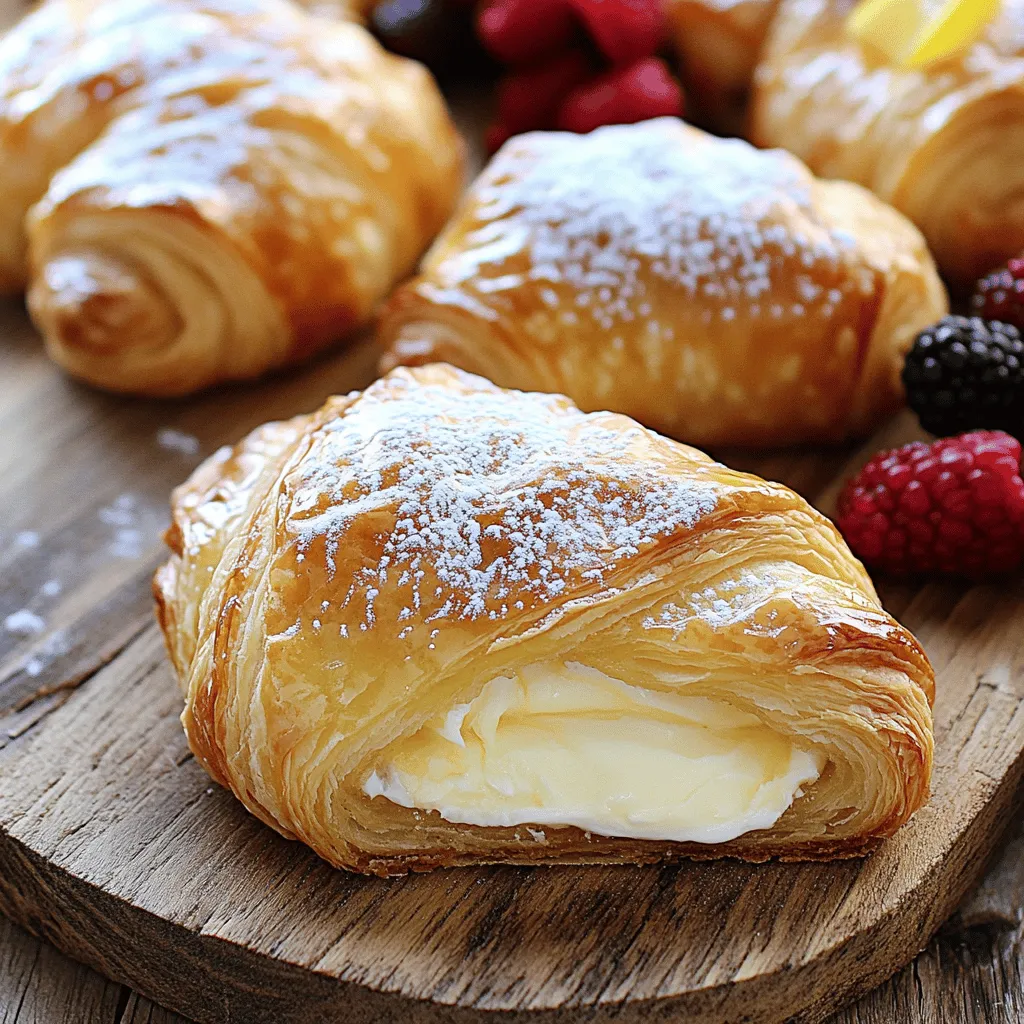
To make a great homemade cheese Danish, you need a few key ingredients. Each one plays a big role in making this treat both flaky and delicious.
List of Ingredients
– 1 sheet of puff pastry, thawed
– 8 oz cream cheese, softened
– 1/4 cup granulated sugar
– 1/2 teaspoon vanilla extract
– 1 egg yolk
– 1 tablespoon lemon juice
– 1 egg, beaten (for egg wash)
– Powdered sugar (for dusting)
– Optional: fresh berries or fruit preserves for topping
The puff pastry gives the Danish its light and flaky texture. Using a good quality cream cheese ensures a rich, creamy filling. The sugar adds sweetness, while the vanilla and lemon juice enhance the flavor. The egg yolk binds the mixture and adds richness. The beaten egg is for brushing on top, giving it a nice golden color. Finally, you can add fresh berries or fruit preserves to make it even better!
Step-by-Step Instructions
Preparation
1. Preheat your oven to 400°F (200°C). Line a baking sheet with parchment paper.
2. On a clean, lightly floured surface, roll out the puff pastry. This helps smooth any creases.
3. Cut the pastry into equal squares, about 4×4 inches.
Filling Preparation
1. In a mixing bowl, combine 8 oz of softened cream cheese, 1/4 cup of granulated sugar, 1/2 teaspoon of vanilla extract, 1 egg yolk, and 1 tablespoon of lemon juice.
2. Mix until the filling is smooth and creamy.
Assembling the Cheese Danish
1. Place a generous tablespoon of the cream cheese mixture in the center of each pastry square.
2. Fold the corners of the pastry towards the center over the filling. Pinch the corners to secure. You can twist them for a fun design.
Baking
1. Brush the tops of the filled pastries with beaten egg for a golden finish.
2. Place the pastries on the baking sheet and bake for 15-20 minutes. Look for a golden brown color and puffed texture.
Tips & Tricks
Common Mistakes to Avoid
Overworking Puff Pastry
When you roll out puff pastry, handle it gently. Too much kneading makes it tough. This will stop it from rising and getting fluffy. Just roll it out until smooth. Keep it cold as you work. If it gets warm, chill it again.
Incorrect Oven Temperature
Always preheat your oven to 400°F (200°C). An oven that is not hot enough can lead to soggy pastry. Use an oven thermometer to check the temperature. This helps ensure even cooking and perfect flakiness.
Achieving Perfect Flakiness
Tips for Rolling and Handling Pastry
When rolling out the pastry, use a light touch. Dust your surface with flour to prevent sticking. Roll from the center outward. Aim for an even thickness of about 1/8 inch. If you see cracks, don’t worry—just press them back together lightly. Keep the pastry cold for the best results.
Enhancing Flavor
Suggested Add-ins for Cheese Filling
To make your cheese filling extra tasty, consider adding a few ingredients. Fresh lemon zest brightens the flavor. A touch of almond extract can add depth. For a fruity twist, mix in chopped berries or small bits of fruit preserves. These add fun flavors and make your cheese Danish even more special.
Variations
Alternative Fillings
You can make your cheese Danish even more fun with different fillings. Fruit preserves are a great choice. They add sweetness and a burst of flavor. Try using apricot, raspberry, or even strawberry preserves. Just place a small spoonful in the center, along with the cream cheese mixture.
Chocolate lovers can enjoy a chocolate filling. Melt some chocolate and mix it with nuts for a tasty treat. Spread this mix in the puff pastry before adding the cream cheese filling. Nuts like walnuts or pecans add a nice crunch.
Toppings Ideas
Adding toppings can elevate your cheese Danish. Fresh berries are a wonderful choice. Raspberries, strawberries, or blueberries look and taste great. Just sprinkle them on top after baking.
You can also drizzle a glaze or icing over your pastries. To make a simple icing, mix powdered sugar with a little milk. Drizzle it on top for a sweet finish. This adds a lovely shine and flavor.
Different Pastry Shapes
You can get creative with how you shape your Danish. Twists and braids are fun options. To make a twist, cut the pastry into strips and twist them before baking. For a braid, you can cut the pastry into three long strips, fill the center, and fold the strips over each other. This gives a beautiful look and makes each bite fun.
Storage Info
Short-term Storage
For short-term storage, keep your Cheese Danish in the fridge. Place them in an airtight container. This helps maintain their flavor and texture. They will stay fresh for 3 to 4 days. If you notice any moisture, add a paper towel to absorb it. This keeps your pastries from getting soggy.
Freezing Instructions
To freeze Cheese Danish, first, let them cool completely. Wrap each one in plastic wrap or aluminum foil. This prevents freezer burn and keeps them fresh. Then, place them in a heavy-duty freezer bag. They can stay in the freezer for up to 2 months. When you’re ready to eat, just take out what you need.
Reheating Tips
Reheating your Cheese Danish is easy. For the best crispness, use the oven. Preheat your oven to 350°F (175°C). Place the pastries on a baking sheet. Heat them for about 10 minutes. This warms them up while keeping them flaky. You can also use a toaster oven for the same effect. Avoid using a microwave, as it makes them soggy. Enjoy your warm, flaky treat!
FAQs
Can I use homemade puff pastry?
Yes, you can use homemade puff pastry. Making it from scratch can add a personal touch. It may take more time, but the taste can be worth it. Just ensure your pastry is flaky and has many layers. This texture is key for a great cheese danish. You may need to adjust baking time, so keep an eye on it.
How do I know when the cheese danish is done baking?
You’ll know your cheese danish is done when it turns golden brown. Look for a nice puff in the pastry too. If it puffs and is golden on top, it’s ready. A toothpick test can help too. If it comes out clean from the filling, then it’s done. Trust your eyes and nose; they can guide you well.
Can I make these ahead of time?
Yes, you can make these ahead of time. You can prepare the filling and pastry squares a day before. Just store them in the fridge, covered. When ready, assemble and bake them fresh. This will keep them flaky and delicious. You can also freeze them before baking. Just pop them in the oven when you’re ready for a warm treat.
You’ve learned how to make delicious cheese danish step-by-step. We covered the key ingredients, simple preparation, and helpful tips. Now, you can enjoy creating these tasty treats at home. Remember to avoid common mistakes to ensure perfect results. Explore variations to keep things interesting, and use proper storage tips to maintain freshness. Making cheese danish can be fun and rewarding, so get baking and enjoy every bite!