Looking for a quick and tasty snack? You’re in the right place! These No-Bake Peanut Butter Oat Cups are simple to make and perfect for busy days. With just a few healthy ingredients, you can whip them up in no time. Whether you need a snack for school, work, or a midday boost, these cups will satisfy your cravings. Get ready to treat yourself to a fun and easy snack!
Ingredients
To make No-Bake Peanut Butter Oat Cups, you need simple and wholesome ingredients. Here’s what you will need:
– 1 cup rolled oats
– 1/2 cup creamy peanut butter
– 1/4 cup honey or maple syrup
– 1/4 cup almond flour
– 1/2 teaspoon vanilla extract
– 1/4 teaspoon sea salt
– 1/2 cup dark chocolate chips
– 1/3 cup chopped nuts (like walnuts or almonds)
– 1/4 cup dried fruits (such as cranberries, raisins, or apricots)
Each ingredient plays a role. Rolled oats form the base. They give you fiber and texture. Peanut butter adds richness and protein. Honey or maple syrup brings sweetness and binds everything. Almond flour adds a nutty flavor and helps with texture. Vanilla extract enhances the taste. Sea salt balances the sweetness. Dark chocolate chips offer a delicious touch. Chopped nuts give crunch, while dried fruits add chewiness and extra flavor.
Feel free to mix in your favorite nuts or fruits. Customize it to your taste!
Step-by-Step Instructions
Preparation Steps
– Mixing the dry ingredients: Start by taking a large mixing bowl. Add 1 cup of rolled oats, 1/4 cup of almond flour, and 1/4 teaspoon of sea salt. Stir these together well. This step is key for the right texture.
– Combining the wet ingredients: In another bowl, mix 1/2 cup of creamy peanut butter, 1/4 cup of honey (or maple syrup), and 1/2 teaspoon of vanilla extract. Blend until smooth and creamy. This blend adds flavor and helps bind the cups.
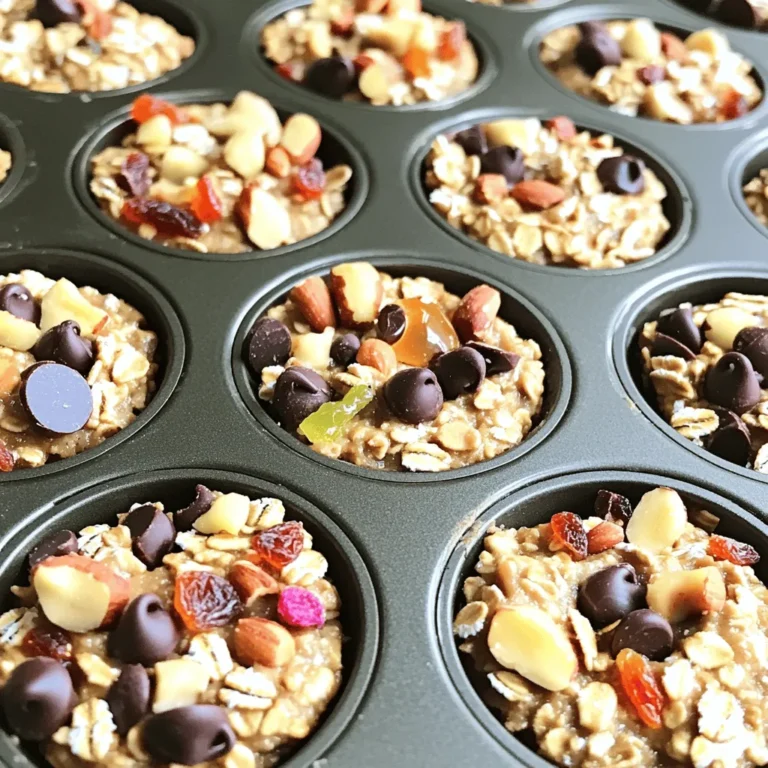
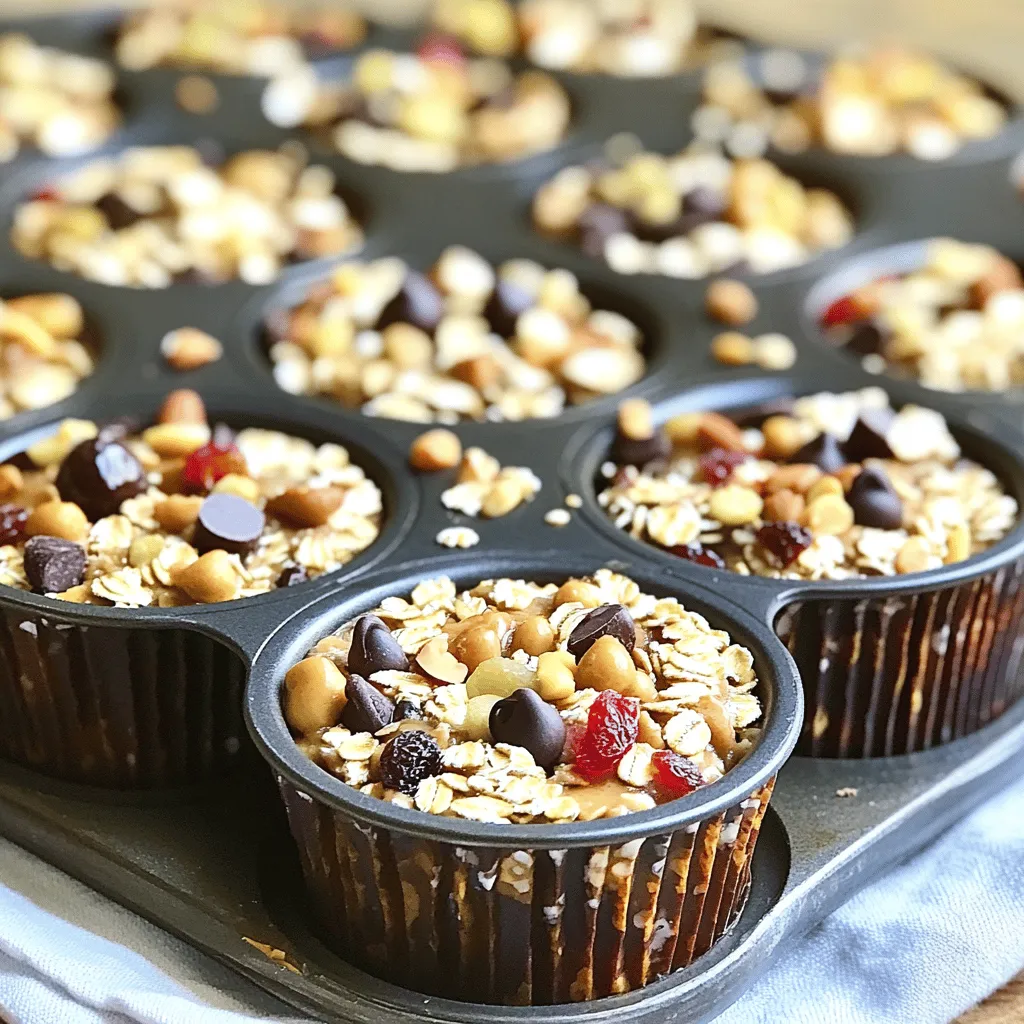
– Forming the oat cups: Pour the wet mix into the dry ingredients. Use a spatula to combine everything until it feels crumbly. Next, gently fold in 1/2 cup of dark chocolate chips, 1/3 cup of chopped nuts, and 1/4 cup of dried fruits. This step adds texture and sweetness.
Refrigeration Process
– Chilling time: Line a muffin tin with paper liners or spray it with cooking spray. Scoop the mixture into each muffin cup. Press down firmly. Place the muffin tin in the fridge for at least 30 minutes. This helps the cups hold their shape.
– Checking firmness: After chilling, check if the oat cups are firm to the touch. If they are, pop them out of the tin. If they need more time, let them chill a bit longer.
Serving Suggestions
– How to serve: Serve the oat cups as a quick snack or dessert. They are perfect for kids and adults alike.
– Pairing ideas: Try pairing these oat cups with fresh fruit or yogurt. You can also enjoy them with a glass of milk or a smoothie for a balanced treat.
Tips & Tricks
Perfecting Texture
To get the right texture, you may need to adjust the mix. If your oat cups feel too dry, add a bit more peanut butter or sweetener. This small change can make a big difference. If they feel too wet, add more oats or almond flour.
You can also substitute some ingredients to change the texture. For example, use quick oats instead of rolled oats for a softer feel. Or, swap almond flour with oat flour to keep it simple.
Enhancing Flavor
Adding spices can take these cups to the next level. Try cinnamon or nutmeg for warmth. You can also add a dash of sea salt for balance.
When it comes to flavor, both chocolate and vanilla shine in this recipe. Dark chocolate adds richness, while vanilla brings a sweet note. You can even mix both for a well-rounded taste.
Presentation Tips
Serving is all about creativity. You can layer these cups in clear cups for a fun look. Top them with extra chocolate chips or nuts for a pop of color.
Using different molds can also spice things up. Try mini muffin tins for bite-sized treats or silicone molds for fun shapes. This not only looks great but makes the cups easy to pop out too.
Variations
Nutritional Adaptations
You can easily make these oat cups fit your needs. For a gluten-free option, swap the rolled oats for certified gluten-free oats. This change keeps the recipe safe for those with gluten allergies. If nuts are a concern, use sunflower seed butter instead of peanut butter. You can also skip the nuts and add seeds like pumpkin or chia for crunch.
Flavor Variations
Try different nut butters to change the flavor. Almond or cashew butter works well and adds a smooth taste. You can also mix in superfoods like chia seeds or flaxseeds. These add extra nutrition without changing the taste too much. For a fun twist, add some protein powder to boost energy and keep you full longer.
Seasonal Versions
You can make seasonal versions of these oat cups. In the fall, add spices like cinnamon or nutmeg for warmth. You can also mix in chopped apples or pumpkin puree. For summer, think fruity! Add chopped strawberries or blueberries for a fresh taste. Dried fruits like cranberries or apricots work well too. These changes keep your oat cups exciting all year round!
Storage Info
Best Storage Practices
Store your no-bake peanut butter oat cups in airtight containers. This keeps them fresh and tasty. Place a layer of parchment paper between cups if they stack. For best results, put them in the fridge right after making. This helps maintain their firm texture.
Shelf Life
These oat cups last up to a week in the fridge. If you want them to last longer, try freezing them. They can stay good for about three months in the freezer. Wrap each cup in plastic wrap or foil before freezing. This ensures they do not stick together and keeps them fresh.
Reheating Instructions
To re-enjoy your oat cups, let them sit at room temperature for a few minutes. This makes them easier to bite into. You can also warm them in the microwave for about 10-15 seconds. Be careful to not overheat, as this can change the texture. Enjoy them cold or slightly warmed for the best taste!
FAQs
How long do no-bake peanut butter oat cups last?
These oat cups last for about one week in the fridge. Store them in an airtight container to keep them fresh. If you want to keep them longer, you can freeze them for up to three months. Just remember to wrap them well to avoid freezer burn.
Can I use different sweeteners?
Yes, you can use other sweeteners like agave or stevia. These can give you a different taste while still keeping the cups sweet. Just be sure to adjust the amount, as some sweeteners are much sweeter than honey or maple syrup.
What can I substitute for almond flour?
If you don’t have almond flour, you can use oat flour or coconut flour. You can even use all-purpose flour if you don’t mind gluten. Just make sure to keep the consistency right. You might need to add a bit more liquid if you use coconut flour, as it absorbs more moisture.
Are these cups kid-friendly?
Absolutely! These oat cups are great for kids. They are sweet, chewy, and packed with good stuff. The peanut butter adds protein, and the oats give energy. Plus, kids can help make them, making it a fun kitchen activity.
These no-bake peanut butter oat cups are fun and easy to make. We learned about the simple ingredients and step-by-step instructions for perfecting these treats. I shared tips for texture and flavor, plus ways to store and enjoy them. You can also try variations for each season. These cups are great for kids and anyone wanting a tasty snack. Now, it’s time to gather the ingredients and create your own delicious oat cups! Enjoy the process and the tasty results.

