Crispy Pickled Okra Perfect for Any Meal

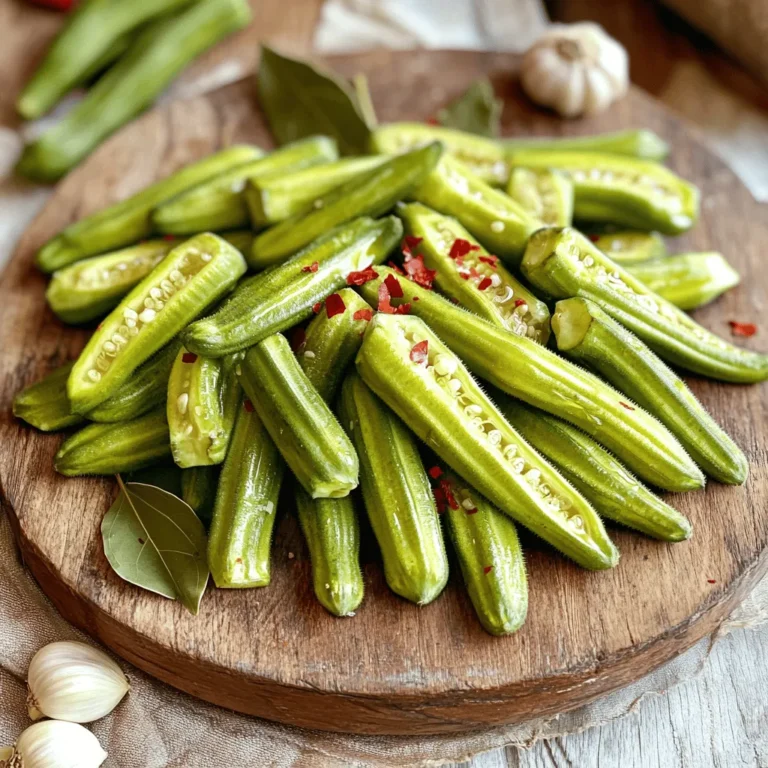
If you love crunch and flavor, you’ll adore crispy pickled okra! This dish adds zing to any meal, with its perfect blend of spice and tang. In this guide, I’ll walk you through selecting fresh okra, prepping it, and the secrets to achieving that ideal crunch. Get ready to transform simple ingredients into a crunchy delight that your taste buds will thank you for!

Ingredients

List of Ingredients

To make crispy pickled okra, you will need:

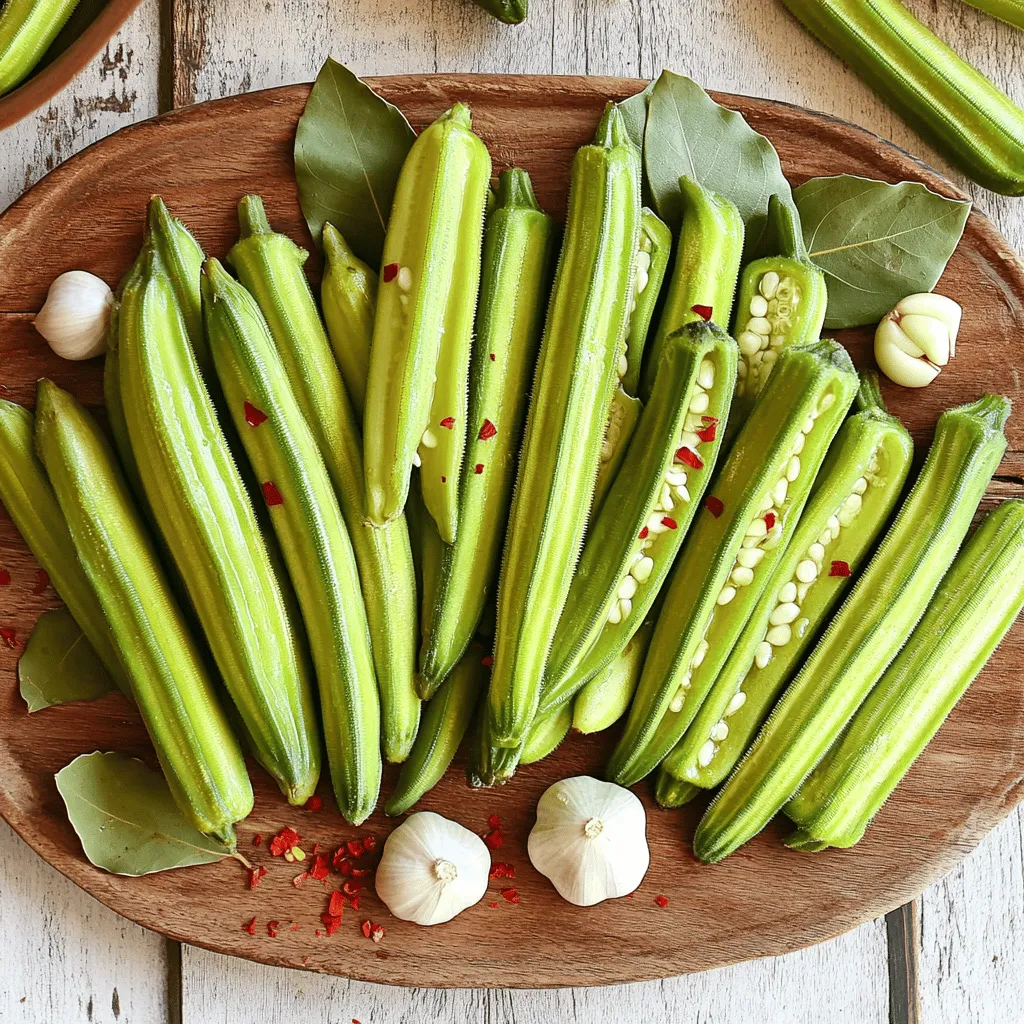
– 1 pound fresh okra, trimmed

– 1 cup apple cider vinegar

– 1 cup water

– 2 tablespoons sea salt

– 1 tablespoon sugar

– 1 teaspoon mustard seeds

– 1 teaspoon black peppercorns

– 1 teaspoon red pepper flakes (optional for spice)

– 4 garlic cloves, peeled

– 1 bay leaf

Tips for Selecting Fresh Okra

When choosing okra, look for bright green pods. They should feel firm and not bend easily. Avoid pods that have dark spots or are soft. Fresh okra should have a smooth surface and be no longer than 4 inches. The smaller the okra, the more tender it will be.

Recommended Brands of Vinegar

For this recipe, apple cider vinegar works best. I recommend brands like Bragg or Spectrum. These brands are known for their quality and flavor. You can also try white wine vinegar if you want a milder taste. Just ensure it is good quality for the best results.

Step-by-Step Instructions

Preparing the Okra

To make crispy pickled okra, start with fresh okra. Rinse one pound of okra under cold water. Make sure to wash each pod well. After rinsing, trim the stems from the okra. Pat them dry using a kitchen towel. Removing moisture helps keep the okra crunchy.

Making the Pickling Brine

Next, we’ll create the pickling brine. In a medium pot, mix one cup of apple cider vinegar, one cup of water, two tablespoons of sea salt, and one tablespoon of sugar. Add one teaspoon of mustard seeds, one teaspoon of black peppercorns, and one teaspoon of red pepper flakes if you like spice. Heat this mixture over medium heat. Stir it until the salt and sugar dissolve. Once it boils, remove the pot from heat and let it cool for about 10 minutes.

Packing and Sealing Jars

While the brine cools, take sterilized glass jars and pack the dried okra tightly inside. Place one garlic clove and one bay leaf in each jar. After the brine has cooled, carefully pour it over the okra until it is fully submerged. Seal the jars with lids. Let them sit at room temperature for about 2 hours for initial pickling. After that, transfer the jars to the fridge. Allow them to pickle for at least 24 hours. For the best flavor, wait up to a week before enjoying. You can find the full recipe above for more details.

Tips & Tricks

Achieving the Perfect Crispy Texture

To get crispy pickled okra, start with fresh okra. Look for firm, bright green pods. Less moisture helps keep them crunchy. Rinse the okra well and dry them completely. Use a kitchen towel to remove any water. The brine must cool before pouring over the okra. This step helps maintain their bite. For extra crunch, try adding a bit of calcium chloride. It acts as a crunch enhancer during pickling.

Common Mistakes to Avoid

Avoid using old or limp okra. They will not hold their shape or crunch. Don’t skip the drying step. Excess moisture can lead to soggy okra. Also, remember to let the brine cool down. Pouring hot brine on okra can make them soft. Lastly, don’t rush the pickling time. For best flavor and texture, wait at least 24 hours.

Recommended Utensils for Pickling

Using the right tools can make pickling easier. You’ll need sterilized glass jars to keep your okra safe. A large pot is essential for boiling the brine. Use a ladle to pour the brine into the jars without spilling. A kitchen funnel can help too. It makes pouring mess-free. A pair of tongs can help you place the okra in jars. These tools will help you enjoy a smooth pickling process. For the full recipe, check the details above.

Variations

Adding Spices for Extra Flavor

You can add fun spices to your pickled okra. Try using dill seeds for a fresh taste. If you like heat, add more red pepper flakes. For a unique twist, include coriander seeds or a pinch of turmeric. Each spice changes the flavor. Experiment to find your favorite!

Creative Serving Suggestions

Crispy pickled okra is great on its own, but you can get creative! Serve it as a snack with dips like ranch or hummus. Chop it up and mix it into salads for a crunchy kick. You can also add it to tacos and sandwiches for more texture. Try using it as a garnish for soups or stews, too. The options are endless!

Alternative Vinegar Choices

While apple cider vinegar works well, you can try other vinegars. White vinegar gives a sharper taste, while rice vinegar offers a milder flavor. For a tangy twist, use red wine vinegar. Each type of vinegar creates a different taste. Feel free to mix and match to find what you love best. For the full recipe, check out the instructions above!

Storage Info

How to Store Pickled Okra

To store your crispy pickled okra, keep it in glass jars. Make sure the jars are tightly sealed. Place them in the fridge to keep them fresh. The cold will help maintain their crunch and flavor. Always use clean utensils when serving. This prevents bacteria from spoiling your pickles.

Shelf Life of Homemade Pickles

Homemade pickled okra will stay fresh for about 2 to 3 months in the fridge. If you notice any mold or bad smell, throw it away. Always check before eating. After opening, remember to keep the jars sealed. This helps keep them safe and tasty for longer.

Freezing vs. Refrigerating Pickled Okra

Freezing pickled okra is not the best idea. It can change the texture and make it mushy. Instead, refrigerate your pickles for the best taste. If you want to keep them longer, you can can them. This way, they can last up to a year. Always refer to the Full Recipe for more tips on storage.

FAQs

How long does it take for pickled okra to be ready?

Pickled okra gets better with time. You should wait at least 24 hours before tasting. For the best flavor, let it pickle for up to a week. This waiting allows the spices to blend well. The longer it sits, the more flavor it packs in. After a week, it reaches peak taste.

Can I use frozen okra for pickling?

Using frozen okra is not the best choice for pickling. Frozen okra often becomes mushy when thawed. Pickling requires fresh okra to maintain that perfect crunch. Fresh okra holds its shape and texture better during pickling. So, stick with fresh okra for the best results.

Where can I buy crispy pickled okra?

You can find crispy pickled okra at local grocery stores or farmers markets. Many specialty shops also carry this tasty treat. Check the canned goods aisle or the pickle section. You might also find it at health food stores. If you can’t find it, making your own is easy! Follow the Full Recipe for your own batch.

In this guide, we explored how to make pickled okra. We covered the key ingredients, tips for selecting okra, and recommended vinegar brands. I shared easy steps for preparing, brining, and packing the okra. Lastly, we looked at storage tips and answered common questions. Remember, perfect pickled okra comes from using fresh ingredients and avoiding simple mistakes. Try adding your favorite spices for new flavors. Enjoy your pickling journey!

To make crispy pickled okra, you will need: - 1 pound fresh okra, trimmed - 1 cup apple cider vinegar - 1 cup water - 2 tablespoons sea salt - 1 tablespoon sugar - 1 teaspoon mustard seeds - 1 teaspoon black peppercorns - 1 teaspoon red pepper flakes (optional for spice) - 4 garlic cloves, peeled - 1 bay leaf When choosing okra, look for bright green pods. They should feel firm and not bend easily. Avoid pods that have dark spots or are soft. Fresh okra should have a smooth surface and be no longer than 4 inches. The smaller the okra, the more tender it will be. For this recipe, apple cider vinegar works best. I recommend brands like Bragg or Spectrum. These brands are known for their quality and flavor. You can also try white wine vinegar if you want a milder taste. Just ensure it is good quality for the best results. To make crispy pickled okra, start with fresh okra. Rinse one pound of okra under cold water. Make sure to wash each pod well. After rinsing, trim the stems from the okra. Pat them dry using a kitchen towel. Removing moisture helps keep the okra crunchy. Next, we’ll create the pickling brine. In a medium pot, mix one cup of apple cider vinegar, one cup of water, two tablespoons of sea salt, and one tablespoon of sugar. Add one teaspoon of mustard seeds, one teaspoon of black peppercorns, and one teaspoon of red pepper flakes if you like spice. Heat this mixture over medium heat. Stir it until the salt and sugar dissolve. Once it boils, remove the pot from heat and let it cool for about 10 minutes. While the brine cools, take sterilized glass jars and pack the dried okra tightly inside. Place one garlic clove and one bay leaf in each jar. After the brine has cooled, carefully pour it over the okra until it is fully submerged. Seal the jars with lids. Let them sit at room temperature for about 2 hours for initial pickling. After that, transfer the jars to the fridge. Allow them to pickle for at least 24 hours. For the best flavor, wait up to a week before enjoying. You can find the full recipe above for more details. To get crispy pickled okra, start with fresh okra. Look for firm, bright green pods. Less moisture helps keep them crunchy. Rinse the okra well and dry them completely. Use a kitchen towel to remove any water. The brine must cool before pouring over the okra. This step helps maintain their bite. For extra crunch, try adding a bit of calcium chloride. It acts as a crunch enhancer during pickling. Avoid using old or limp okra. They will not hold their shape or crunch. Don’t skip the drying step. Excess moisture can lead to soggy okra. Also, remember to let the brine cool down. Pouring hot brine on okra can make them soft. Lastly, don't rush the pickling time. For best flavor and texture, wait at least 24 hours. Using the right tools can make pickling easier. You'll need sterilized glass jars to keep your okra safe. A large pot is essential for boiling the brine. Use a ladle to pour the brine into the jars without spilling. A kitchen funnel can help too. It makes pouring mess-free. A pair of tongs can help you place the okra in jars. These tools will help you enjoy a smooth pickling process. For the full recipe, check the details above. {{image_2}} You can add fun spices to your pickled okra. Try using dill seeds for a fresh taste. If you like heat, add more red pepper flakes. For a unique twist, include coriander seeds or a pinch of turmeric. Each spice changes the flavor. Experiment to find your favorite! Crispy pickled okra is great on its own, but you can get creative! Serve it as a snack with dips like ranch or hummus. Chop it up and mix it into salads for a crunchy kick. You can also add it to tacos and sandwiches for more texture. Try using it as a garnish for soups or stews, too. The options are endless! While apple cider vinegar works well, you can try other vinegars. White vinegar gives a sharper taste, while rice vinegar offers a milder flavor. For a tangy twist, use red wine vinegar. Each type of vinegar creates a different taste. Feel free to mix and match to find what you love best. For the full recipe, check out the instructions above! To store your crispy pickled okra, keep it in glass jars. Make sure the jars are tightly sealed. Place them in the fridge to keep them fresh. The cold will help maintain their crunch and flavor. Always use clean utensils when serving. This prevents bacteria from spoiling your pickles. Homemade pickled okra will stay fresh for about 2 to 3 months in the fridge. If you notice any mold or bad smell, throw it away. Always check before eating. After opening, remember to keep the jars sealed. This helps keep them safe and tasty for longer. Freezing pickled okra is not the best idea. It can change the texture and make it mushy. Instead, refrigerate your pickles for the best taste. If you want to keep them longer, you can can them. This way, they can last up to a year. Always refer to the Full Recipe for more tips on storage. Pickled okra gets better with time. You should wait at least 24 hours before tasting. For the best flavor, let it pickle for up to a week. This waiting allows the spices to blend well. The longer it sits, the more flavor it packs in. After a week, it reaches peak taste. Using frozen okra is not the best choice for pickling. Frozen okra often becomes mushy when thawed. Pickling requires fresh okra to maintain that perfect crunch. Fresh okra holds its shape and texture better during pickling. So, stick with fresh okra for the best results. You can find crispy pickled okra at local grocery stores or farmers markets. Many specialty shops also carry this tasty treat. Check the canned goods aisle or the pickle section. You might also find it at health food stores. If you can't find it, making your own is easy! Follow the Full Recipe for your own batch. In this guide, we explored how to make pickled okra. We covered the key ingredients, tips for selecting okra, and recommended vinegar brands. I shared easy steps for preparing, brining, and packing the okra. Lastly, we looked at storage tips and answered common questions. Remember, perfect pickled okra comes from using fresh ingredients and avoiding simple mistakes. Try adding your favorite spices for new flavors. Enjoy your pickling journey!

Crispy Pickled Okra

Discover the mouthwatering crunch of crispy pickled okra with this easy recipe! Perfect for a tangy snack or a flavorful addition to your meals, this pickling process is simple and results in delicious okra you’ll crave. With just a few ingredients and minimal prep time, you’ll be enjoying these tasty bites in no time. Click through to explore the recipe and bring this delightful treat to your kitchen!

Ingredients
  

1 pound fresh okra, trimmed

1 cup apple cider vinegar

1 cup water

2 tablespoons sea salt

1 tablespoon sugar

1 teaspoon mustard seeds

1 teaspoon black peppercorns

1 teaspoon red pepper flakes (optional for spice)

4 garlic cloves, peeled

1 bay leaf

Instructions
 

Start by rinsing the okra thoroughly under cold water. Pat them dry with a kitchen towel to remove any excess moisture.

    In a medium pot, combine apple cider vinegar, water, sea salt, sugar, mustard seeds, black peppercorns, and red pepper flakes. Bring the mixture to a boil over medium heat, stirring until the salt and sugar dissolve.

      Once boiling, remove the pot from heat and let it cool for about 10 minutes.

        While the brine is cooling, pack the trimmed okra tightly into sterilized glass jars. Place a garlic clove and a bay leaf in each jar.

          Once the brine has cooled, carefully pour it over the okra in the jars, ensuring the okra is fully submerged.

            Seal the jars with lids and let them sit at room temperature for about 2 hours for the initial pickling.

              After 2 hours, transfer the jars to the refrigerator and let them pickle for at least 24 hours before enjoying. For the best flavor, allow them to pickle for up to a week!

                Prep Time: 20 minutes | Total Time: 25 minutes (plus pickling time) | Servings: 4-6

                  - Presentation Tips: Serve crispy pickled okra as a tangy snack or appetizer. Arrange them on a serving platter garnished with fresh herbs for an inviting look, or tuck them into sandwiches for an added crunch!

                    Leave a Comment

                    Recipe Rating