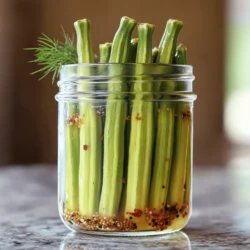
Looking for an easy way to enjoy a crunchy, tangy snack? You’re in the right spot! This simple refrigerator pickled okra recipe uses fresh ingredients and a tasty brine, making it perfect for first-time picklers. In just a few steps, you’ll create a delicious treat that’s great as a snack, side, or salad addition. Let’s dive into the fun of pickling!
Ingredients
Fresh Ingredients
– 1 pound fresh okra, trimmed
– 4 cloves garlic, smashed
– Optional: Fresh dill sprigs
Brine Ingredients
– 1 cup distilled white vinegar
– 1 cup water
– 2 teaspoons salt
– 1 tablespoon sugar
– 1 tablespoon mustard seeds
– 1 teaspoon black peppercorns
– 1 teaspoon red pepper flakes (adjust for heat preference)
– 1 bay leaf
To make refrigerator pickled okra, start with fresh ingredients. Choose okra that is small and firm for the best crunch. Trim the ends, but keep the stems on. This helps the okra stay crisp during pickling.
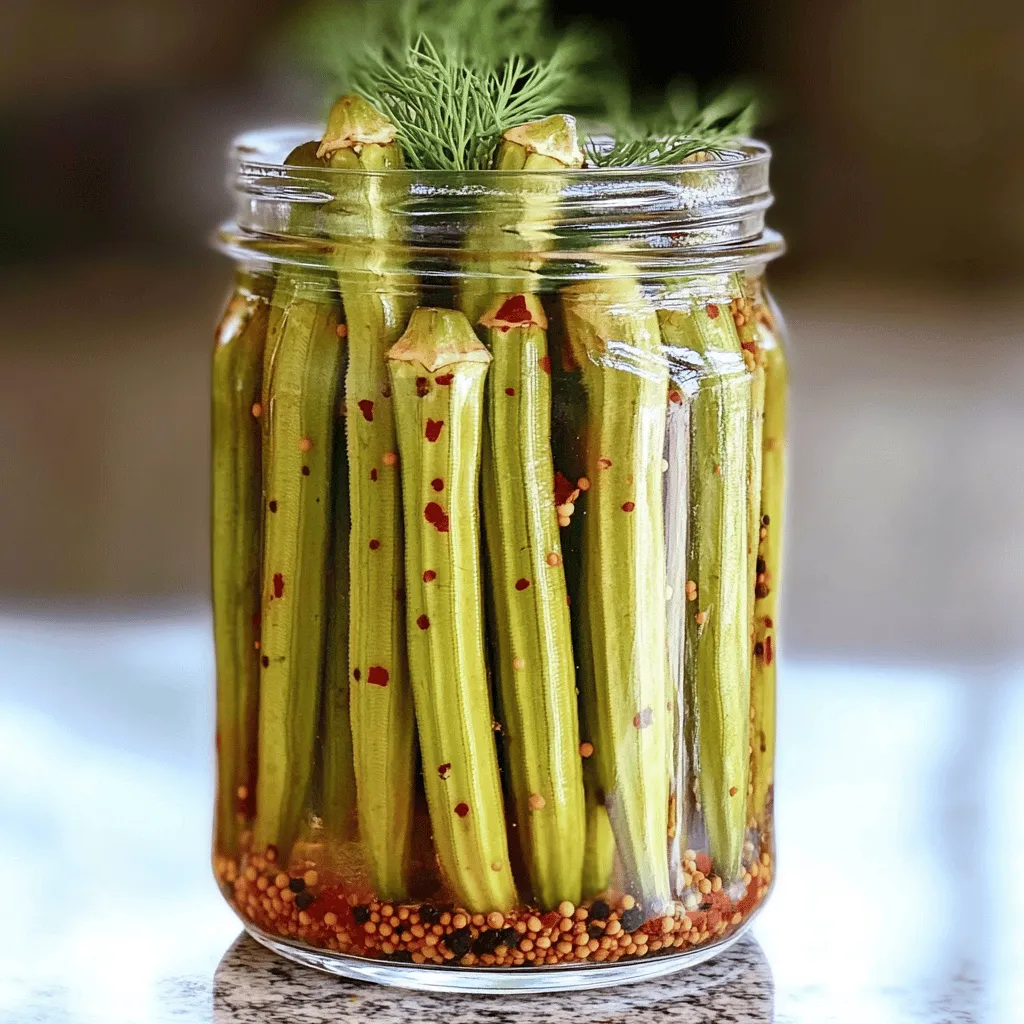
For the brine, mix vinegar, water, garlic, salt, sugar, mustard seeds, peppercorns, red pepper flakes, and a bay leaf. Each ingredient plays a key role. The vinegar gives a tangy flavor. Salt helps with preservation and adds taste. Sugar balances the tartness. Mustard seeds and peppercorns add spice and depth.
Feel free to add fresh dill for an herby twist. This combination of fresh ingredients and flavorful brine makes the okra shine.
Step-by-Step Instructions
Preparing the Okra
First, you need to wash the okra thoroughly. Rinse it under cold water to remove any dirt. After that, trim the ends carefully. It is important to leave the stems intact. This helps keep the okra crunchy and firm.
Making the Brine
Next, it’s time to make the brine. In a medium saucepan, combine the following ingredients:
– 1 cup distilled white vinegar
– 1 cup water
– 4 cloves garlic, smashed
– 2 teaspoons salt
– 1 tablespoon sugar
– 1 tablespoon mustard seeds
– 1 teaspoon black peppercorns
– 1 teaspoon red pepper flakes (adjust for heat preference)
– 1 bay leaf
Bring this mixture to a simmer over medium heat. Stir it until the salt and sugar dissolve completely. This step is crucial for a balanced flavor.
Packing and Storing
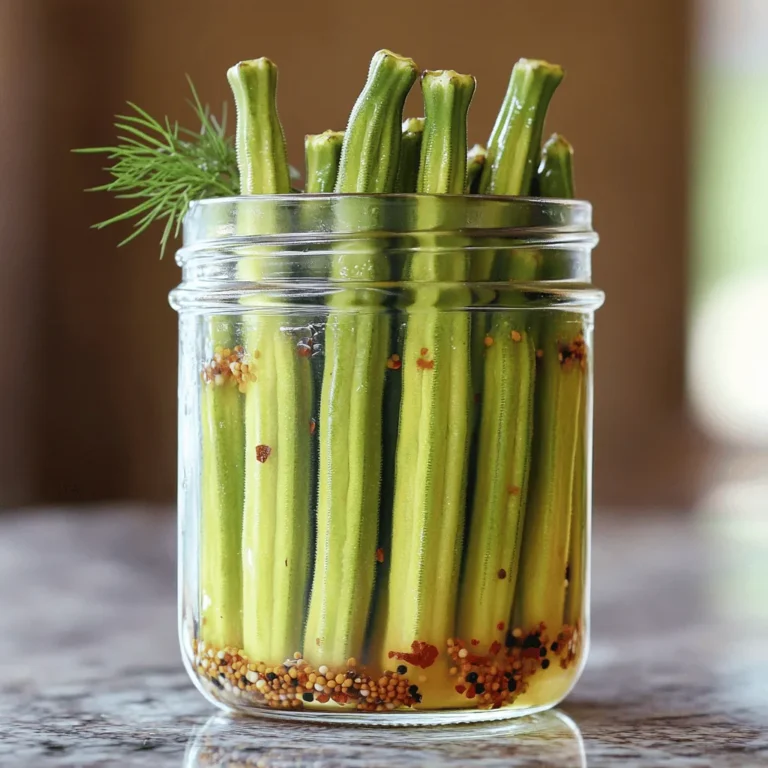
Now, you will pack the jars. Start by sterilizing glass jars, like pint-sized mason jars. Make sure they are clean and ready to hold your okra. Pack the okra vertically into the jars. Try to mix in garlic and any optional dill sprigs evenly.
Once packed, pour the hot brine over the okra. Ensure all pieces are fully submerged. Seal the jars with lids while the brine is still hot. After sealing, allow the jars to cool at room temperature. Once cooled, transfer them to the refrigerator.
For the best taste, let the okra pickle for at least 24 hours. However, they taste amazing after 3-5 days when the flavors meld together beautifully.
Tips & Tricks
Ensuring Crunchiness
To get that perfect crunch in your refrigerator pickled okra, here are my top tips:
– Leave okra stems intact: Keeping the stems helps maintain the crispness of the okra.
– Choose small, firm okra pods: Smaller pods are often crunchier. Look for ones that feel solid and fresh.
Flavor Enhancements
Want to amp up the flavor? Try these simple adjustments:
– Adjust red pepper flakes for desired spice level: If you like it hot, add more! For a milder taste, reduce the amount.
– Experiment with additional herbs and spices: Fresh dill, thyme, or even garlic can add a new twist. Don’t be afraid to get creative!
Sterilization Methods
Proper jar sterilization is key to safe pickling. Here’s how to do it right:
– Best practices for sterilizing jars: Wash jars in hot, soapy water. Rinse well and place them in a hot oven (about 225°F) for 10-15 minutes to sterilize.
– Importance of hot packing: Always pour hot brine over your packed okra. This helps seal the jars and keeps your okra fresh longer.
Follow these tips, and your refrigerator pickled okra will turn out delicious and crunchy!
Variations
You can make refrigerator pickled okra even more fun with different flavors. Here are some tasty ideas:
Spicy Pickled Okra
Want it hot? Add some extra red pepper flakes or sliced jalapeños to your brine. This gives your pickled okra a nice kick. Adjust the heat based on what you like. If you want it very spicy, add more peppers. The heat makes it exciting.
Herbed Pickled Okra
Herbs can change the game. Consider adding fresh dill, thyme, or oregano in the jars. These herbs bring a fresh taste. They also enhance the overall flavor of your pickles. Just a few sprigs in each jar will do the trick. You can mix and match herbs to find your favorite blend.
Sweet Pickled Okra
If you like a sweet twist, increase the sugar in your brine. This will give your okra a delightful sweetness. It balances out the vinegar perfectly. Start with a tablespoon more and taste. Adjust until you find the right level of sweet for your palate.
These variations can make your refrigerator pickled okra even more special. Each one brings a unique flavor. Feel free to experiment and discover what you love most!
Storage Info
Refrigerator Storage
Refrigerator pickled okra lasts about 2 to 3 months in the fridge. To keep your okra crunchy, store it in a glass jar. Make sure the okra stays submerged in the brine. This helps it stay fresh and tasty. Also, avoid opening the jar too often.
Signs of Spoilage
You can tell if pickled okra is bad by looking for a few signs. If the okra changes color, becomes slimy, or develops an off smell, it’s time to discard it. Always trust your senses. If you’re unsure, it’s safer to throw it away.
Serving Suggestions
Pickled okra goes well with many meals. You can serve it as a side dish or snack. It adds a nice crunch to salads and wraps. Try adding it to your next charcuterie board for a fun twist.
FAQs
How long does it take for pickled okra to be ready?
The pickled okra needs time to soak up the brine. I recommend letting it sit for at least 24 hours. However, for the best flavor, wait 3 to 5 days. This allows the garlic and spices to blend well with the okra. The longer you wait, the better the taste!
Can I use frozen okra for pickling?
Using frozen okra is not ideal for pickling. Freezing changes the okra’s texture. It becomes softer and less crunchy when thawed. Fresh okra gives you that perfect crunch you want in pickles. For the best results, always use fresh okra.
What can I serve with refrigerator pickled okra?
Refrigerator pickled okra pairs well with many dishes. You can serve it as a side with fried chicken or fish. It also works great in salads, adding a nice crunch. Try it on a charcuterie board for a tangy bite. You can even snack on it straight from the jar!
In this blog post, you learned how to make pickled okra. We covered fresh ingredients and brine, plus simple steps to prepare and store the okra. I shared tips for crunchiness and flavor, and we explored fun variations. Remember to check for spoilage and to enjoy your pickles with various dishes. Pickled okra adds a unique touch to meals. Try it yourself for a tasty, crunchy snack or side. Enjoy experimenting with flavors that suit your taste.