Are you ready to take your snacking to the next level? Homemade pickled okra is a tangy and flavorful delight you can easily make at home! With just a few fresh ingredients, you can create a crunchy treat that adds zing to any meal. I’ll walk you through each step, from choosing the best okra to perfecting your brine. Let’s dive into the delicious world of pickling!
Ingredients
Essential Ingredients for Homemade Pickled Okra
– Fresh Okra: Choose small, firm okra. Look for bright green pods that feel tender. Avoid large or tough ones as they may not pickle well.
– Vinegar Choices: I prefer white vinegar for its clean taste. It gives a bright flavor. You can also use apple cider vinegar for a fruity twist. Each vinegar adds a unique note to your pickled okra.
– Common Spices and Seasonings for Flavor Enhancement: Use kosher salt for brining. It dissolves well and boosts flavor. Garlic adds depth, while dill seeds and black peppercorns bring warmth. I also like to add crushed red pepper flakes for a kick.
Optional Ingredients for Added Depth of Flavor
– Sweeteners: If you want less sugar, consider honey or agave syrup. These natural options add sweetness without overpowering the taste. Adjust to your liking for the perfect balance.
– Additional Seasonings and Spices to Consider: Add mustard seeds for a zesty touch. A pinch of coriander or cumin can enhance the flavor. Experiment with what you like best to make your pickled okra unique.
Step-by-Step Instructions
Preparing Your Jars
To start, you need clean jars. Sterilizing your jars is key. Place them in boiling water for 10 minutes. This kills germs and keeps your okra safe. After boiling, let the jars cool down.
For easy handling, use a jar lifter. This tool helps you lift and move hot jars safely. Always work on a clean surface. This keeps your kitchen tidy and helps avoid spills.
Making the Pickling Brine
Next, let’s make the brine. Combine vinegar, water, kosher salt, and sugar in a medium saucepan. Bring this mix to a simmer over medium heat. Stir often until the salt and sugar dissolve.
Ensure the brine is clear and smooth. This is your pickling base. After that, remove it from the heat and let it cool down a bit. A warm brine works best for pouring over the okra.
Packing and Storing the Okra
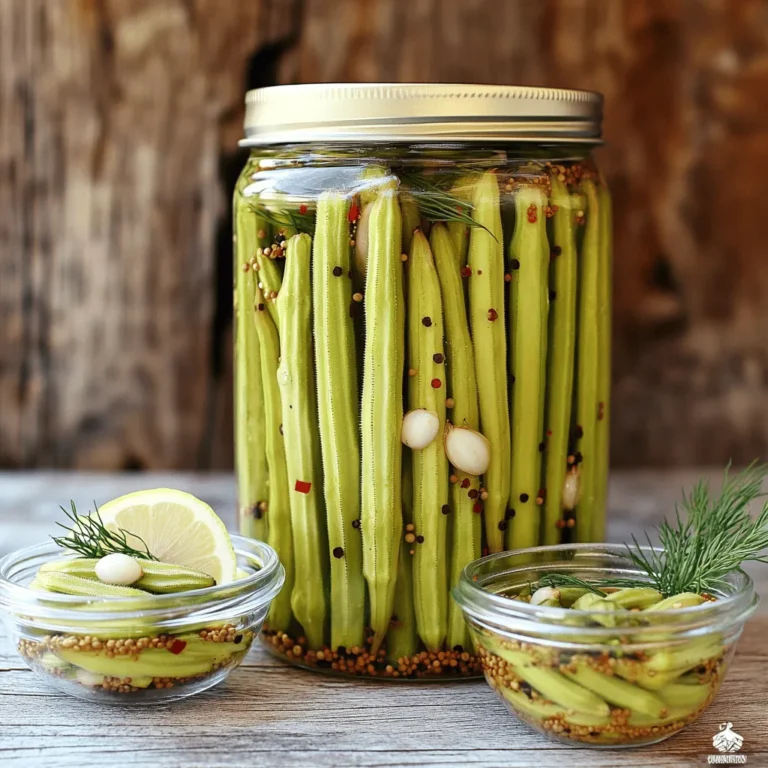
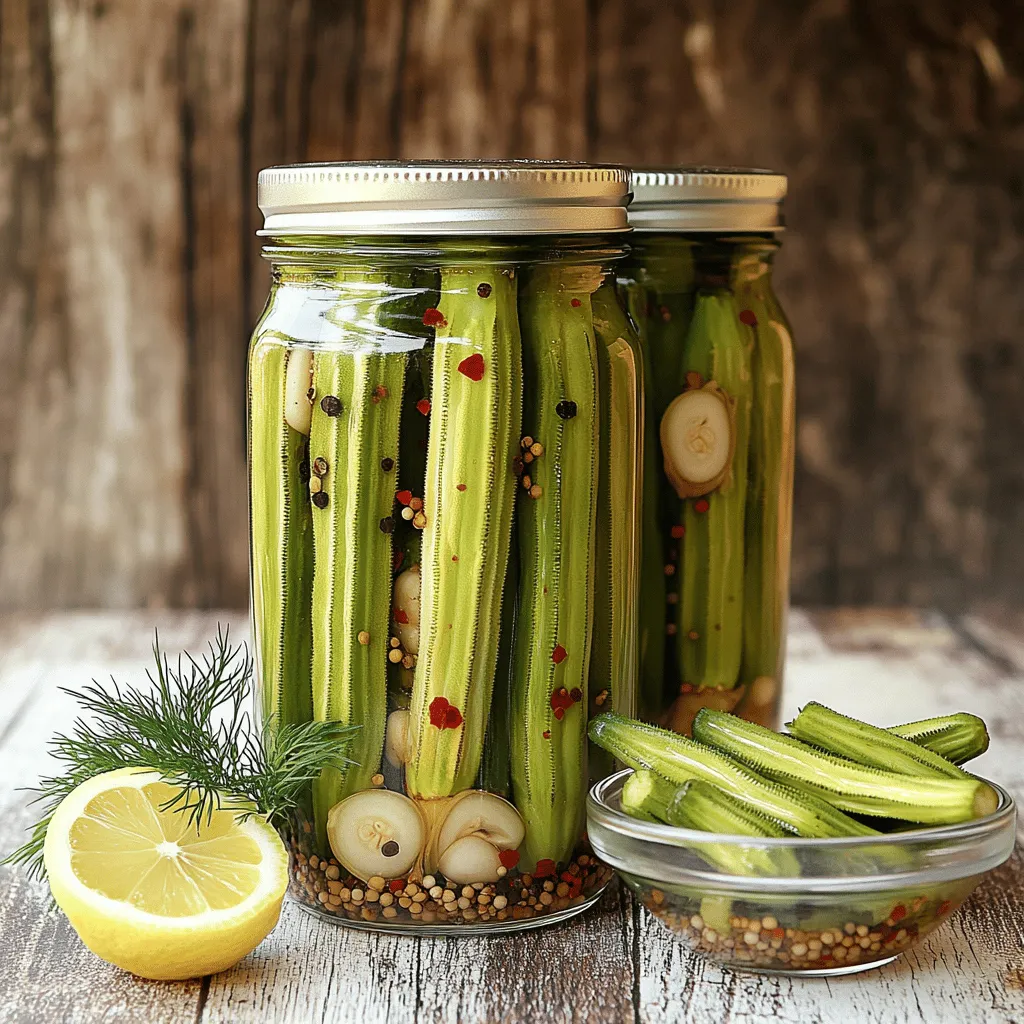
Now it’s time to pack the okra. Start with two cloves of garlic in each jar. Follow with dill seeds, black peppercorns, and a pinch of red pepper flakes. Then, pack the okra upright in the jars.
Leave some space at the top. This is called headspace. It helps the brine cover the okra fully. Pour the cooled brine over the okra, ensuring all is submerged.
Seal the jars tightly. Wipe the rims to remove any spills. This helps create a good seal. If you want the jars to last longer, process them in boiling water for 10-15 minutes. If not, just refrigerate them.
For the best taste, let your pickled okra sit for at least 48 hours before eating.
Tips & Tricks
Ensuring the Best Flavor
To make your pickled okra burst with flavor, pay attention to the soaking time. I recommend letting the okra soak in the brine for at least 48 hours. This time allows the spices and vinegar to penetrate the okra fully. If you can wait longer, the flavor gets even better!
Adjusting spice levels is also key. If you like heat, add more crushed red pepper flakes. Start with a teaspoon and taste. You can always add more for that perfect kick. Remember, everyone’s taste is different, so don’t be shy to experiment.
Common Mistakes to Avoid
One common mistake is overpacking jars. If you pack the okra too tightly, it won’t pickle well. The brine needs space to circulate. Leave enough room for the okra to move a bit. This will help each piece soak in the flavor.
Using non-sterilized jars is another big no-no. Always sterilize your jars to avoid spoilage. Place them in boiling water for ten minutes. This simple step ensures that your pickled okra stays fresh and safe to eat. By following these tips, you can enjoy a tangy and flavorful delight that is sure to impress.
Variations
Flavorful Variations for Pickled Okra
Spicy Pickled Okra: Adding Heat
You can spice up pickled okra by adding more heat. To make it spicy, just add extra crushed red pepper flakes or fresh jalapeños. This gives your okra an exciting kick. Adjust the amount based on your taste. If you want less heat, keep the pepper flakes to a minimum. You can also try adding some hot sauce to the brine for a different flavor. This spicy twist makes pickled okra perfect for those who love bold flavors.
Sweet and Sour Versions to Try
For a sweet and sour taste, consider adding honey or maple syrup. This balance of flavors makes the pickled okra unique. You can mix in a little more sugar to the brine too. The sweetness pairs well with the vinegar. It creates a delightful contrast that many enjoy. Experiment with different sweeteners to find your perfect blend. You might even add a splash of fruit juice to the brine for extra flavor.
Serving Suggestions
Creative Ways to Incorporate Pickled Okra in Meals
Pickled okra can brighten up many meals. You can serve it as a crunchy side dish or snack. It adds a zesty touch to salads and sandwiches. You can also chop it up and mix it into potato salad or coleslaw. This adds a fun twist to classic recipes. Pickled okra works great on a charcuterie board too. It makes a colorful and tasty addition.
Pairing Ideas for Appetizers and Snacks
When you serve pickled okra, think about what goes well with it. Pair it with cheese, meats, and crackers for an easy appetizer. You can also enjoy it with dips like hummus or ranch dressing. This adds more flavor and texture. Try placing pickled okra on skewers with cherry tomatoes and olives for a fun snack. The combination of flavors will impress your guests.
Storage Info
Refrigeration vs. Canning
To enjoy your pickled okra, you have two main options: refrigeration or canning.
– How to Store in the Fridge: If you want quick access to your pickled okra, store it in the fridge. After making your pickled okra, let the jars cool down. Once they’re at room temperature, place them in the fridge. This method keeps the okra crisp and fresh for about 1 month.
– Shelf Stability Through Proper Canning Techniques: For long-term storage, canning is the way to go. After packing your okra and pouring in the brine, seal the jars tightly. Then, process them in boiling water for 10-15 minutes. This step allows the jars to last up to a year on your pantry shelf.
Duration of Freshness
– How Long Does Pickled Okra Last?: Properly stored pickled okra can last quite a while. In the fridge, expect it to last about 1 month. If canned correctly, it can last up to a year.
– Signs of Spoilage to Watch Out For: Always check for signs of spoilage. If you notice any off smells, mold, or gas bubbles in the jars, discard them. It’s better to be safe than sorry when it comes to food safety.
FAQs
How long does it take for pickled okra to be ready?
Pickled okra needs at least 48 hours to develop good flavor. This time allows the spices to soak into the okra. The longer you wait, the better it tastes. If you can, wait a week. The flavors deepen and become more balanced.
Can I reuse the pickling brine?
You can reuse the pickling brine, but with caution. Make sure the brine is clean and has no signs of spoilage. It’s best to reuse it only once. If you use it again, add fresh spices for better taste.
What can I do if my pickled okra is too salty?
If your pickled okra is too salty, try rinsing it under cold water. This can help reduce the saltiness. You can also balance it by adding a little sugar to your next batch. The sugar will tone down the salt flavor.
You might wonder about other questions, like how to add spice or what to serve it with. Feel free to experiment with different spices. Dill, garlic, and even mustard seeds can add fun flavors to your pickled okra. Enjoy your pickling journey!
Homemade pickled okra is simple and rewarding. We explored the key ingredients and preparation steps. Fresh okra, the right vinegar, and spices make all the difference. I shared tips for avoiding common mistakes, ensuring the best flavor, and creative variations. Remember, the right storage will keep your pickled okra fresh. With these insights, you can enjoy tasty pickled okra at home. Try different flavors, and make it your own! Enjoy your pickling journey!

